
Imagine the scent of wet earth and crushed cedar filling your lungs as you stand over a bubbling, dark liquid that seems to hold the very soul of the forest. We are diving deep into the ancient alchemy of the Natural Vegetable Dye Vat; a process that transforms humble fibers into vibrant masterpieces using nothing but physics and patience. This is not just about changing a color; it is about a molecular dance where tannin meets protein and cellulose in a permanent embrace. When you dip a raw, unbleached linen into that warm liquid, you are watching capillary action pull pigments into the microscopic pores of the fiber. It feels electric to witness that first shift from pale cream to a deep, resonant indigo or a fiery madder root red. We are manipulating the chemistry of nature to create something that lasts for generations. Forget synthetic pigments that sit on the surface like a plastic film. This is about deep penetration, structural integrity, and the raw, tactile joy of working with the earth.
THE STUDIO KIT
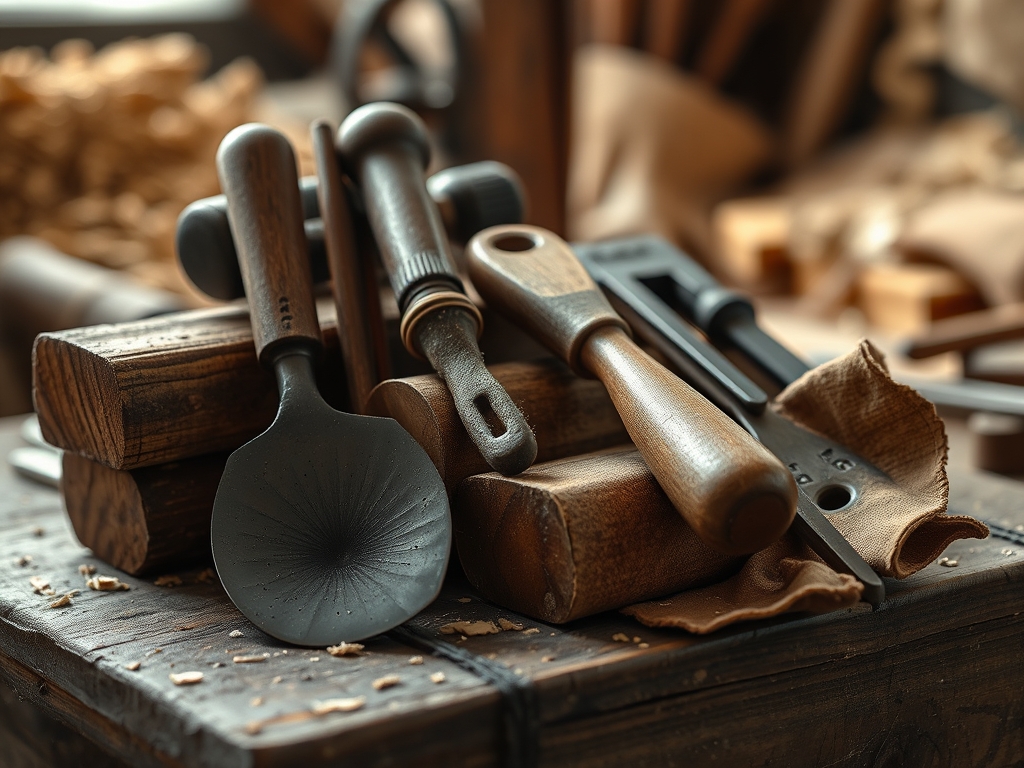
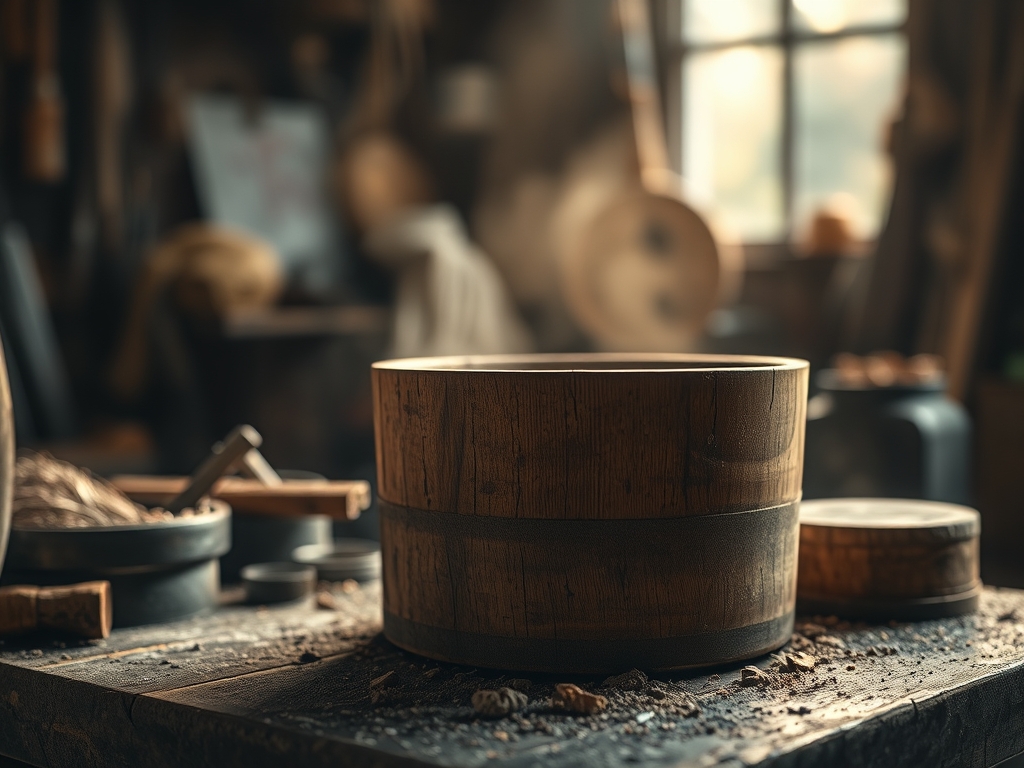
To master the vat, you need a kit that balances precision with ruggedness. Start with a heavy-gauge stainless steel stockpot; it must be non-reactive to ensure the pH levels of your dye remain stable. You will need a digital thermometer to monitor the thermal energy, as overheating can denature protein fibers like silk or wool. For handling the material, a pair of long-handled bamboo tongs provides the necessary reach without snagging the delicate weave. I always keep my precision calipers nearby to measure the thickness of the fabric before and after the mordanting process, ensuring the fibers have fully saturated.
Material Substitutions: If you cannot find high-quality alum for your mordant, you can substitute with tannin-rich oak galls or even recycled copper wire soaked in vinegar to create a home-brewed mineral modifier. Instead of a professional glass stirring rod, a smooth, burnished hardwood dowel works wonders to keep the sediment from settling at the bottom of the vat.
THE TEMPO
The "Maker's Rhythm" is less about a stopwatch and more about the biological clock of the plants themselves. You cannot rush the extraction of pigment from a root or bark. The initial Scouring Phase takes about two hours of gentle simmering to strip away oils and waxes. Following this, the Mordanting Phase requires a full twenty-four hour soak to ensure the mineral salts bond to the fiber's molecular chain.
The actual Dyeing Phase is a slow crescendo; usually three to five hours of controlled heat, followed by a "cooling down" period where the fibers contract and lock in the color. Finally, the Curing Phase is the most vital. You must allow the fabric to dry in a shaded, well-ventilated area for forty-eight hours. This allows the oxygen to complete the chemical bond, a process known as oxidation, which ensures the lightfastness of your final piece.
THE CORE METHOD
1. Scouring the Substrate
Before the vat can work its magic, the fabric must be clinically clean. Use a neutral detergent and soda ash to strip the "pectin" and "sericin" from the fibers. This increases the porosity of the material, allowing the dye to travel deeper into the core of each thread rather than just coating the exterior.
Mastery Tip: The science here is all about surface tension. By removing natural oils, you lower the liquid's resistance to entering the fiber, ensuring that the dye does not "bead" on the surface but instead flows into the internal lumen of the cotton or wool cell.
2. The Mordant Bridge
Think of the mordant as the chemical "glue." We use metallic salts like aluminum potassium sulfate to create a bridge between the fiber and the pigment. Without this, your beautiful vegetable dye would simply wash away during the first rinse because the pigment molecules are too large to stay trapped on their own.
Mastery Tip: This involves ionic bonding. The mordant creates a positive charge on the fabric which attracts the negatively charged dye molecules. It is a literal magnetic pull at a microscopic level that ensures the color becomes part of the material's physical structure.
3. Preparing the Vat
Grind your dried dyestuffs using a heavy mortar and pestle to increase the surface area. Add them to your water and bring the temperature up slowly. We are looking for the "sweet spot" where the heat breaks down the cell walls of the plants to release the hidden tannins and flavonoids without scorching them.
Mastery Tip: This is the principle of solubility. Different pigments release at different temperatures. For example, madder root requires a steady heat below boiling; if you cross the 190-degree threshold, the vibrant reds shift to dull browns due to the breakdown of alizarin molecules.
4. The Immersion Dance
Gently lower your wetted fabric into the vat. Do not just drop it in; you must stir in a figure-eight motion to prevent "hot spots" or uneven saturation. The fabric should move freely so that the dye can reach every fold and crease with equal intensity.
Mastery Tip: Observe the displacement. If the vat is too crowded, the lack of fluid movement causes "resists," where the pressure of the fabric against itself prevents the dye from penetrating. Maintaining a high liquor-to-fiber ratio is essential for a level, professional finish.
THE TECHNICAL LEDGER
Maintenance & Longevity: To keep your dyed pieces from fading, always wash them in pH-neutral soap. Natural dyes are sensitive to acidity; a simple squeeze of lemon can act as a discharge agent and ruin your hard work. Store your textiles away from direct UV light to prevent "photodegradation," which breaks the chemical bonds we worked so hard to build.
Material Variations:
- Sustainable: Use avocado pits or onion skins for a zero-waste studio.
- Recycled: Old copper pipes can be used to create "iron liquor" for darkening colors.
- Premium: Sourcing Grade-A Indigo or Cochineal bugs provides a depth of color that is unmatched by common garden weeds.
The Correction:
- Splotchy Color: This usually means the fabric was not scoured properly. Fix it by stripping the color in a mild bleach solution and re-scouring before a second dye bath.
- Color Rubbing Off (Crocking): This happens when there is too much pigment on the surface. Fix it by simmering the fabric in a plain water bath with a splash of vinegar to "set" the loose molecules.
- Unexpected Brown Tones: This is usually due to overheating. To fix, try a "dip" in a cold iron bath to shift the muddy brown into a sophisticated charcoal or forest green.
Studio Organization: Store your dried dyestuffs in airtight, opaque glass jars. Moisture is the enemy of raw botanical material; it invites mold and degrades the pigment concentration. Label everything with the date and the botanical name to track the potency of your stock over time.
THE FINAL REVEAL
Look at that! The transformation is absolutely breathtaking. What started as a piece of flat, lifeless fabric now has a "living" color that shifts and glows under different lights. The hand-feel is incredible; the mordanting process actually adds a bit of "heft" and "drape" to the linen, making it feel expensive and artisanal. You can see the subtle variations in tone that tell the story of the plant's life. It is not the flat, dead perfection of a factory-dyed shirt; it is a vibrating, organic texture that feels like a hug from the earth itself. You have successfully navigated the complex physics of the Natural Vegetable Dye Vat, and the result is a piece of wearable art that is as tough as it is beautiful.
STUDIO QUESTIONS
What is the best fabric for a vegetable vat?
Natural protein fibers like silk and wool offer the highest affinity for vegetable dyes. Cellulose fibers like cotton and linen also work beautifully but require a more intensive tannin-based pre-treatment to ensure the pigment bonds effectively to the plant-based cell walls.
How do I make my colors last longer?
Ensure you use a proper mordant like alum or iron. These metallic salts create a permanent chemical bond between the dye and the fiber. Additionally, always air-dry your pieces in the shade to prevent UV rays from breaking down the organic pigments.
Can I reuse the leftover dye liquid?
Yes, this is called an "exhaust bath." While the second and third dips will be lighter in intensity, they often produce beautiful, soft pastel shades. Just ensure you check the pH levels before reusing to maintain color consistency across your project.
Why did my fabric turn out streaky?
Streaks usually occur when the fabric is too crowded in the pot or wasn't stirred enough. If the fibers cannot move freely, the dye saturates unevenly. Always use a large enough vessel to allow for total fluid circulation around the material.

