
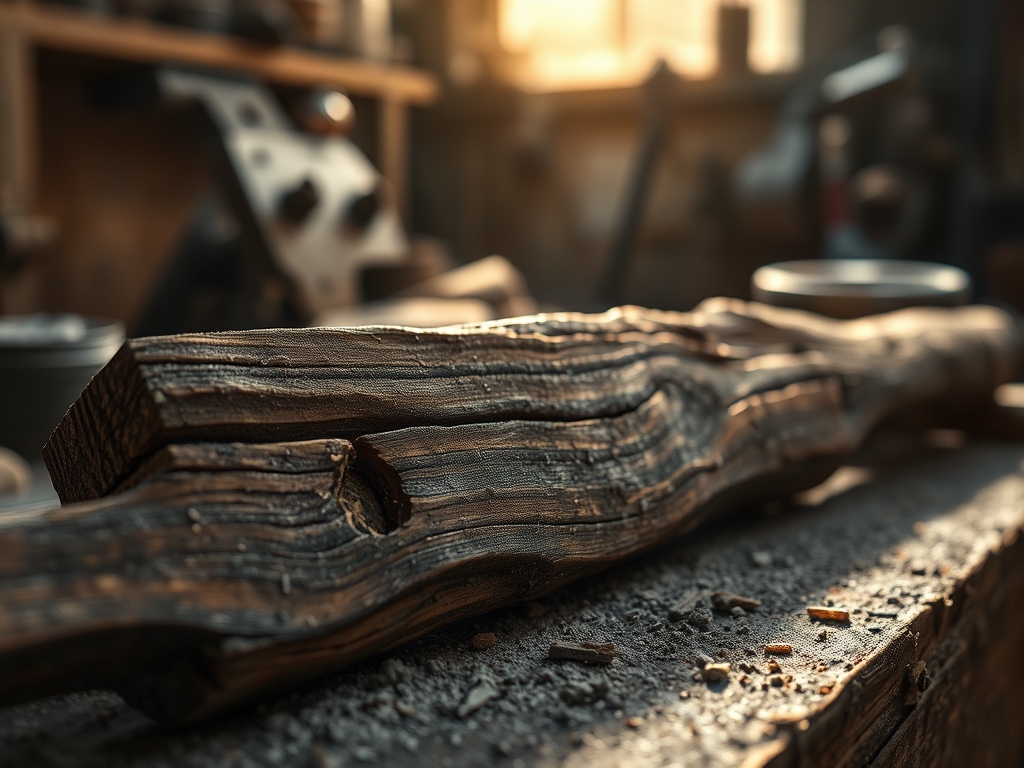
The smell of freshly cut cedar and the cool, oily slick of vegetable-tanned leather are my morning espresso. There is a specific kind of magic that happens when your hands meet raw material; it is a grounding frequency that silences the digital noise of the world. Healing Through Creative Acts is not just a poetic sentiment; it is a physiological reset that lowers cortisol through repetitive, tactile engagement. When I pick up my calipers to measure the exact thickness of a walnut slab, I am not just building a shelf. I am engaging in a dialogue with cellular structures and lignin bonds. The weight of a brass-backed tenon saw in my hand provides an immediate sensory anchor. Every fiber of the wood has a story of tension and compression, and as I work, those physical properties demand my absolute presence. You cannot worry about your inbox when you are calculating the tensile strength required for a dovetail joint to hold under a specific load. This is where the chaos of life transforms into the order of the grain.
THE STUDIO KIT
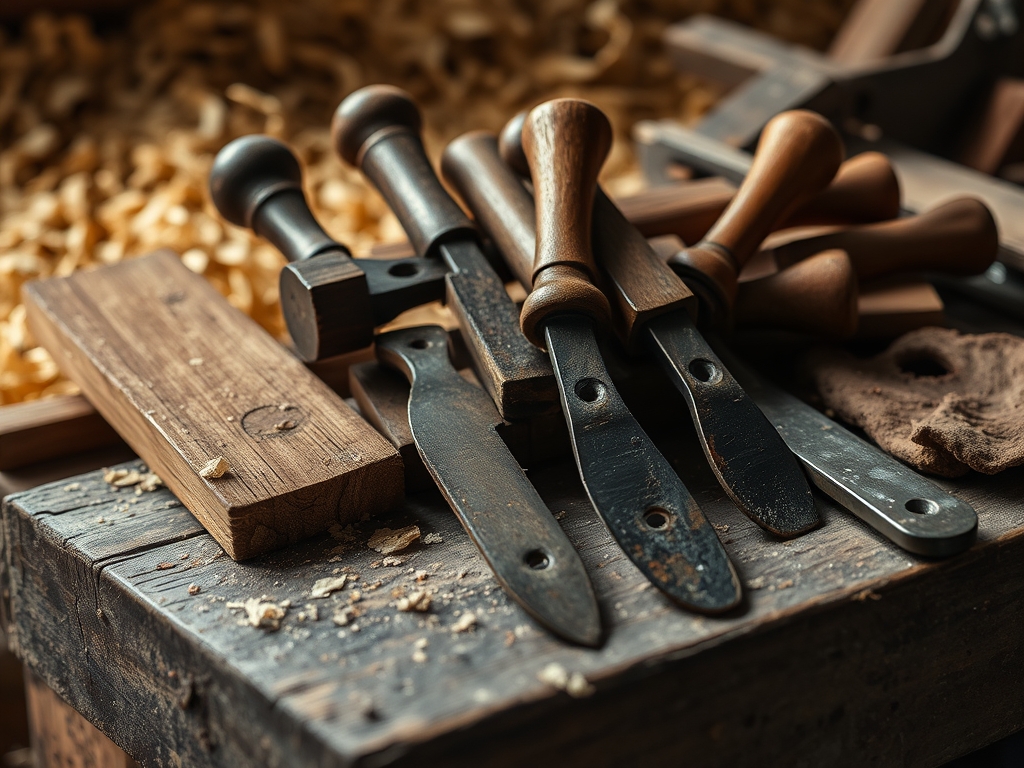
To master the art of the "Daily Make," you need a kit that respects the physics of your medium. My bench is currently a playground of high-density hardwoods and high-carbon steel. We are looking at straight-grain maple for its incredible crush resistance and top-grain leather for its flexibility and collagen density. You will need a marking gauge for precision layout, a set of bench chisels with a 25-degree primary bevel, and a bone folder for crisp, structural creases in any fibrous material.
Material Substitutions: If you cannot source kiln-dried hardwoods, look for high-grade birch plywood; its cross-laminated layers provide superior dimensional stability against humidity. If leather is not your vibe, heavy-duty waxed canvas offers a similar denier count and water-resistant finish. For adhesives, skip the craft glue and go for a cyanoacrylate for instant bonds or a polyvinyl acetate (PVA) for wood-to-wood connections that require a longer open time for alignment.
THE TEMPO
The "Maker's Rhythm" is a three-act play that spans approximately four hours for a standard studio session. The first hour is the Milling Phase. This is high-energy and loud; it involves breaking down stock and squaring edges. The second and third hours comprise the Assembly Phase, where the tempo slows into a flow state. This is the heart of the healing process where you focus on the interference fit of your components. The final hour is the Refinement Phase. This is the quietest part of the day, involving high-grit sanding or burnishing surfaces to a glass-like finish. Respecting this tempo prevents "maker's fatigue," a state where your fine motor skills degrade and your kerf lines start to wander.
THE CORE METHOD
1. Stock Preparation and Squaring
Before a single drop of glue touches the surface, you must ensure your material is "four-square." This means every face is perfectly perpendicular to the next. Use a try square to check for light gaps.
Mastery Tip: Wood is a hygroscopic material, meaning it absorbs moisture from the air. Always allow your timber to acclimate to your studio's humidity for 48 hours to prevent warping after you have made your initial cuts.
2. Precision Layout and Scribing
Use a marking knife rather than a pencil. A knife cut actually severs the surface fibers, providing a physical "track" for your saw or chisel to follow. This prevents tear-out, which occurs when the tool's edge exits the wood and lifts the grain.
Mastery Tip: This relies on capillary action. When you later apply finish, the severed fibers in the scribe line will absorb more oil, creating a beautiful, dark "witness line" that proves the piece was handmade.
3. The Mechanical Joinery
Whether you are using a mortise and tenon or a simple lap joint, the fit must be exact. It should require light hand pressure to seat but should not fall apart under its own weight. This is known as a friction fit.
Mastery Tip: The science here is surface area. The more surface area you create within a joint, the more "glue real estate" you have. A perfectly fitted joint uses the chemical bonds of the adhesive to create a link stronger than the surrounding wood fibers.
4. Surface Refinement and Burnishing
Once the structure is sound, we move to the tactile finish. Use a card scraper to remove any microscopic ridges left by the plane. If you are working with leather, use a wooden slicker to burnish the edges.
Mastery Tip: Burnishing works through friction and heat. By rubbing the fibers rapidly, you are compressing the protein chains (in leather) or cellulose (in wood) and sealing them with the material's own natural oils or waxes.
THE TECHNICAL LEDGER
Maintenance & Longevity: To keep your tools in peak condition, wipe all steel surfaces with camellia oil after every session. This creates a hydrophobic barrier that prevents oxidation. For the projects themselves, avoid direct UV exposure, which breaks down the lignin in wood and causes "photodegradation" or fading.
Material Variations:
- Sustainable: Reclaimed Douglas Fir offers high strength-to-weight ratios but requires careful inspection for old fasteners.
- Premium: African Blackwood is so dense it actually sinks in water; it is perfect for tool handles due to its compressive strength.
The Correction:
- The Gap: If a joint has a small gap, do not panic. Mix fine sawdust from the same board with PVA glue to create a matching structural filler.
- The Tear-out: If a plane blade catches the grain, stop immediately. Switch to a high-angle frog or use a scraper to level the area without further lifting the fibers.
- The Over-sand: If you sand through a veneer, the only fix is "design evolution." Inset a contrasting wood "Dutchman" patch to turn the mistake into a feature.
Studio Organization: Store your timber vertically in a rack with stickers (small spacers) between boards to allow for 360-degree airflow. This prevents the "cup and bow" effect caused by uneven moisture evaporation.
THE FINAL REVEAL
There is a visceral thrill when you run your thumb over a finished edge and feel absolutely no transition between two pieces of material. The finished piece is a physical manifestation of your focus. It feels heavy, intentional, and balanced. When you hold something you made, you are holding a solved puzzle of physics and geometry. The grain flows perfectly; the joints are tight; the finish is soft yet durable. This is the peak of the day. You have taken raw, chaotic elements and used your hands to force them into a state of permanent, beautiful utility. That is the ultimate "win" for the soul.
STUDIO QUESTIONS
How do I prevent wood from splitting when screwing pieces together?
Always drill a pilot hole slightly smaller than the screw's shank. This removes material to make room for the threads, preventing the internal hoop stress that forces the wood fibers to pull apart and crack.
What is the best way to sharpen a dull chisel quickly?
Use a honing guide and diamond stones. Start at 400 grit to reset the edge, move to 1000 for sharpening, and finish on an 8000-grit waterstone. A mirror polish on the flat back is non-negotiable for precision.
Why does my glue keep failing on oily woods like Teak?
Oily woods contain natural extractive chemicals that repel water-based glues. Wipe the mating surfaces with acetone or denatured alcohol immediately before gluing to temporarily strip the oils and allow the adhesive to penetrate the pores.
Is there a way to fix a "wobbly" table leg without cutting it?
Measure the gap with feeler gauges to find the exact discrepancy. Glue a thin "veneer shim" of the same wood species to the bottom of the short leg, then burnish the edges so the repair becomes invisible.

