
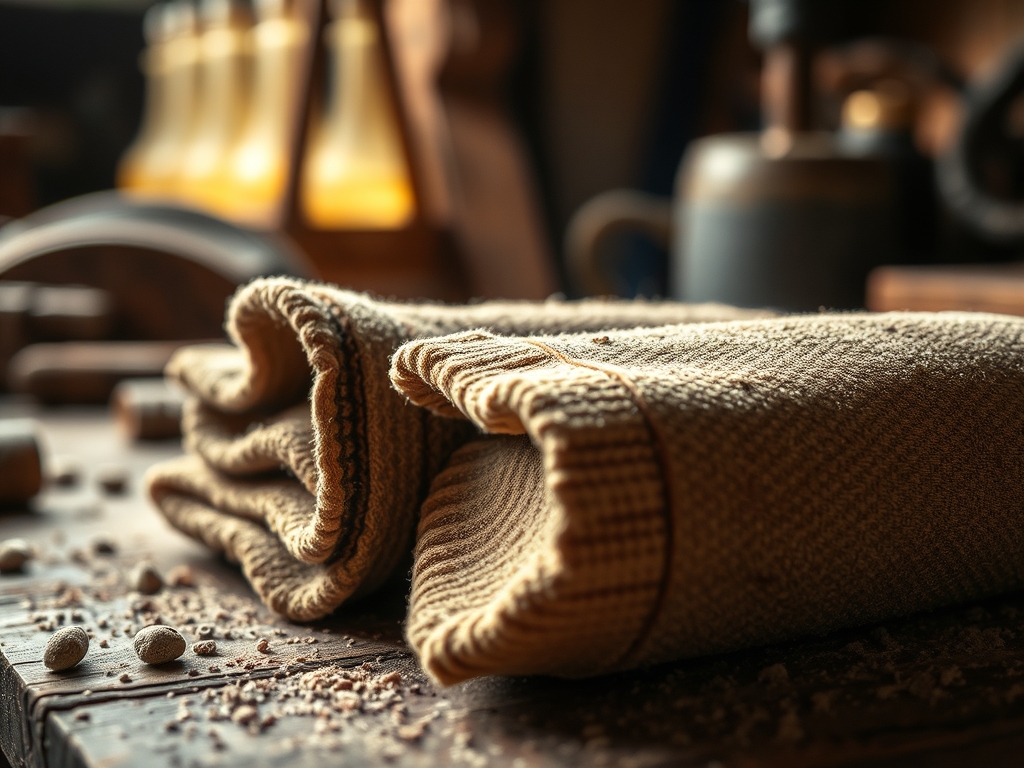
Imagine the crisp, tactile resistance of a vintage 100 percent cotton oxford shirt as it yields to the blade of a rotary cutter. There is a specific, satisfying hum that happens when high-density fibers meet a sharp edge. We are not just recycling; we are engineering high-performance tools. Today, we are transforming forgotten wardrobes into professional grade Natural Wood Polishing Cloths that would make any master luthier weep with joy. Most store bought rags are saturated with synthetic polyesters that scratch delicate finishes, but by reclaiming aged cotton, we harness a material that has already undergone years of mechanical softening. This process increases the surface area of the individual fibers, allowing them to trap microscopic dust particles without the risk of abrasive scarring. Feel the weight of the fabric; notice how the weave has loosened over time. This is the secret to a perfect burnish. We are looking for that sweet spot where the tensile strength is still intact but the stiffness has vanished. Grab your coffee and clear your workbench. We are about to turn household waste into a precision finishing kit that treats your walnut and mahogany like royalty.
THE STUDIO KIT
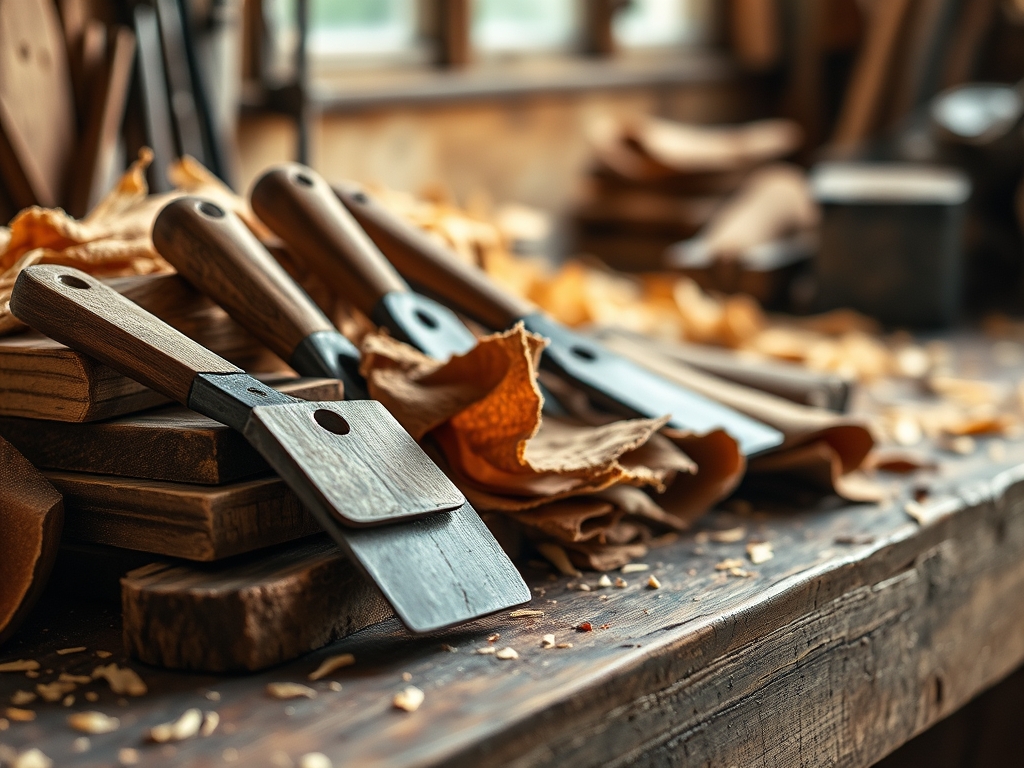
To execute this project with professional precision, you need more than just a pair of kitchen shears. We are aiming for edge stability and uniform absorption. Your primary tool should be a 45mm rotary cutter paired with a self-healing cutting mat. Unlike scissors, a rotary blade applies downward pressure that prevents the fabric from shifting, ensuring the grain remains perfectly perpendicular to your cuts. You will also need a stainless steel cork-backed ruler to serve as a guide and a heat source, like a professional iron, to reset the molecular memory of the cotton fibers.
For the materials, prioritize long-staple cotton found in high-end dress shirts or heavyweight vintage tees. These fabrics possess a higher thread count, which translates to better capillary action when applying oils or waxes. If you cannot find pure cotton, a linen-cotton blend serves as an excellent material substitution; the flax fibers in linen add a structural rigidity that is perfect for heavy scrubbing. Avoid any fabric with more than five percent elastane or spandex. Synthetic elastic fibers have a low melting point and can create friction heat that mars a fresh wax finish. Finally, keep a bone folder or a specialized seam roller nearby to flatten your edges. This prevents fraying and ensures your new cloths lay flat in your storage tin.
THE TEMPO
The "Maker's Rhythm" is all about respecting the material. This project is divided into three distinct phases: the Sort, the Slice, and the Set. Expect to spend about 15 minutes in the Sorting Phase, where you inspect every square inch of your donor garments for buttons, zippers, or hidden polyester threads that could scratch a surface. The Slicing Phase is the most rhythmic part of the process, taking roughly 30 minutes for a full wardrobe's worth of shirts. Here, you find a flow, aligning the ruler with the grain and executing clean, singular passes with the cutter.
The final Setting Phase takes about 10 minutes. This involves a high-heat steam press to kill any lingering bacteria and flatten the fibers into a uniform plane. Total active time is roughly one hour, but the result is a curated stack of cloths that will last for years. When you work in a steady, deliberate tempo, you minimize waste and maximize the utility of every scrap. It is a meditative cycle of destruction and creation that clears your mind while stocking your studio.
THE CORE METHOD
1. Deconstruction and Hardware Removal
Before you make a single decorative cut, you must strip the garment of all non-textile elements. Use a seam ripper or a sharp awl to lift the threads holding buttons and labels. Pay close attention to the collar stays and cuff stiffeners. Any hidden plastic or metal can ruin a wood finish instantly.
Mastery Tip: This step is about protecting the structural integrity of your polishing surface. Even a tiny fragment of nylon thread can create "micro-marring" on a soft wood like pine or cedar. By removing the seams entirely, you ensure that only the softest, most porous part of the cotton touches your project.
2. Squaring the Grain
Lay your deconstructed fabric flat on the cutting mat. Use your ruler to find the "straight of grain," which is the direction the longitudinal threads run. Align your first cut with this grain to prevent the fabric from stretching diagonally during use. A square rag is a stable rag.
Mastery Tip: Understanding grain direction is vital for fluid dynamics. When you wipe a surface, liquid moves more efficiently along the grain of the fabric. By squaring your cloths, you optimize the capillary action, allowing the cloth to hold more oil without dripping.
3. Precision Rotary Cutting
Set your ruler to a standard 8-inch by 8-inch square. This size is ergonomically ideal for the average hand, allowing you to fold the cloth into quarters for a firm, padded grip. Apply firm, even pressure to the rotary cutter and move in one continuous motion.
Mastery Tip: Using a rotary cutter instead of shears prevents "scalloping" of the edges. Scalloped edges have loose threads that are prone to shedding. A clean, straight cut maintains the tensile strength at the perimeter, significantly reducing the amount of lint left behind on your wood.
4. The Heat Press and Fiber Alignment
Once your squares are cut, give them a heavy steam press. Set your iron to the highest cotton setting. This collapses any air pockets within the weave and "sets" the cut edges, which helps prevent further unraveling during the first few uses.
Mastery Tip: The heat from the iron reorganizes the hydrogen bonds within the cellulose fibers of the cotton. This makes the fabric flatter and more "quenched," increasing the effective surface area that comes into contact with the wood for a more consistent burnish.
THE TECHNICAL LEDGER
To keep your Natural Wood Polishing Cloths in peak condition, you must manage their "loading." Once a cloth is saturated with oil or wax, it becomes a "loaded" tool. Store used cloths in a sealed metal container to prevent spontaneous combustion; a real risk with drying oils like linseed or tung oil. For maintenance, these cloths can be laundered, but avoid fabric softeners. Softeners coat the fibers in a waxy film that reduces their natural absorbency and can leave streaks on your furniture.
The Correction: Common Pitfalls
- Fraying Edges: If your cloths are shedding threads, you likely cut across the grain. Fix: Trim the edges with pinking shears to create a zig-zag pattern that locks the weave.
- Poor Absorption: This happens if the donor shirt was a heavy synthetic blend. Fix: Boil the cloths in water with a dash of soda ash to strip any factory coatings or residual softeners.
- Scratching: Usually caused by a missed button fragment or a piece of grit trapped in the weave. Fix: Always shake out your cloths before use and store them in a dust-proof "clean box" in your studio.
For studio organization, use a modular grid system. Sort your cloths by "grit" or texture. Use the softest jersey cottons for final buffing and the heavier oxford weaves for initial oil application. Labeling your bins ensures you never grab a wax-heavy cloth when you need a clean, dry wipe.
THE FINAL REVEAL
There is nothing quite like the sight of a neatly stacked pile of hand-cut cotton squares. They represent a bridge between the domestic and the professional; a way to honor the materials we already own. When you pick one up, it feels substantial, soft, and ready for work. These are not just rags; they are a testament to the "maker's eye" that sees potential in the mundane. Your wood projects deserve the gentle touch of reclaimed cotton, and your studio feels just a little more organized now that those old shirts have a new, noble purpose. Go ahead, run your hand over that stack. It is pure, functional beauty.
STUDIO QUESTIONS
What is the best fabric for polishing?
100 percent long-staple cotton is superior due to its high absorbency and lack of abrasive synthetic fibers. It provides a consistent burnish without leaving behind micro-scratches on sensitive wood finishes.
How do I prevent my rags from fraying?
Cutting precisely along the grain with a sharp rotary cutter is the first step. For extra durability, use pinking shears or a serger stitch on the edges to lock the tensile fibers in place.
Can I use old t-shirts for this?
Yes, but ensure they are 100 percent cotton. Jersey knit t-shirts are exceptionally soft and ideal for the final "reveal" buffing, though they may stretch more than woven oxford shirts during heavy application.
Why avoid fabric softeners when washing these?
Softeners leave a chemical residue that clogs the porous structure of the cotton. This reduces the cloth's ability to absorb oils and can cause unsightly streaking on high-gloss wood surfaces.
How should I store oily rags safely?
Always store cloths used with drying oils in a sealed, airtight metal container. This prevents the exothermic reaction of curing oils from reaching the flash point, eliminating the risk of spontaneous combustion in your studio.

