
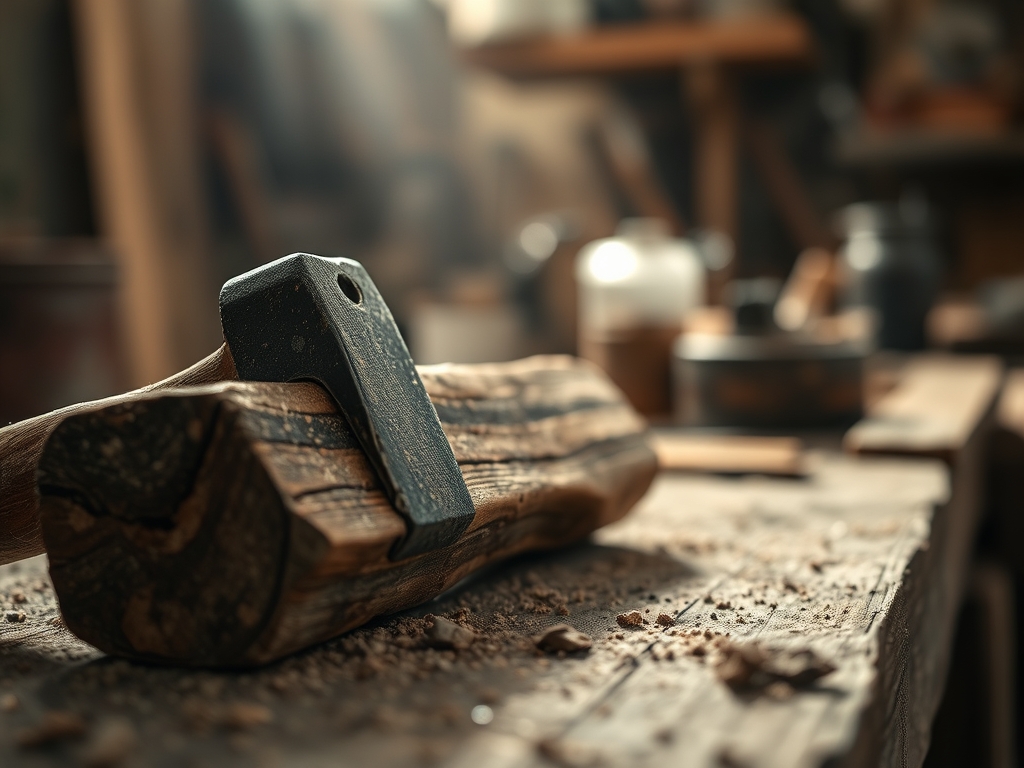
The scent of freshly tanned vegetable-dyed leather and the sharp, clean aroma of cedar shavings hit you the second you step into my workspace. It is a sensory overload in the best way possible; it is the physical manifestation of a choice I make every single morning. I live by The Sustainable Artisan Way because I refuse to let my hands touch anything that lacks a soul. When you run your thumb across the grain of a high-tensile piece of full-grain leather, you feel the history of the fibers and the density of the collagen. It is tactile, it is real, and it is honest. Choosing quality over quantity is not just a lifestyle choice; it is a commitment to the physics of longevity. We are moving away from the disposable and toward the indestructible. I want pieces that do not just last a lifetime but actually get better as the fibers settle and the patina develops. This is where we stop consuming and start creating things that matter.
THE STUDIO KIT
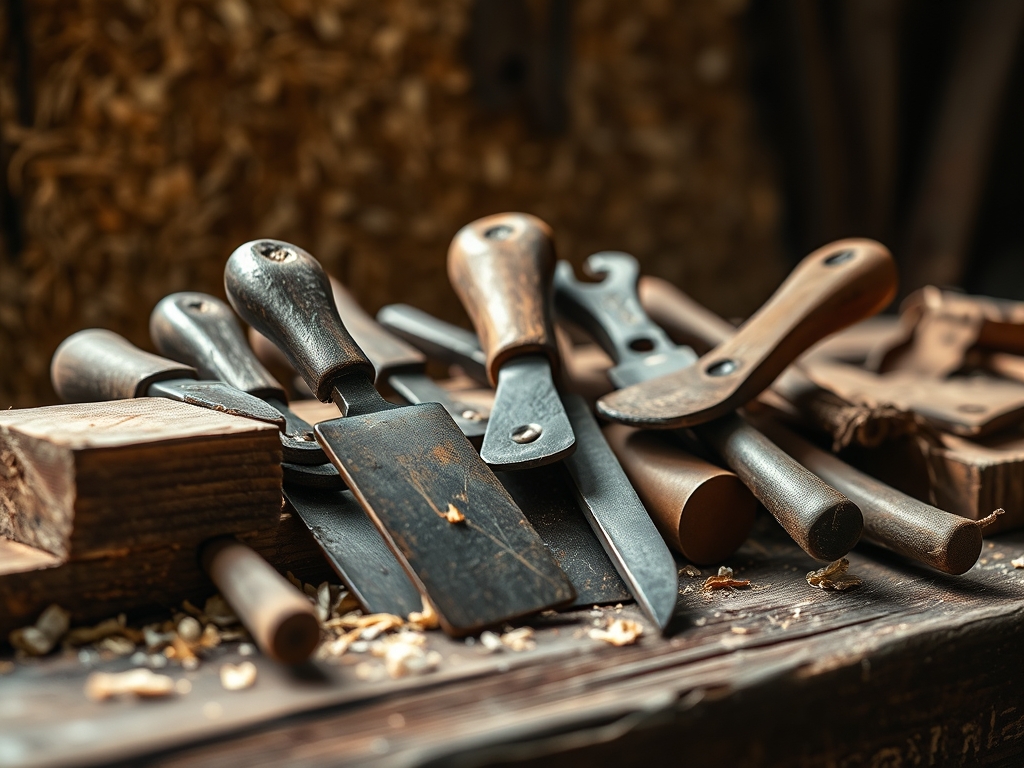
To master this craft, you need a kit that respects the laws of physics. We start with a Japanese steel skiving knife, which is essential for tapering the thickness of leather edges without tearing the delicate grain. My digital calipers are never more than an arm's reach away; they allow me to measure the precise gauge of my materials down to the hundredth of a millimeter. For assembly, I rely on waxed linen thread with a high ply count to ensure maximum tensile strength. The bone folder is my secret weapon for creating crisp, ergonomic creases in porous materials.
Material Substitutions: If you cannot source premium vegetable-tanned leather, look for recycled bonded leather or high-density cork fabric. While the cellular structure of cork is different, it offers surprising durability and a unique tactile response. Just remember that cork lacks the same directional grain as animal hide, so your cutting strategy must shift to accommodate its more isotropic nature.
THE TEMPO
The Maker's Rhythm is a biological metronome. You cannot rush the molecular bonding of adhesives or the drying time of a hand-applied burnish. I break my sessions into three distinct phases. First is the Incubation Phase (2 hours), where I map out the grain direction and calculate the yield of my raw materials. Second is the Active Execution (4 to 6 hours), where the physical work of cutting, punching, and stitching happens. This is the high-energy flow state where hand-eye coordination is paramount. Finally, there is the Resolution Phase (24 hours). This is the hardest part for any artisan; it is the mandatory waiting period while edges cure and fibers relax into their new shapes. Rushing this stage leads to structural failure.
THE CORE METHOD
1. Precision Layout and Grain Alignment
Before the first cut, you must identify the axial orientation of your material. In leather, the fibers run more tightly in certain directions; in wood, the grain dictates the sheer strength. Use your rotary cutter to slice with the grain to prevent fraying. Mastery Tip: Always cut on a self-healing mat to maintain the bevel angle of your blade; a dull blade creates micro-tears that compromise the structural integrity of the edge.
2. The Art of the Skive
Skiving is the process of thinning the edges where two pieces of material overlap. This prevents bulk and ensures an ergonomic profile for the finished piece. Hold your skiving knife at a shallow 15-degree angle. Mastery Tip: This relies on low-friction physics. By reducing the thickness of the material at the seam, you allow the adhesive to create a more intimate bond at the molecular level, preventing the layers from delaminating over time.
3. Saddle Stitching for Durability
Unlike a machine lockstitch, a manual saddle stitch uses two needles passing through the same hole in opposite directions. Use a diamond awl to create clean, angled apertures. Mastery Tip: This creates a mechanical lock. If one thread breaks, the other remains intact because the friction of the wax holds the stitch in place, unlike a machine stitch which would simply unravel.
4. Edge Burnishing and Friction Heat
The final step is to seal the edges using a wooden burnisher and a small amount of tragacanth gum or beeswax. Rub the edge vigorously until it shines. Mastery Tip: This is a thermodynamic process. The kinetic energy from your friction creates heat, which melts the natural waxes and fuses the loose fibers into a smooth, plasticized surface that is impervious to moisture.
THE TECHNICAL LEDGER
Maintenance & Longevity
To keep your creations in peak condition, apply a pH-neutral conditioner every six months. This replenishes the natural oils within the porous structure of the material, preventing the fibers from becoming brittle and snapping under tension.
Material Variations
- Sustainable: Piñatex (pineapple leaf fiber) offers high breathability but lower tensile strength.
- Recycled: Reclaimed ocean plastics can be heat-pressed into durable, non-porous sheets.
- Premium: Shell Cordovan is the gold standard for density, as it is sourced from a specific muscle layer with virtually no visible grain.
The Correction
- The Mistake: Ragged edges after cutting. The Fix: Hone your blade on a leather strop with polishing compound to restore the micro-convex edge.
- The Mistake: Stitching lines that wander. The Fix: Use a wing divider to score a faint guide line exactly 3mm from the edge to ensure perfect linear alignment.
- The Mistake: Adhesive seep. The Fix: Use a crepe rubber block to gently lift excess glue without damaging the top grain of the material.
Studio Organization
Store your sheet materials flat in a temperature-controlled environment. Avoid direct sunlight, as UV radiation breaks down the chemical bonds in dyes and natural fibers. Use vertical racks for tools like your oscillating tool or jeweler's saw to prevent the blades from dulling against other metal surfaces.
THE FINAL REVEAL
There is nothing quite like the moment you hold the finished piece and realize it feels like an extension of your own hand. The edges are glass-smooth, the stitching is a rhythmic heartbeat of precision, and the weight is perfectly balanced. This is the reward for choosing The Sustainable Artisan Way. You have created something that defies the modern cycle of obsolescence. It is heavy, it is substantial, and it radiates the energy of the hours you poured into it. You didn't just make a "thing"; you mastered the physics of your medium.
STUDIO QUESTIONS
How do I know if my leather is high quality?
Perform the flex test. High-quality full-grain leather will show fine wrinkles that disappear when flattened. If the surface cracks or the color pales significantly, the fibers are weak or the dye is merely a surface coating.
What is the best way to sharpen a skiving knife?
Use a series of whetstones ranging from 1000 to 6000 grit. Maintain a consistent angle to preserve the bevel geometry. Finish by stropping on leather with a chromium oxide paste to achieve a mirror-polish, razor-sharp edge.
Can I use synthetic thread for saddle stitching?
Yes, bonded nylon or polyester threads are excellent for high-moisture environments. They offer superior rot-resistance compared to natural fibers. However, they require melting the ends with a thread zap to prevent the synthetic fibers from unravelling.
Why does my edge burnish look dull?
Dullness usually indicates insufficient heat or moisture. Ensure the edge is slightly damp before burnishing. Increase your speed to generate more frictional heat, which is necessary to liquefy the waxes and create that signature high-gloss, protective seal.
How do I prevent my tools from rusting?
Apply a thin coat of camellia oil to all carbon steel surfaces. This creates a hydrophobic barrier that prevents oxygen from reacting with the metal. Store tools in a drawer with silica gel packets to manage ambient humidity levels.

