
Imagine the smell of a library filled with ancient, heavy books and a hint of sweet woodsmoke. That is the first thing you notice when you unroll a fresh side of vegetable tanned leather. It is firm, unapologetically organic, and smells like oak bark rather than a chemical factory. When we talk about The Sustainable Leather Choice, we are looking at a material that breathes and ages alongside you. Most commercial leathers are tanned with chromium salts in a matter of hours, but this beauty takes months of soaking in natural tannins derived from tree bark. This slow process preserves the collagen fiber density, giving the hide a structural integrity that chrome tanned alternatives simply cannot match. You can feel the tensile strength in your hands as you pull against the grain. It does not stretch like a cheap synthetic; it resists with a dense, fibrous grip. This is the foundation of every heirloom piece I create in the studio because it responds to the human touch in a way that feels almost electric.
THE STUDIO KIT
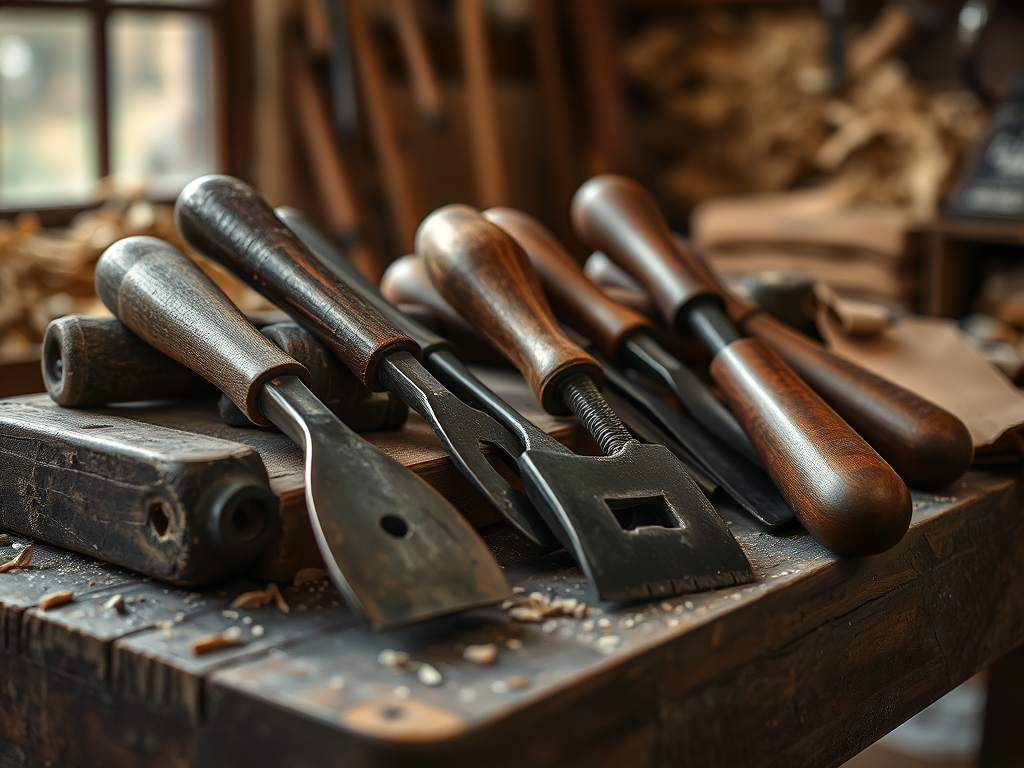
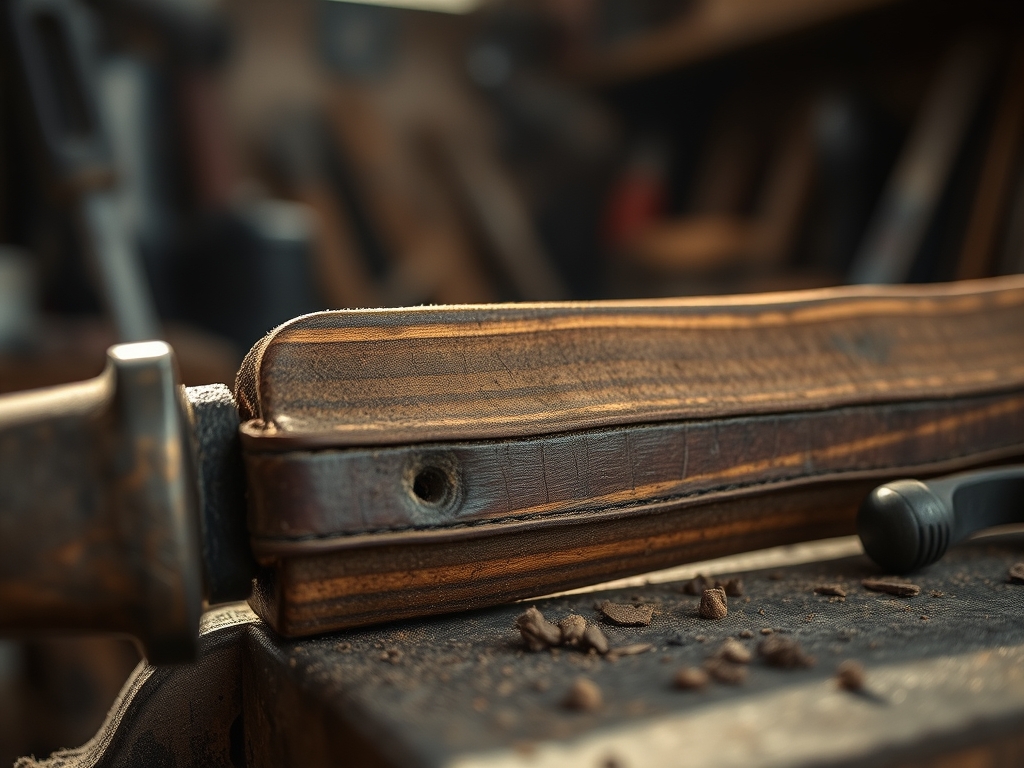
To master this material, your workbench needs more than just a sharp edge. You need tools that respect the cellular structure of the hide. First on the list is a high carbon steel rotary cutter or a specialized head knife. Because vegetable tanned leather is so dense, a dull blade will drag and compress the fibers rather than slicing through them. You will also need digital calipers to measure the exact gauge or thickness of your hide; usually measured in ounces, where one ounce equals approximately 1/64 of an inch. For the edges, a bone folder and a wooden burnisher are non negotiable. These tools use friction to fuse the loose protein fibers at the cut edge into a smooth, glassy surface.
For those looking at Material Substitutions, you might consider "recycled leather" or "vegan" alternatives. However, from a physics standpoint, most synthetic substitutes are essentially plastic polymers bonded to a fabric backing. They lack the porous nature of organic hide, meaning they cannot absorb oils or develop a patina. If you must substitute, look for high density cork or mushroom leather, though keep in mind their tensile limits are significantly lower than traditional bark tanned skins.
THE TEMPO
The "Maker's Rhythm" with vegetable tanned leather is a marathon, not a sprint. You have to account for the hygroscopic properties of the material; it absorbs and releases moisture based on the environment. The initial layout and cutting phase takes about two hours of intense focus. Then comes the "casing" period, where you lightly dampen the leather to prepare it for tooling or molding. This requires a waiting period of thirty to sixty minutes until the leather returns to its natural color but feels cool to the touch. The actual assembly and hand stitching can take anywhere from five to twenty hours depending on the complexity of the ply. This is not a hobby for the impatient; it is a meditative practice of watching organic matter transform into a structural tool.
THE CORE METHOD
1. The Precision Cut
Position your hide on a self healing mat and identify the grain direction. Leather is strongest when cut parallel to the spine of the animal. Use your calipers to ensure the thickness is consistent across the entire piece. A Technical Fact to remember is that the "belly" of the hide is much stretchier and less dense than the "butt" or "shoulder" sections.
Mastery Tip: Always cut with the blade tilted slightly inward. This creates a "micro bevel" that makes the subsequent edge burnishing much easier because you are pre-aligning the fibers for compression.
2. Casing for Pliability
To shape or stamp the leather, you must introduce moisture to the interfibrillar spaces. Apply distilled water with a sponge until the surface is saturated but not dripping. Wait for the surface to "reclaim" its color. This state allows the leather to take a permanent impression without cracking the surface grain.
Mastery Tip: This process relies on capillary action. If you work the leather while it is too wet, you will crush the delicate air pockets between the fibers, resulting in a "mushy" finish that loses its structural crispness once dry.
3. The Saddle Stitch
Using a diamond awl, pierce your stitching holes at a consistent angle. Use two needles on a single length of waxed linen thread. Pass them through the same hole from opposite sides, creating an interlocking "X" inside the leather. This is the gold standard for durability because if one thread breaks, the other remains locked in place.
Mastery Tip: Maintain consistent tension on every single stitch. If you pull too hard, you will pucker the leather; too loose, and the seam will gap. This is the physics of friction locking at work.
4. Friction Burnishing
The final step is finishing the edges. Apply a small amount of tragacanth gum or water to the edge and rub it vigorously with a wooden burnisher. The heat generated by the friction causes the tannins and proteins to bind together, creating a waterproof, hardened seal.
Mastery Tip: This is a thermodynamic reaction. You are essentially "melting" the natural waxes and fibers into a singular, solidified mass. If the edge gets too hot, the leather will scorch; if it stays cool, the fibers will remain frayed.
THE TECHNICAL LEDGER
Maintenance & Longevity: Vegetable tanned leather is essentially "skin" that needs hydration. Every six months, apply a light coat of neatsfoot oil or beeswax conditioner. This maintains the elasticity of the fibers and prevents the hide from becoming brittle and snapping under stress.
Material Variations: You can find "Premium" grades which are flawless hides from alpine regions where insects are rare, or "Sustainable" grades that use fallen timber barks for the tanning liquors. Each variation has a different absorption rate for dyes and oils.
The Correction:
- The Mistake: Over wetting the leather during casing. The Fix: Allow it to air dry completely under a fan, then restart the dampening process slowly.
- The Mistake: Uneven stitch tension. The Fix: Use a stitching pony to hold the work steady so both hands can apply equal force to the thread.
- The Mistake: Burnishing edges that are not sanded. The Fix: Use progressive grits of sandpaper (200 to 800) to level the ply before you ever touch the burnisher.
Studio Organization: Store your hides flat in a cool, dark, and dry environment. Never roll them too tightly, as this can cause "piping," where the grain layer separates from the fibrous underside. Use acid free paper between layers to prevent tannin migration.
THE FINAL REVEAL
There is nothing quite like the moment you buff the final coat of wax onto a completed vegetable tanned piece. The edges shine like polished mahogany and the surface has a depth of color that looks three dimensional. It feels substantial in the hand; a perfect balance of tensile strength and ergonomic grace. As you use it, the oils from your skin will darken the leather, creating a unique map of your experiences. This is why it is the ultimate choice for makers who want their work to outlive them. It is not just a product; it is a living, evolving piece of art.
STUDIO QUESTIONS
What is the main benefit of vegetable tanned leather?
The primary benefit is its incredible durability and ability to develop a patina. Unlike chrome tanned leather, it uses natural tannins, making it biodegradable and firm enough to hold complex shapes and detailed hand-tooled designs over many decades.
How do I tell if leather is vegetable tanned?
You can perform a "burn test" or a "water test." Vegetable tanned leather will typically absorb a drop of water quickly due to its porous nature. When burned, it produces a grey ash rather than a hard, plastic-like bead.
Why is vegetable tanned leather more expensive?
The cost reflects the time-intensive tanning process, which can take several months. It also requires higher quality raw hides because the natural tanning process does not hide surface imperfections as easily as heavy chemical coatings and pigments do.
Can I use vegetable tanned leather for clothing?
Yes, but it is best for structured garments like belts, vests, or armor. Because of its high density and stiffness, it is less suitable for soft, draped clothing unless you use a very thin, "milled" version of the hide.

