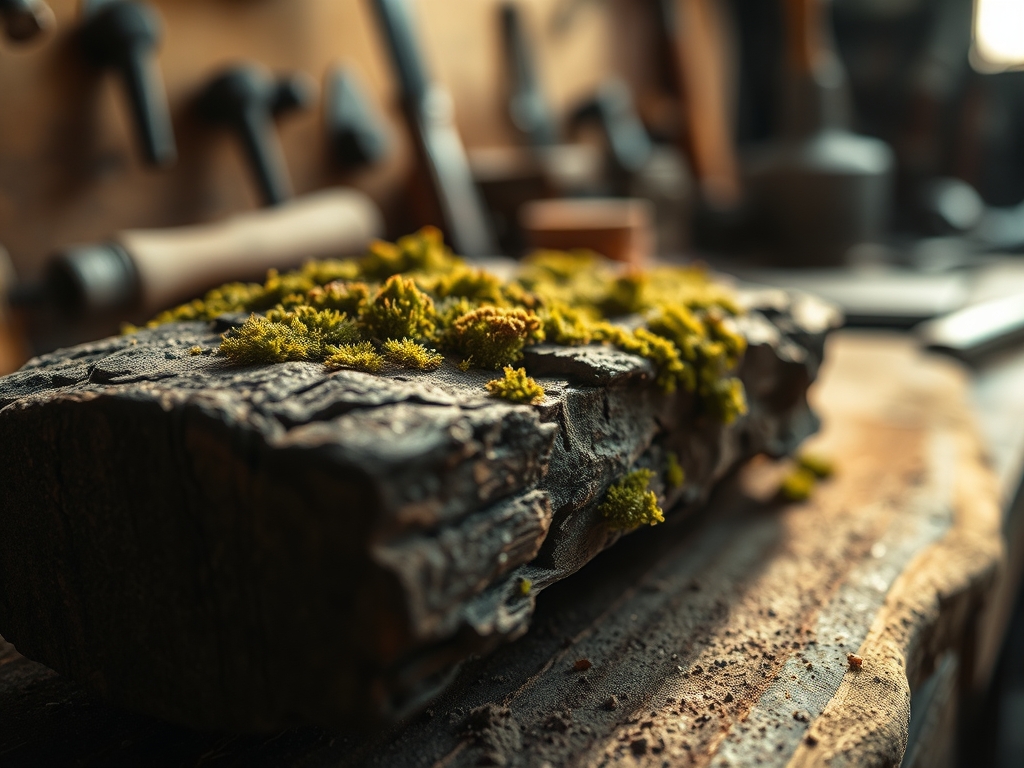
Imagine the scent of damp earth and crushed pine needles hitting your lungs as you step into the deep shade of an old growth forest. It is a sensory overload where the tactile crunch of dried leaves meets the velvet softness of emerald carpets. Today, we are bringing that raw, organic energy into the studio by Foraging For Moss And Lichen to elevate our workspace aesthetics. This is not just about picking up greenery; it is about selecting biological specimens with high cellular density that can withstand the low humidity of a workshop environment. As we gather these life forms, we are looking for specific textures that provide a visual counterpoint to our cold steel tools and hard oak workbenches. The goal is to create a living tapestry that breathes life into the rafters. We are hunting for species like Cladonia and Dicranum, focusing on their structural integrity and how they will eventually bond to our mounting substrates. Grab your collection basket; we are going deep into the woods to find the perfect specimens for our shop transformation.
THE STUDIO KIT

To handle these delicate botanical structures, you need a kit that respects their porous nature while allowing for precision placement. I rely on a pair of fine-tipped jeweler's tweezers for manipulating small lichen cups without crushing their fragile thallus. A high-quality spray mister is essential for maintaining the turgor pressure of the moss during the transition from forest floor to studio wall. For the mounting phase, a silicone-based adhesive provides a flexible bond that accommodates the natural expansion and contraction of the organic fibers.
Material Substitutions: If you cannot find specific forest mosses, look for preserved reindeer moss which offers similar aesthetics with zero maintenance. For the mounting board, instead of virgin timber, use recycled cork or weathered driftwood to enhance the rustic profile. If a professional mister is unavailable, a clean atomizer used for watercolor painting works perfectly to deliver a fine micron-sized water particle that the moss can easily absorb through its leaves.
THE TEMPO
The "Maker's Rhythm" for this project is dictated by the hydration levels of your materials. Phase one, the collection, should take approximately two hours of focused exploration. You are not just walking; you are scanning for micro-climates where the best specimens thrive. Once back in the studio, the cleaning and sorting phase takes about ninety minutes. This is a meditative process of removing pine needles and debris using a soft-bristled brush.
The mounting phase is the most intense, requiring about three hours of steady, rhythmic work. You must find a flow state where your hands move in sync with the organic shapes, layering textures to create depth. Finally, allow twenty four hours for the adhesives to fully cure in a temperature-controlled environment. This waiting period is crucial for ensuring the tensile strength of the bond is sufficient to hold the weight of the damp moss against gravity.
THE CORE METHOD
1. Selective Harvesting and Extraction
Begin by identifying healthy colonies that cover at least three square feet; never take more than ten percent of a single patch to ensure sustainability. Use a flat putty knife or a thin spatula to slide beneath the rhizoids, which are the root-like structures moss uses to anchor itself. Lift the patch gently to keep the soil layer intact, as this provides the necessary nutrients during the acclimation period.
Mastery Tip: Mosses lack a traditional vascular system and rely on capillary action to move water across their surface. By keeping the underlying soil layer attached, you maintain a reservoir of moisture that prevents the cells from desiccating during the transport phase.
2. Cleaning and Hydration Prep
Lay your foraged finds on a mesh screen and use a bulb syringe to blow away loose dirt and insects. Submerge the moss in a shallow tray of distilled water for five minutes. This allows the cells to reach full turgidity, making the moss more pliable and easier to manipulate without breaking the delicate stems. Lichen, being a symbiotic partnership between fungi and algae, requires less water but benefits from a light misting to revive its color.
Mastery Tip: Using distilled water is vital because the high mineral content in tap water can lead to salt buildup on the moss leaves, eventually clogging the pores and preventing gas exchange.
3. Substrate Preparation and Priming
Your mounting surface must be prepared to handle moisture. If using wood, lightly scuff the surface with 120-grit sandpaper to create a mechanical bond for the adhesive. Apply a thin layer of clear sealant to prevent the wood from warping when the damp moss is applied. This creates a stable foundation with high dimensional stability, ensuring your decor piece stays flat over time.
Mastery Tip: The science of adhesion relies on surface energy. By sanding the substrate, you increase the surface area available for the glue to "bite" into, creating a much stronger bond than a smooth, polished surface would allow.
4. Layering and Compositional Bonding
Apply your adhesive in small sections, starting from the bottom of your frame and working upward. Press the moss firmly into the glue, holding it for ten seconds to ensure initial contact. Overlap the edges of different species to create a seamless, natural appearance. Use your tweezers to tuck small bits of lichen into the crevices between moss mounds to add highlights and textural variety.
Mastery Tip: Observe the grain direction of the moss growth. Aligning the moss so the "leaves" point slightly upward mimics its natural growth pattern toward light sources, which creates a more authentic and visually pleasing aesthetic.
THE TECHNICAL LEDGER
Maintenance & Longevity: To keep your moss wall vibrant, mist it once a week with demineralized water. Avoid direct sunlight, which can bleach the chlorophyll and turn the moss a brittle brown. Lichen is much hardier and requires almost no maintenance once it has dried and set into the adhesive.
Material Variations: For a premium look, integrate sheet moss for large flat areas and cushion moss for 3D relief. If you are aiming for a sustainable approach, use biodegradable floral foam as a base layer to hold moisture longer, reducing the frequency of maintenance.
The Correction:
- The Slide: If moss starts sliding off the board, your adhesive is too thin or the moss was too wet. Fix: Use a staple gun with fine wire staples to mechanically fasten the moss until the glue sets.
- The Mold: If white fuzz appears, there is poor airflow. Fix: Increase circulation with a small studio fan and treat the area with a highly diluted hydrogen peroxide solution.
- The Brown-Out: If the moss turns brown, it is likely due to high chlorine levels. Fix: Switch exclusively to rainwater or distilled water for all misting.
Studio Organization: Store your leftover dried moss in breathable linen bags rather than plastic. This prevents fungal growth while keeping the material accessible for future repairs or smaller accent projects.
THE FINAL REVEAL
The transformation is nothing short of magical. What was once a sterile corner of the shop is now a lush, tactile sanctuary that smells of a fresh rainstorm. The deep greens and frosty grays of the lichen provide a sophisticated, organic texture that softens the hard edges of the machinery. It is a reminder that even in a space dedicated to precision and grit, there is room for the wild, untamed beauty of nature. Your shop decor now has a soul, a living element that grounds your creative process in the natural world.
STUDIO QUESTIONS
How do I prevent the moss from falling off over time?
Ensure you use a high-tack, flexible adhesive and provide a textured substrate. Mechanical fasteners like fine wire staples can provide extra security for heavier clumps while the glue cures to its full tensile strength.
Can I use moss found on concrete or rocks?
Yes, but these species are adapted to different pH levels. When Foraging For Moss And Lichen from stone, ensure your studio substrate mimics that hardness. These varieties often have higher drought tolerance than forest floor mosses.
Is it necessary to treat the moss for bugs?
A gentle soak in cool water usually dislodges most hitchhikers. For a deeper clean, a brief dip in a very weak insecticidal soap solution will ensure your studio remains pest-free without damaging the cellular structure of the plants.
How long will the color stay vibrant?
If kept out of direct UV light and misted regularly, natural moss can retain its color for several years. For permanent displays, consider using a floral dye or pigment-based mist to enhance the natural green hues.
What is the best way to ship a moss piece?
Wrap the piece in acid-free tissue paper and secure it in a box with minimal movement. Ensure the moss is slightly damp but not saturated to prevent mold growth during the transit period in a dark container.