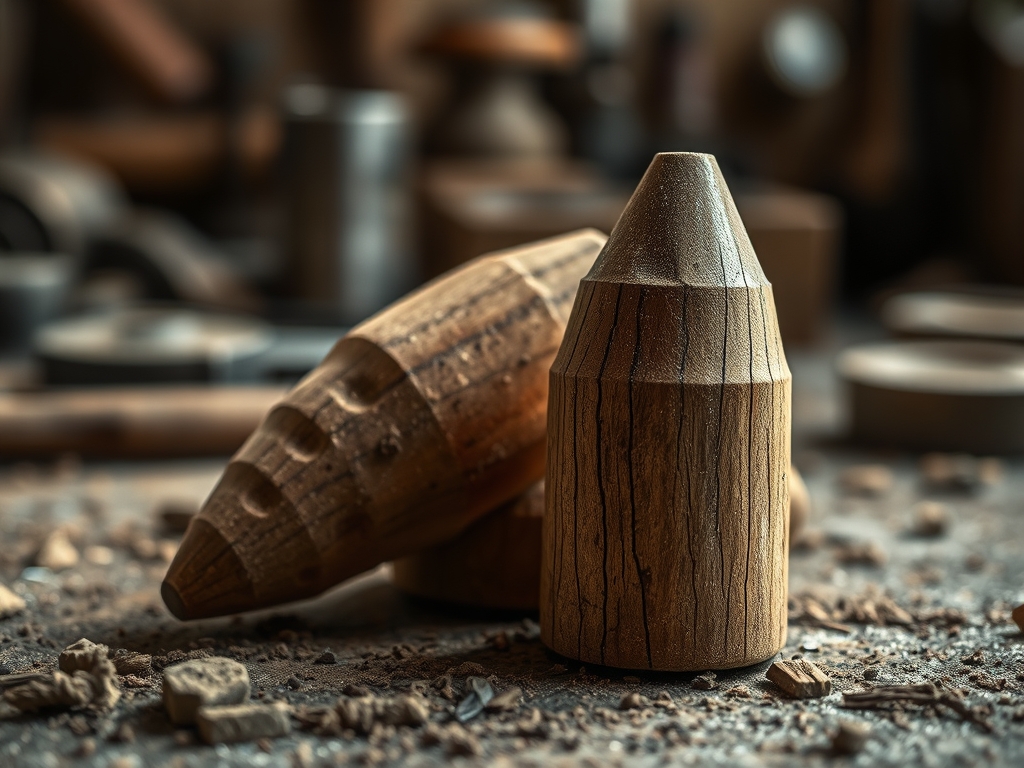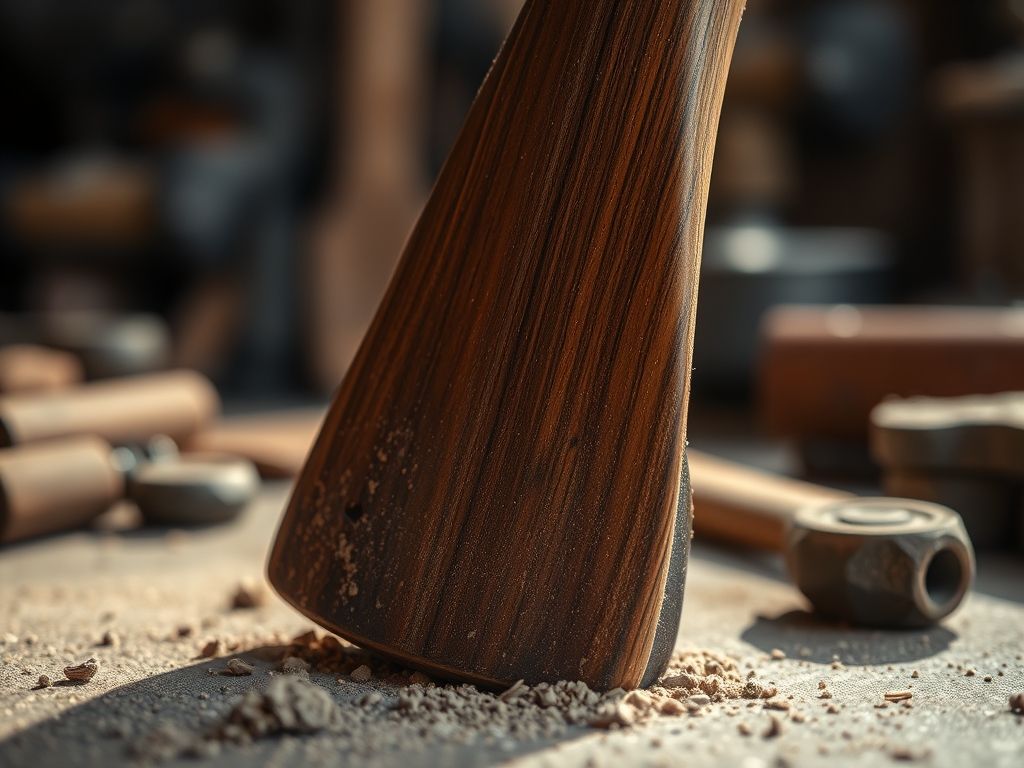
Imagine the feeling of raw, unfinished walnut resting in your palm. It is dry; it is thirsty; it is almost muted in its potential. You can feel the open grain catching against your skin like a microscopic topographical map. Now, imagine transforming that dull surface into a mirror that reflects the studio lights with a deep, liquid glow. This transformation relies entirely on your choice of Natural Polishing Compounds to bridge the gap between organic texture and high end elegance. We are not just sanding things down today. We are engaging in a molecular dance with cellulose and silica to achieve a finish that looks like it belongs in a high end gallery. By using beeswax, diatomaceous earth, or even fine pumice, we leverage the physics of friction to level out surface irregularities without the harsh chemical smells of synthetic resins. It is about the tactile satisfaction of watching a matte surface suddenly catch the light. We are going to take the most basic, accessible materials and push them through a rigorous process of refinement until they shimmer.
THE STUDIO KIT
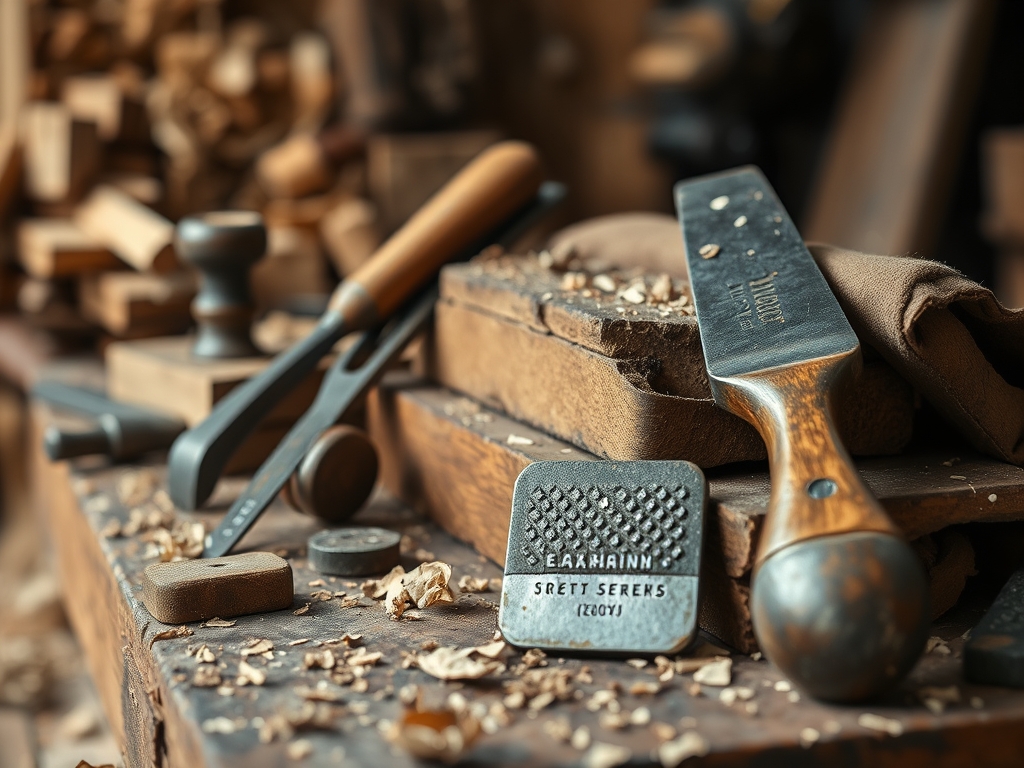
To achieve a professional grade finish, your workstation needs to be organized with precision. We start with our abrasive hierarchy, beginning with low grit garnet paper and moving up to micro mesh pads. You will need a high quality caliper to measure the thickness of your material as you remove layers; consistency is the secret to a professional look. For the application of your compounds, a bone folder or a firm piece of heavy gauge canvas is essential for burnishing.
Material Substitutions: If you cannot find pure carnauba wax, a high density beeswax blend works beautifully. If you lack a professional oscillating tool for the buffing stage, a lint free cotton rag and significant elbow grease will suffice, though the friction heat will be harder to maintain. Always keep a jeweler's saw nearby for trimming any structural burrs before you begin the polishing phase. The goal is to ensure the tensile strength of your base material is never compromised by over sanding.
THE TEMPO
The "Maker's Rhythm" is a specific cadence of work that prevents fatigue and ensures material integrity. You cannot rush the physics of friction. Expect to spend roughly forty percent of your time in the preparation phase. This involves cleaning the substrate and removing deep scratches. The middle forty percent is the iterative application of Natural Polishing Compounds. This is the "meditative grind" where you move in concentric circles, feeling the resistance change as the surface levels out. The final twenty percent is the high speed buffing and inspection. Total time for a small handheld piece usually spans three to five hours. If you rush the cooling periods between buffing sessions, you risk scorching the organic fibers or melting your wax compounds prematurely.
THE CORE METHOD
1. Surface Leveling and Grain Direction
Before any shine can happen, the surface must be perfectly flat. Use your calipers to check for high spots across the material. Sand strictly with the grain to avoid "cross grain scratching," which becomes painfully visible once a high gloss is applied.
Mastery Tip: This stage relies on understanding capillary action. If you sand against the grain, you tear the microscopic tubes of the wood or leather, preventing the polishing compound from seating properly. Keeping the grain intact allows the oils to travel deep into the material fibers.
2. The First Charge
Apply a generous amount of your primary Natural Polishing Compound to a firm applicator. You want to "charge" the surface by rubbing the compound into the pores. Use a bone folder to press the compound into any stubborn areas, ensuring total saturation of the porous surface.
Mastery Tip: This is about surface tension. By filling the microscopic voids of the material with a dense compound, you create a flat plane. A flatter plane reflects light more uniformly, which the human eye perceives as a "high end shine" rather than a dull matte finish.
3. Friction Burnishing
This is where the magic happens. Using either an oscillating tool with a felt pad or a heavy canvas cloth, begin buffing the surface rapidly. The goal is to generate just enough heat to liquefy the waxes in your compound, allowing them to flow and reset into a glass like layer.
Mastery Tip: This step utilizes thermal plasticity. As the natural waxes reach their melting point through friction, they transition from a solid to a semi liquid state, filling the remaining imperfections before hardening into a durable, protective shell.
4. The Final Buff and Clear
Once the compound has set, use a clean, high ply microfiber cloth to remove any excess residue. This is a light touch phase. You are no longer trying to move material; you are simply clearing away the "haze" left behind by the carrier oils in your natural compounds.
Mastery Tip: Observe the refractive index of your piece. If the light appears "fuzzy," you still have excess oil on the surface. A truly clean buff ensures that light passes through the wax layer and hits the material beneath, creating that coveted "depth of field" look.
THE TECHNICAL LEDGER
Maintenance and Longevity: Natural finishes are "living" finishes. To maintain the shine, avoid harsh detergents. A simple buff with a dry silk cloth once a month will reactivate the natural oils. If the piece becomes dull, a light re-application of a beeswax based compound will restore the luster without requiring a full strip down.
Material Variations:
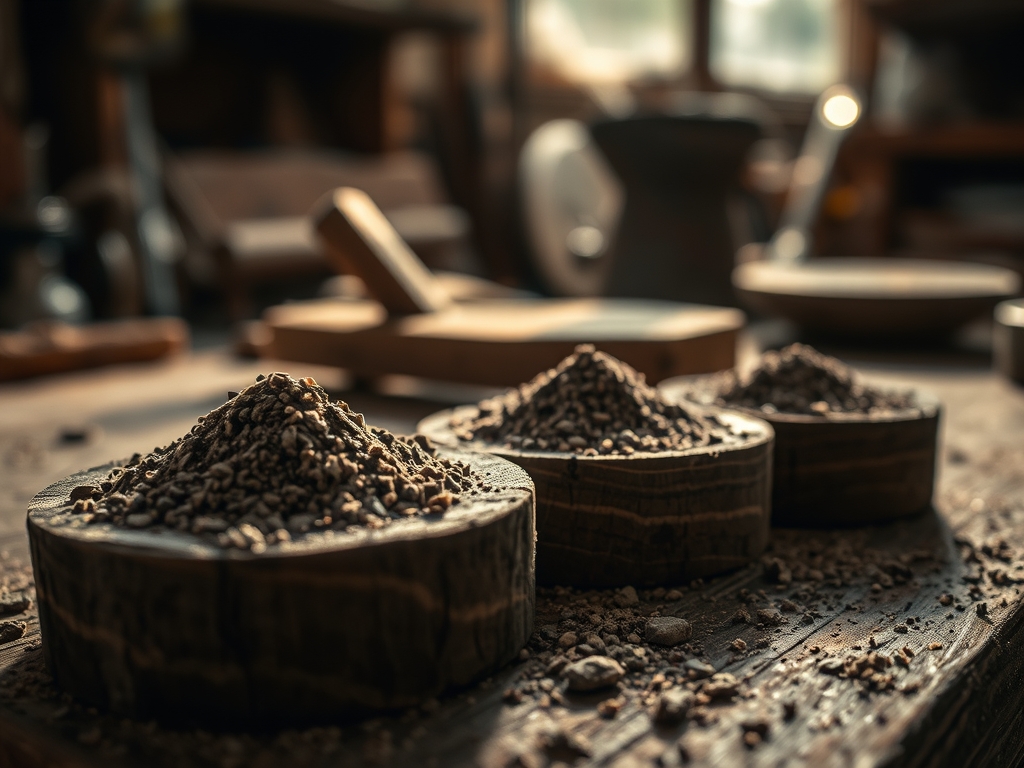
- Sustainable: Use walnut husks or crushed eggshells as a natural abrasive.
- Recycled: Reclaimed denim makes an incredible high friction buffing wheel.
- Premium: Incorporate rare essential oils like sandalwood into your wax for a multi sensory experience.
The Correction:
- The Swirl Mark: If you see circular scratches, you jumped grit sizes too fast. Go back one step and sand more thoroughly.
- The Scorched Spot: If the wood turns dark, you held the buffing tool in one place too long. Lightly sand the area and re-apply the compound with more movement.
- The Wax Build-up: If the surface feels tacky, you used too much compound. Use a dull awl to scrape excess from corners and buff vigorously with a clean cloth.
Studio Organization: Store your Natural Polishing Compounds in airtight glass jars. Organic waxes can oxidize or attract dust if left exposed, which will ruin your next project. Label each jar with the "grit equivalent" to keep your workflow efficient.
THE FINAL REVEAL
There is nothing quite like the moment you step back and see your reflection in a piece of material that started as a rough, dusty scrap. By mastering the application of Natural Polishing Compounds, you have elevated a simple object into a piece of high end art. The surface should feel cool, smooth, and incredibly dense. When you run your fingers across it, there should be zero resistance; just a pure, tactile glide. You have successfully manipulated the physics of the material to create something that looks expensive, feels professional, and smells like the forest. It is a testament to the power of patience and the right technical approach.
STUDIO QUESTIONS
What are the best natural abrasives for polishing?
Diatomaceous earth, pumice powder, and Tripoli are excellent choices. These minerals provide the necessary friction to level surfaces without the toxic additives found in synthetic rouges. They integrate perfectly with oil or wax carriers for a smooth finish.
How do I prevent my natural wax from feeling sticky?
Stickiness usually results from over application or insufficient buffing. Ensure you generate enough friction heat to melt the wax into the pores. Always finish with a clean, high ply cloth to remove unabsorbed oils from the material surface.
Can I use these compounds on metal and wood?
Yes, though the technique varies slightly. For metals, use a finer abrasive like jeweler's rouge. For wood, the goal is to saturate the fibers. Both materials benefit from the protective barrier and refractive depth provided by natural wax compounds.
How long does a natural polish last?
A well burnished natural finish can last for years if kept away from direct heat and moisture. Because it is an organic finish, it may require a quick "refresh" buff every six months to maintain its peak holographic shine.
Why is grain direction important during the polishing phase?
Polishing against the grain creates "micro-tears" that trap excess compound, leading to a cloudy appearance. Working with the grain ensures the compound fills the natural cellular structure of the material, resulting in a much clearer and more reflective surface.