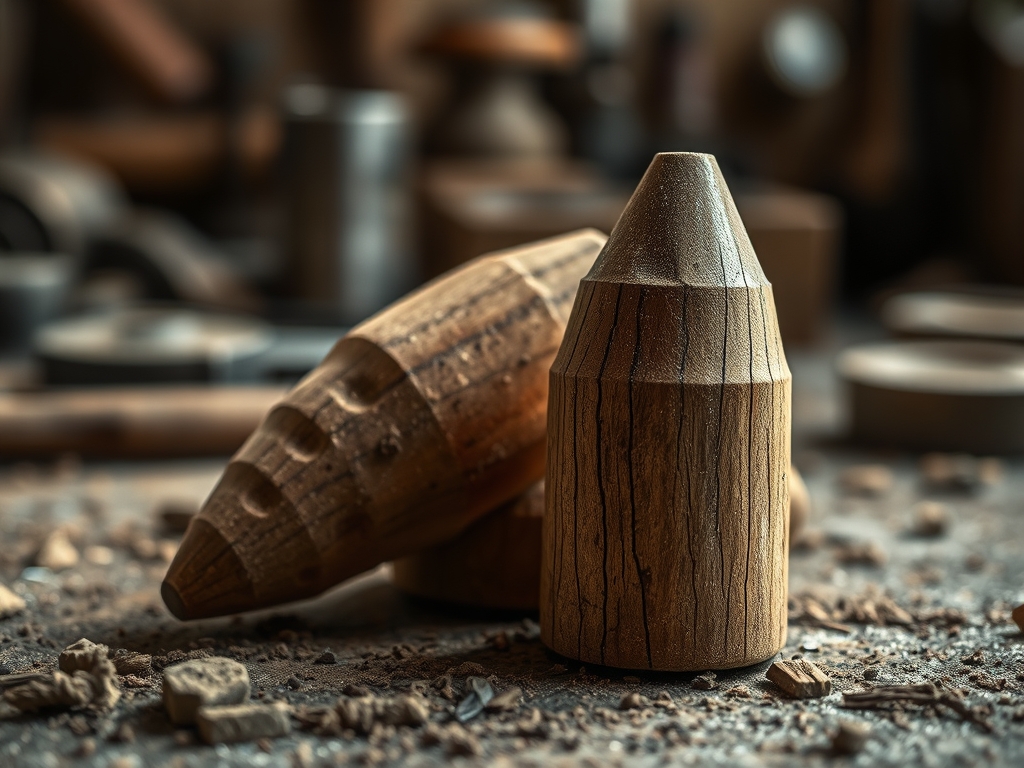
The air in the forest smells like damp earth and ancient secrets; it is a crisp, olfactory cocktail that signals the perfect moment for your first harvest. When you are out there Foraging For Birch Bark, your fingertips will tingle as they trace the horizontal lenticels of a mature Betula papyrifera. This is not just a walk in the woods; it is a high stakes search for the ultimate organic textile. You can feel the tension in the outer layers where the tree has expanded, stretching its protective skin into a papery, resilient shield. This material is a marvel of natural engineering, boasting a unique cellular structure that resists rot while remaining incredibly flexible. We are looking for that specific tactile response where the bark feels ready to yield without a fight. It is about timing, respect, and a deep understanding of the tree's biological boundaries. If you get this right, you are not just gathering supplies; you are entering a partnership with the timber, extracting a renewable resource that has been the backbone of indigenous craft for millennia.
THE STUDIO KIT
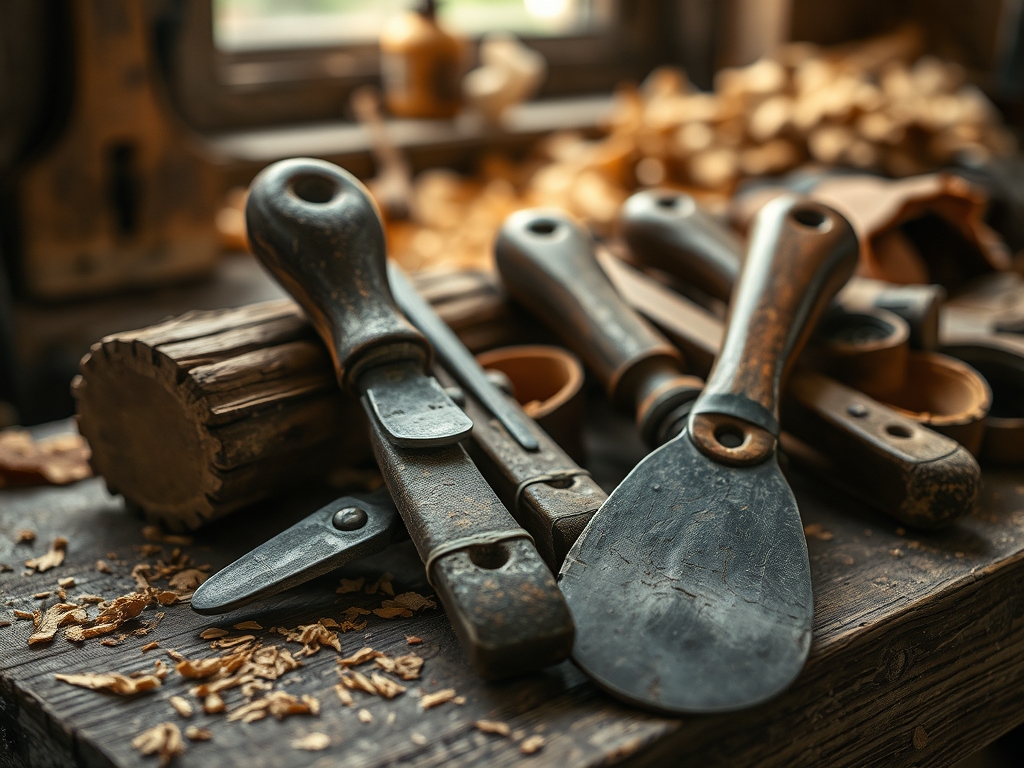
To master this harvest, your kit must be as precise as a surgeon's tray. You will need a high carbon steel fixed blade knife with a Scandi grind to ensure a clean, controlled entry into the outer periderm. A bone folder or a specialized wooden spud is essential for prying the bark away from the inner cambium without causing cellular trauma to the tree. For measurements, keep a pair of digital calipers handy; you are looking for a thickness of at least 1.5 millimeters for structural projects.
For those who cannot access live stands, Material Substitutions include high quality cork fabric or heavy gauge handmade mulberry paper. While these do not possess the same tensile strength as true birch, they offer a similar aesthetic for interior design projects. You should also carry a small spray bottle of distilled water to maintain the material's hydroscopic balance during the initial peel.
THE TEMPO
The "Maker's Rhythm" for bark harvesting is dictated by the sap flow, not your calendar. The ideal window opens during the late spring or early summer when the sap is running high, lubricating the space between the wood and the bark.
- The Scouting Phase (2-3 hours): Identifying the right tree based on age, health, and bark texture.
- The Extraction (15-30 minutes): The actual physical release of the bark.
- The Stabilization (48 hours): Pressing the bark flat to prevent curling as it loses initial moisture.
- The Curing (2 weeks): Allowing the oils to settle before you begin any burnishing or sewing.
THE CORE METHOD
1. The Ethical Selection
Before you even touch your knife, you must verify the tree's vitality. Look for a specimen with a diameter of at least ten inches. Avoid trees with heavy scarring or deep fungal growth. Mastery Tip: Check the structural integrity of the bark by performing a "test pinch." If the outer layers flake away too easily, the tree may be under drought stress, resulting in brittle fibers that will snap under the pressure of a bone folder.
2. The Vertical Score
Position your knife at the top of your intended harvest area. Apply steady, even pressure to create a single vertical incision. You must only penetrate the outer bark; do not nick the green cambium layer underneath. Mastery Tip: This relies on the physics of shear stress. By keeping your blade perpendicular to the trunk, you ensure that the force is distributed evenly across the grain, preventing jagged edges that could lead to a tear during the peeling phase.
3. The Gentle Leverage
Insert your wooden spud or bone folder into the vertical score. Slowly work the tool around the circumference of the tree, using a rocking motion to break the atmospheric seal. Mastery Tip: This stage utilizes capillary action in reverse. By introducing air into the space between the bark and the wood, you are breaking the liquid bond created by the sap. If the bark resists, stop immediately; the tree is not "primed" for harvest.
4. The Clean Release
Once you have loosened a significant portion, use both hands to peel the sheet away in one continuous motion. The bark should "pop" off with a satisfying sound. Mastery Tip: Observe the grain direction. Birch bark is unique because its strongest fibers run horizontally around the tree. When you peel, you are working against the vertical growth of the wood, which allows for a clean separation without damaging the tree's internal vascular system.
THE TECHNICAL LEDGER
Maintenance & Longevity: Birch bark contains natural betulin, which acts as a preservative. To keep your harvested sheets supple, store them in a cool, dark environment. If the bark becomes too dry, it can be rehydrated using a light steam treatment, which temporarily softens the lignin bonds and restores flexibility.
Material Variations:
- Sustainable: Only harvest from trees slated for timber removal or fallen "windfall" specimens.
- Premium: "Winter bark" harvested in late autumn is thicker and darker but requires much more heat and moisture to manipulate.
- Recycled: Scraps from the harvest can be ground down and used as a natural fire starter due to their high oil content.
The Correction:
- The Deep Cut: If you accidentally nick the wood, seal the wound with a light application of organic beeswax to prevent pest infestation.
- The Snap: If the bark cracks during peeling, it usually means the temperature is too low. Warm the area with your hands or a portable heat pack to increase elasticity.
- The Curl: If the bark rolls into a tight tube, it is reacting to a loss of internal moisture. Re-steam the piece and clamp it between two sheets of plywood immediately.
Studio Organization: Store your sheets flat, interleaved with acid free tissue paper. Use a heavy weight on top to ensure they remain dimensionally stable. Label each piece with the harvest date and the specific GPS coordinates of the tree to track the porosity and quality of different forest zones.
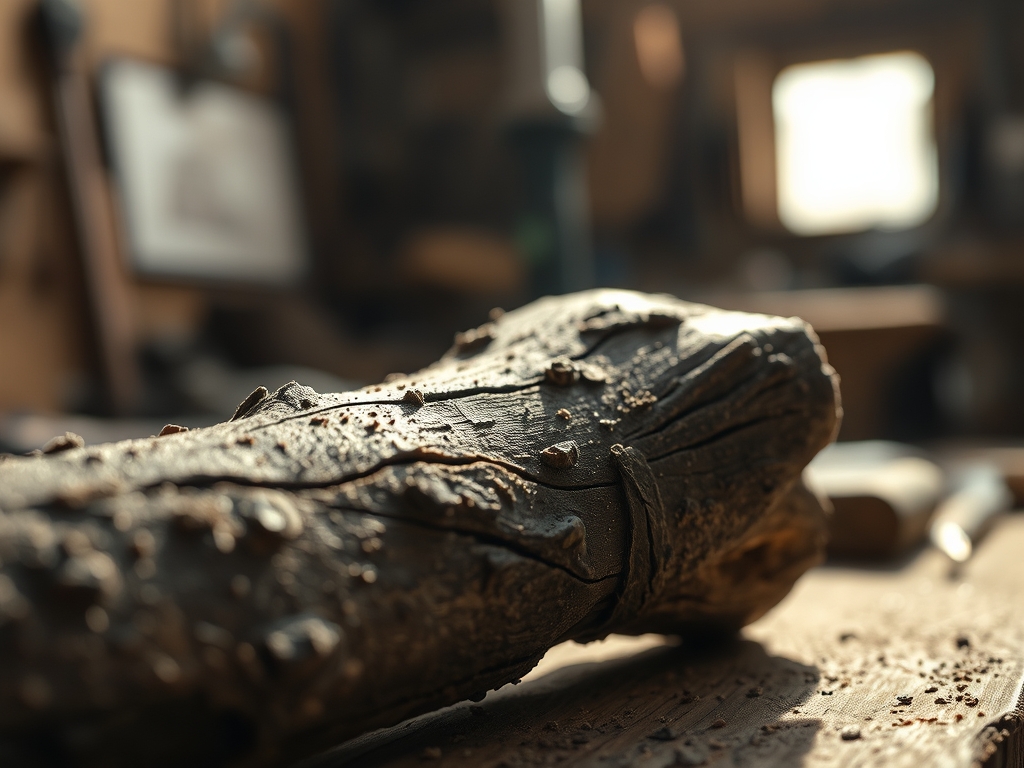
THE FINAL REVEAL
There is nothing quite like the moment you hold a fresh sheet of birch bark in your studio. It feels alive; a supple, leathery expanse that carries the texture of the wild. The surface is a map of the tree's life, dotted with dark lenticels and shimmering with a natural, waxy sheen. When you run your hand over it, the material feels warm and surprisingly dense. You have successfully transitioned a piece of the forest into a high performance crafting medium. Whether you turn this into a ply for a traditional container or use a rotary cutter to create delicate veneers, the result is a testament to your technical skill and your respect for the environment.
STUDIO QUESTIONS
Can I harvest bark at any time of year?
No, the best time is late spring or early summer. During this window, the sap acts as a natural lubricant, allowing the bark to release easily without damaging the tree's internal cambium layer.
Will the tree die after I take the bark?
If you only remove the outer bark and avoid the green inner layer, the tree will survive. The area will eventually develop a dark, protective "scar" bark, though it will never produce white bark again.
What tools are best for beginners?
Start with a sharp, high carbon steel knife and a smooth wooden wedge. Using an ergonomic handle will help you maintain the consistent pressure needed for a clean, vertical score without slipping.
How do I make the bark flexible again?
Soak the bark in warm water or use a garment steamer. The heat and moisture soften the lignin within the fibers, allowing you to bend and shape the material without it snapping or splintering.
What is the best way to clean harvested bark?
Use a soft bristle brush and plain water to remove loose moss or dirt. Avoid harsh chemicals, as they can strip the natural oils that provide the bark with its incredible tensile strength and rot resistance.