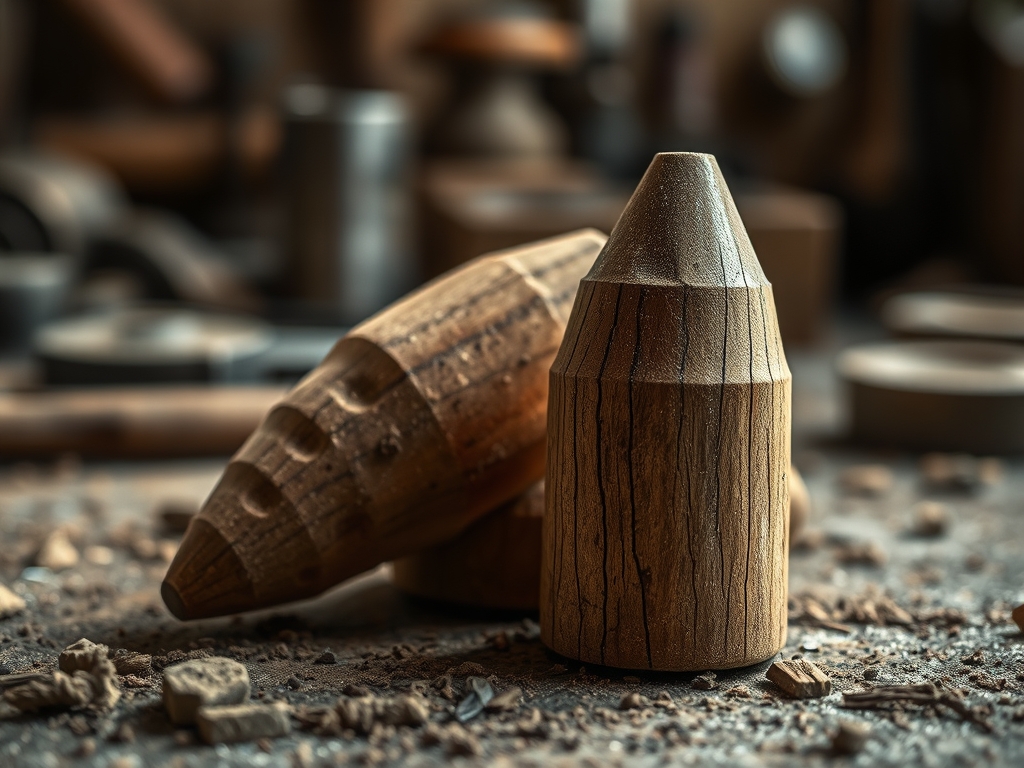
Imagine the scent of a crisp mountain morning mixed with the sharp, medicinal tang of fresh turpentine. That is the smell of a project that actually works. When you are out in the woods, your eyes should be scanning for those amber teardrops clinging to the bark of a coniferous giant. Foraging For Pine Resin is not just a walk in the park; it is a tactical hunt for the ultimate natural polymer. You are looking for those hardened, golden nodules where a tree has healed its own wounds. When you touch them, they are tacky and stubborn, possessing a high molecular weight that makes them the perfect candidate for a DIY waterproof sealant. This isn't just sticky sap. It is a complex mixture of terpenes and resin acids that, once processed, can withstand the elements better than some synthetic silicones. We are talking about a material that has protected timber for millennia. Feel that grit under your fingernails? That is the raw potential of a forest-derived adhesive ready to be tamed in your studio.
THE STUDIO KIT

To transform these forest scraps into a high-performance sealant, your workbench needs to look like a cross between a chemistry lab and a medieval workshop. You will need a double boiler setup to manage heat distribution safely; pine resin is highly flammable and has a low flash point. Grab a fine-mesh stainless steel strainer to filter out bark and needles. For the structural additive, you need finely crushed charcoal or sawdust to act as a binder, increasing the tensile strength of the final mixture.
For precision work, keep a set of calipers nearby to measure the thickness of your application layers. You will also need a sturdy palette knife for mixing and a small spirit lamp if you need to perform localized heat treatments to smooth out the surface. If you cannot find raw resin, a great material substitution is high-grade rosin powder mixed with a small amount of linseed oil to restore flexibility. For the applicator, a stiff-bristled brush or even a bone folder can help you burnish the sealant into porous grain directions.
THE TEMPO
The "Maker's Rhythm" for this project is all about patience and thermal control. You cannot rush a polymer transition. Expect to spend about two hours on the initial foraging and cleaning phase. The melting and filtration process takes roughly forty-five minutes of active monitoring. Once the resin is liquefied and combined with your additives, you have a "working window" of about ten minutes before the viscosity increases as it cools.
Curing is the longest phase. While the sealant will feel hard to the touch within an hour, it takes a full twenty-four hours for the volatile oils to evaporate and the chemical bonds to stabilize. This is a slow-burn project. You are working with the heartbeat of the tree, so respect the time it takes for the molecules to settle into their new, waterproof lattice.
THE CORE METHOD
1. The Thermal Liquefaction
Place your raw, foraged resin into the top of the double boiler. Apply consistent, indirect heat. As the temperature rises, the solid chunks will undergo a phase change, turning into a thick, honey-like liquid. Use your palette knife to stir gently, ensuring even heat distribution without incorporating too many air bubbles.
Mastery Tip: Watch for the "viscosity shift." If the resin gets too hot, it will begin to smoke, which indicates the degradation of the beneficial terpenes. Keep the temperature just high enough to maintain a fluid state, utilizing the latent heat of the water bath to prevent scorching.
2. Filtration and Purification
Once fully melted, pour the liquid resin through your fine-mesh strainer into a clean metal container. This removes the organic debris like bark and insects that would otherwise create weak points in your sealant's structural integrity.
Mastery Tip: This step relies on capillary action within the mesh. If the resin cools too quickly and clogs the filter, use a heat gun to gently warm the mesh. Pure resin ensures a consistent molecular density, which is vital for a uniform waterproof barrier.
3. Incorporating the Binder
Slowly fold in your crushed charcoal or fine sawdust. The ratio is usually four parts resin to one part binder. This additive acts as a reinforcing agent, preventing the resin from becoming too brittle once it dries. It turns a simple coating into a durable composite material.
Mastery Tip: The binder increases the internal friction of the mixture. This prevents the sealant from sagging or running when applied to vertical surfaces. It essentially creates a microscopic scaffolding that holds the resin in place while it cures.
4. Application and Burnishing
Apply the warm sealant to your target surface using a brush or palette knife. For wood, follow the grain direction to ensure the resin penetrates the porous tracheids. Once applied, use a bone folder or a smooth stone to burnish the surface while it is still slightly tacky.
Mastery Tip: Burnishing collapses any remaining air pockets and flattens the surface profile. This reduces the surface area available for water droplets to cling to, effectively increasing the hydrophobicity of your seal through mechanical compaction.
THE TECHNICAL LEDGER
Maintenance & Longevity: This natural sealant is incredibly hardy but can become brittle over years of UV exposure. To maintain it, simply apply a light coat of linseed oil every season to replenish the plasticizing agents. If a crack appears, a quick pass with a heat gun will reflow the resin and "heal" the gap.
Material Variations: For a "Premium" version, add a small amount of beeswax to the mix; this increases flexibility and creates a smoother finish. For a "Sustainable" approach, use recycled charcoal from a previous campfire as your binder.
The Correction:
- The Brittle Break: If the sealant cracks easily, you didn't add enough binder or oil. Fix: Re-melt the surface and stir in a teaspoon of vegetable oil.
- The Sticky Mess: If it stays tacky for days, the resin was too fresh. Fix: Dust the surface with fine charcoal powder to neutralize the surface energy.
- The Bubble Burst: If you see bubbles, you stirred too vigorously. Fix: Use a torch to lightly "flash" the surface, which pops the bubbles and levels the finish.
Studio Organization: Store your leftover resin in silicone molds or parchment paper. Once cooled, it becomes a solid brick that is shelf-stable for years. Keep it in a cool, dark drawer to prevent the "cold flow" effect where the resin slowly deforms under its own weight over time.
THE FINAL REVEAL
There is nothing quite like the satisfaction of watching water bead up and roll off a surface you sealed yourself using the literal blood of the forest. The finish is a deep, rich amber that highlights the natural beauty of whatever material it protects. It feels rugged, ancient, and technologically superior all at once. You have taken raw, sticky forest debris and engineered it into a high-performance barrier. It is tactile, it is aromatic, and it is a testament to your skills as a maker. Go ahead, splash some water on it. See that? That is the power of science and a little bit of forest magic working in perfect harmony.
STUDIO QUESTIONS
What trees are best for resin?
Pines, firs, and spruces are the top producers. Look for "fatwood" or visible "pitch" on the bark. These species produce high volumes of resin acids which are essential for creating a durable, long-lasting waterproof barrier.
Is pine resin sealant permanent?
It is highly durable but technically reversible with heat. While it can last for decades on protected surfaces, outdoor applications may require a "refresher" coat every few years to maintain optimal hydrophobicity and structural integrity against UV rays.
Can I use this on fabric?
Yes, this is the basis for traditional oilcloth. However, you must increase the oil-to-resin ratio to ensure the fabric remains pliable. Without extra oil, the resin will crack when the fabric is folded or manipulated.
Is the smoke dangerous?
Pine resin vapors are generally non-toxic but can be irritating to the respiratory system in high concentrations. Always work in a well-ventilated studio and avoid reaching the flash point where the resin begins to actively combust.
How do I clean my tools?
Since resin is not water-soluble, you must use a solvent like turpentine or high-percentage isopropyl alcohol. Alternatively, heat the tools and wipe them clean with a rag while the resin is still in its liquid phase.