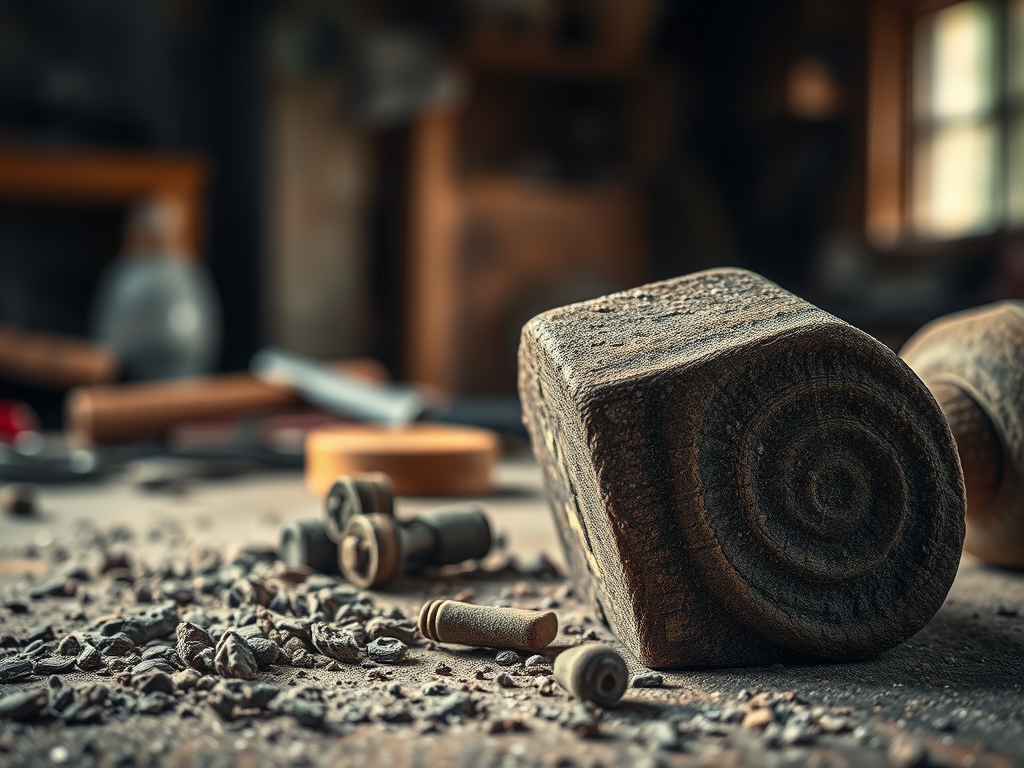
Listen to that. That crisp, rhythmic snap of the shears meeting heavy canvas is better than any morning espresso. My studio is a sanctuary of sensory input where every fiber has a job to do. I have discovered that Healing The Body Through Craft is not just a poetic sentiment; it is a literal physiological recalibration. When I am standing at my workbench, my heart rate synchronizes with the steady motion of the mallet. My grip strength improves as I manipulate high-density materials, and my posture naturally aligns to accommodate the leverage needed for a clean cut. There is a specific kind of physical intelligence that develops when you stop looking at a project as a chore and start seeing it as a mechanical dialogue between your muscles and the medium. We are not just making things here; we are conditioning our nervous systems through the beautiful, stubborn resistance of raw materials.
THE STUDIO KIT
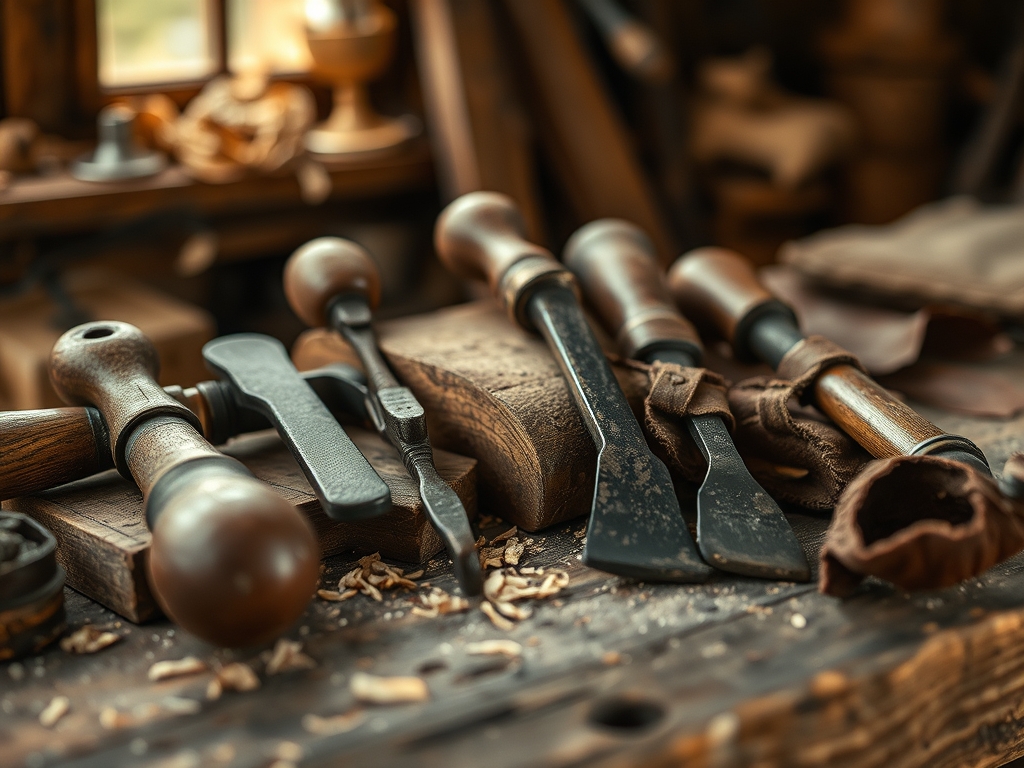
To master the rhythm of the shop, you need tools that act as extensions of your own skeletal structure. I rely on a high-carbon steel rotary cutter for precision; its blade must maintain a razor edge to prevent jagged edges on tight-weave fabrics. For structural assembly, a heavy-duty awl is indispensable for piercing through multiple layers of leather or heavy denim. I also keep a pair of digital calipers on hand to measure the gauge of my materials down to the millimeter. Consistency is the secret to structural integrity.
The materials themselves are a masterclass in physics. I prefer working with vegetable-tanned leather or heavyweight waxed canvas because of their high tensile strength. These materials require a physical commitment to shape, providing a low-impact resistance workout for your forearms. If you are looking for Material Substitutions, you can swap the leather for a high-density recycled polyester webbing or a cork fabric. While cork has a lower tear resistance, it offers a fascinating tactile experience and is incredibly lightweight, which changes the ergonomic load on your wrists during long assembly sessions.
THE TEMPO
The "Maker's Rhythm" is a temporal dance that prevents burnout and optimizes muscle memory. I break my sessions into three distinct phases. Phase one is the Preparation Pulse, which takes about forty-five minutes. This involves measuring, marking, and checking the grain direction of the material. Cutting against the grain can compromise the structural integrity of the final piece, so this phase requires intense focus and steady breathing.
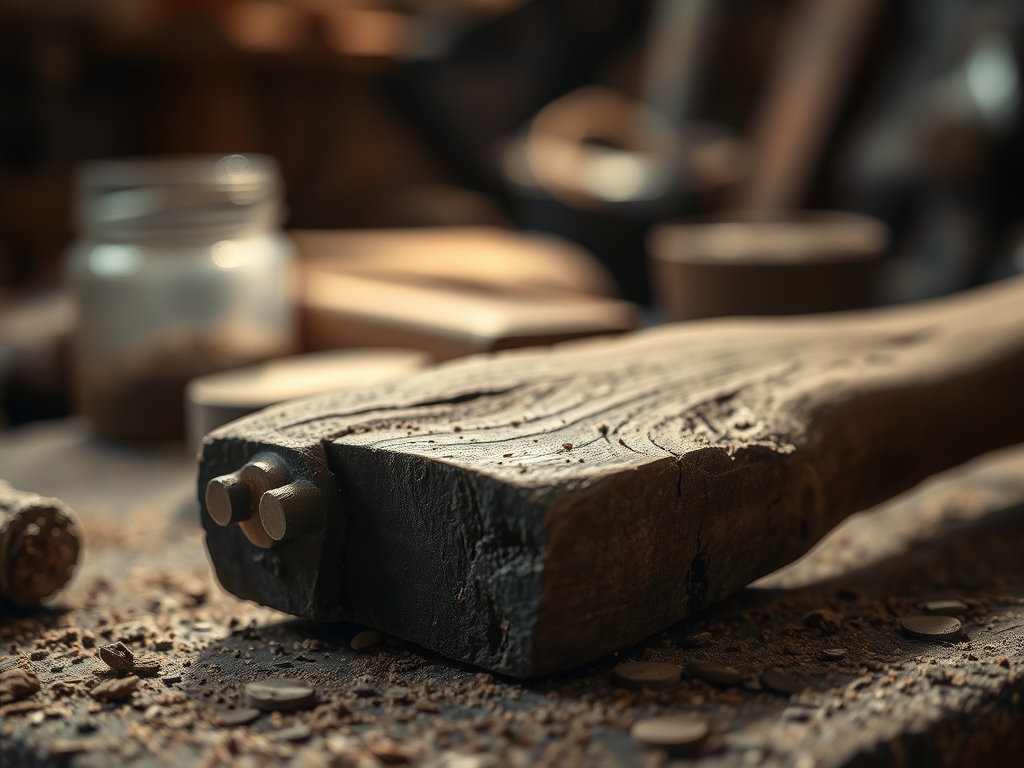
Phase two is the Active Assembly, the longest stretch lasting two to three hours. This is where the real physical work happens. Whether you are using a bone folder to create crisp creases or a mallet to set rivets, this phase relies on repetitive, controlled movements. Finally, we enter the Refinement Flow for sixty minutes. This is the "cool down" where we burnish edges and perform final quality checks. By sticking to this tempo, you ensure that your body stays limber and your mind stays sharp, avoiding the fatigue that leads to sloppy mistakes.
THE CORE METHOD
1. Mapping the Tension
Before making a single cut, you must understand how the material will behave under stress. Lay your material flat on a self-healing mat and use your calipers to check for thickness variations. Tensile strength varies across a hide or a bolt of fabric; the center is usually the most stable. By mapping the tension points, you ensure the finished product will not warp over time.
Mastery Tip: Always align your primary stress points with the longitudinal grain. This utilizes the natural alignment of the fibers to resist stretching, ensuring the piece maintains its dimensions even after years of heavy use.
2. The Precision Incision
Using your rotary cutter, apply even downward pressure through the center of the tool. Do not just use your wrist; lock your elbow and move your entire upper body. This ergonomic approach transfers the power from your core to the blade, resulting in a cleaner edge and less joint strain. Observe the alignment in the step-by-step photos below to see how the blade stays perpendicular to the mat.
Mastery Tip: This technique utilizes mechanical advantage. By using your body weight rather than small muscle groups, you increase the force distribution across the blade, which prevents the material from bunching or shifting during the stroke.
3. Creating the Pilot Holes
When working with dense materials, you cannot force a needle through. Use your awl to create pilot holes. Space them precisely using a stitching pony to hold the work steady. This allows you to use a saddle stitch, which is the gold standard for durability. Each hole should be angled slightly to allow the thread to lock into place.
Mastery Tip: This process relies on capillary action when you later apply wax or oils to the thread. The pilot hole creates a channel that allows the sealant to penetrate deep into the fibers, creating a waterproof and friction-resistant bond.
4. The Final Burnish
Once the stitching is complete, the edges will be raw. Use a wooden slicker and a small amount of friction to burnish the edges. The heat generated by the friction melts the natural fibers and any applied waxes together, creating a smooth, glass-like finish that protects the material from moisture.
Mastery Tip: This is a matter of thermodynamics. The kinetic energy from your arm is converted into thermal energy, which reorganizes the molecular structure of the edge fibers. This creates a rounded, hardened surface that significantly increases the longevity of the piece.
THE TECHNICAL LEDGER
Maintenance & Longevity
To keep your tools in peak condition, wipe down all steel surfaces with a light coat of camellia oil after every session. This prevents oxidation and ensures that your jeweler's saw or shears glide through material without resistance. For the materials, a biannual application of a pH-neutral conditioner will keep fibers supple and prevent cracking.
Material Variations
- Sustainable: Organic hemp canvas offers incredible porosity and breathability.
- Recycled: Repurposed fire hoses provide unmatched abrasion resistance.
- Premium: Full-grain Italian calfskin offers the most refined tactile feedback and a superior patina over time.
The Correction
- The Mistake: Ragged edges when cutting. The Fix: Your blade has lost its honing. Use a whetstone to reset the bevel to a twenty-degree angle.
- The Mistake: Thread snapping during assembly. The Fix: You are using too much tension. Decrease the pull force and ensure you are using a bonded nylon or waxed linen thread.
- The Mistake: Material warping. The Fix: You ignored the grain direction. Disassemble and re-cut the pieces, ensuring the grain runs parallel to the longest edge.
Studio Organization
Store your materials in a climate-controlled environment with a steady humidity level of 45 percent. Use vertical racks for rolls of fabric to prevent pressure flatting of the fibers. Small hardware like rivets and buckles should be stored in anti-tarnish containers to maintain their finish.
THE FINAL REVEAL
There is nothing quite like the moment you hold the finished piece and feel the weight of your own labor. It is solid, balanced, and perfectly tuned to the physics of its purpose. My heart is pumping, my hands feel strong, and that mental fog has completely evaporated. When you engage in this level of craft, you aren't just making an object; you are reinforcing your own physical and mental architecture. The shop doesn't just keep me fit; it keeps me whole.
STUDIO QUESTIONS
Why does my grip feel tired after cutting?
You are likely relying on wrist flexion rather than using your shoulder and core. Focus on ergonomic positioning by locking your wrist and moving your entire arm from the shoulder to distribute the mechanical load more efficiently.
What is the best way to prevent material rot?
Ensure your studio has proper airflow and maintain a consistent moisture barrier. Applying a high-quality beeswax or synthetic sealant to the edges and surfaces will prevent moisture from penetrating the porous fibers of your project.
Can I use a regular sewing machine for heavy canvas?
Standard machines lack the torque required for high-density weaves. You need an industrial machine with a walking foot to maintain consistent feed rates and prevent the needle from deflecting or snapping under the intense physical resistance.
How do I know if my tools are sharp enough?
Perform a draw test on a scrap piece of the same material. If the tool drags or requires multiple passes to penetrate the surface tension, it is time to strop the blade or replace it entirely to ensure safety.