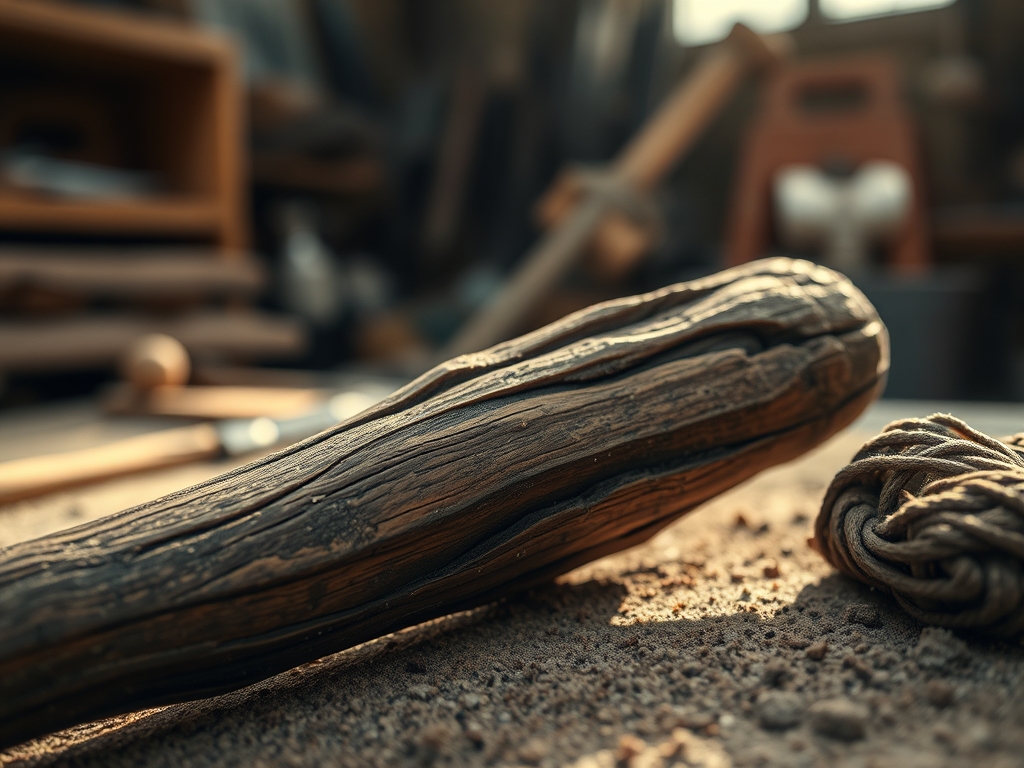
Run your fingertips across that raw timber surface and you will feel the microscopic landscape of open grain and thirsty cellulose fibers. It is a tactile conversation between your hands and the organic history of the tree. When you spend hours turning a vessel, the last thing you want is a chemical film that masks the wood's soul or leaches toxins into your salad. That is why we are crafting a bespoke Natural Wood Finishing Oil today. We are looking for more than just a shine; we are seeking a deep, molecular bond that stabilizes the wood while keeping it food-safe. This process involves understanding the porous nature of different species, from the tight vessels of maple to the cavernous pores of red oak. We are going to blend chemistry with craft to ensure your bowls are not just beautiful, but biologically inert and incredibly durable. Let's dive into the studio and get our hands into the science of saturation.
THE STUDIO KIT
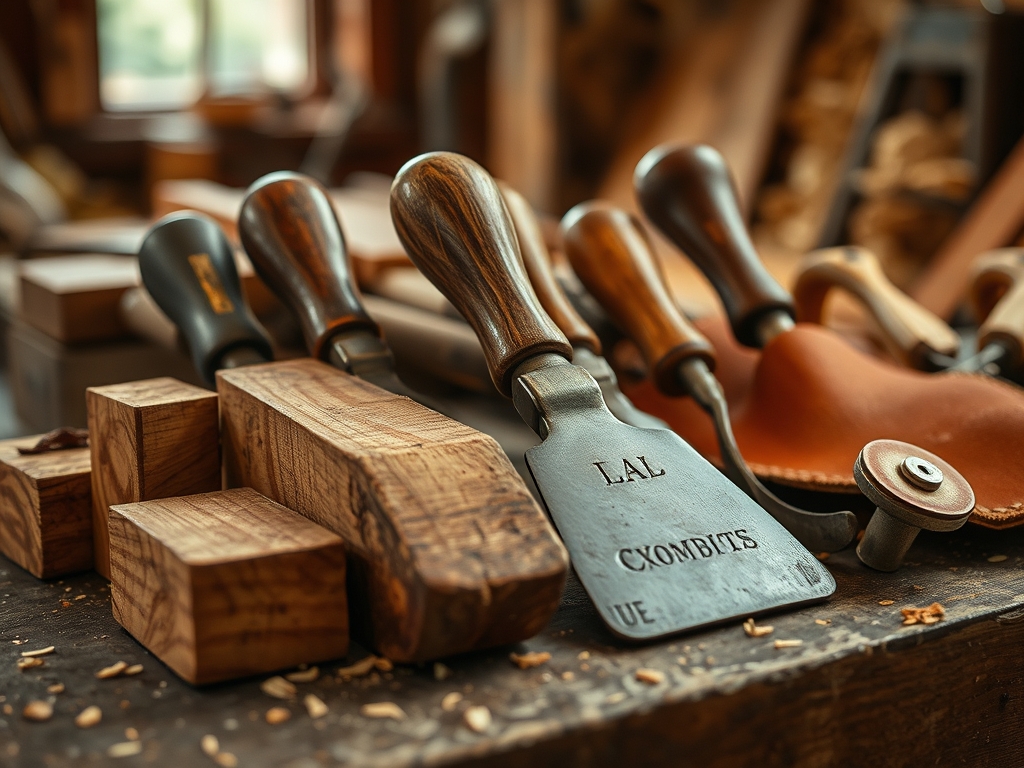
To master this finish, you need a kit that respects the structural integrity of the wood. We are moving beyond hardware store "mystery oils" and into pure, high-viscosity ingredients. You will need a digital scale to measure by mass rather than volume for perfect repeatability. Grab a stainless steel double boiler; we need to gently agitate the molecules without hitting the flash point of the oils. Your primary ingredient is pure, food-grade linseed oil or walnut oil. These are drying oils, meaning they undergo a chemical reaction called polymerization when exposed to oxygen, turning from a liquid to a solid film within the wood fibers.
You also need cosmetic-grade yellow beeswax. This acts as a moisture barrier and provides the "grip" for a comfortable, ergonomic hold. For tools, keep a stack of lint-free microfiber cloths and a high-grit abrasive (think 400 to 600 grit) nearby. If you want to get fancy, a digital infrared thermometer helps monitor the temperature of the wax melt to ensure you do not degrade the fatty acids.
Material Substitutions: If you have a nut allergy, swap walnut oil for fractionated coconut oil, though keep in mind that coconut oil is a non-drying oil and will require more frequent re-application. Instead of beeswax, you can use Candelilla wax for a vegan alternative; it has a higher melting point and provides a slightly harder, more brittle finish that burnishes to a high gloss.
THE TEMPO
The "Maker's Rhythm" for oil finishing is a test of patience versus physics. You cannot rush the capillary action that draws the oil deep into the heartwood.
- The Preparation (20 Minutes): Measuring and melting your wax-to-oil ratio. This is the quick, aromatic phase where the studio starts smelling like a honey farm.
- The Initial Saturation (1 Hour): Applying the first heavy coat and letting the wood "drink." You will notice certain areas of the grain (the end grain especially) suck up the oil instantly due to the exposed vertical tubes of the xylem.
- The Curing Interval (24 to 48 Hours): This is the silent phase. The oxygen in the room begins the oxidative polymerization process.
- The Final Burnish (15 Minutes): The high-energy muscle work where you buff the surface to a silky, friction-heated glow.
THE CORE METHOD
1. The Molecular Melt
Begin by heating your oil in the double boiler and slowly adding the beeswax pellets. Use a ratio of four parts oil to one part wax for a soft, buttery salve. As the heat rises, the wax esters break down and intermingle with the oil's long-chain fatty acids.
Mastery Tip: Keep the temperature below 145 degrees Fahrenheit. Excessive heat can cause the oil to go rancid prematurely or darken the wax, which affects the chromatic clarity of the wood's natural color.
2. Grain Hydration and Flood Coating
Apply the warm mixture generously using a lint-free cloth. Do not just wipe it on; flood the surface. Focus heavily on the end grain, which acts like a bundle of straws. You want the oil to penetrate deep into the cellular structure to displace any residual air or moisture.
Mastery Tip: This utilizes surface tension to create a uniform layer. If you see "dry spots" appearing within ten minutes, the wood is telling you its internal vacuum isn't full yet. Keep applying until the surface remains wet.
3. The Progressive Abrasion
While the oil is still wet, take your 600-grit sandpaper and lightly sand the bowl. This creates a "slurry" of fine wood dust and oil that fills the microscopic voids in the grain. This technique is used by master luthiers to create a surface that feels like polished stone.
Mastery Tip: This process increases the surface density of the bowl. By filling the pores with a mix of wood fiber and hardening oil, you create a barrier that prevents food particles from becoming trapped in the grain later.
4. The Curing Rest
Wipe away every bit of excess oil until the wood looks matte. If you leave a thick layer on the surface, it will become tacky and "gum up" as it reacts with oxygen. Place the bowl in a dust-free area with good airflow.
Mastery Tip: Airflow is the catalyst here. The polymerization of drying oils is an exothermic reaction that requires oxygen. Without fresh air, the oil stays liquid inside the wood, leading to a "weeping" finish weeks later.
5. The Friction Burnish
Once the bowl is dry to the touch, use a clean, dry cloth or a buffing wheel to rub the surface vigorously. The heat generated by the friction softens the wax slightly, allowing it to lay flat and reflect light uniformly.
Mastery Tip: This is where you achieve tactile perfection. The burnishing process aligns the wax molecules into a microscopic shield, increasing the water-repellency of the piece through sheer physical alignment.
THE TECHNICAL LEDGER
Maintenance & Longevity: A natural finish is a living finish. Every six months, or when the wood starts to look "thirsty" (grayish or dull), re-apply a thin layer of your homemade salve. Avoid harsh detergents; a simple wipe with warm, soapy water is all the tensile strength of this finish needs to stay intact.
Material Variations:
- Sustainable: Use locally sourced beeswax and organic cold-pressed walnut oil.
- Premium: Infuse the oil with food-safe citrus solvent (d-Limonene) to increase penetration depth and add a fresh scent.
- Recycled: If you are refinishing an old thrifted bowl, use a cabinet scraper to remove the old flaky finish before applying your new oil.
The Correction:
- The Sticky Surface: If the bowl feels tacky, you left too much oil on. Fix it by wiping the surface with a small amount of fresh oil to "re-liquefy" the dried top layer, then buff it off immediately.
- The "Bleeding" Grain: If oil leaks out of the pores days later, the room was too cold for curing. Move the piece to a warmer, well-ventilated area.
- The Dull Patch: Usually caused by uneven sanding. Re-sand that specific area to a higher gauge and re-apply the oil.
Studio Organization: Store your leftover oil-wax blend in a wide-mouth amber glass jar. The amber glass blocks UV rays that can cause the oil to oxidize and go rancid. Label it with the date and the specific oil-to-wax ratio used for future consistency.
THE FINAL REVEAL
Look at that glow! Your bowl now possesses a deep, holographic quality where the light seems to bounce off the internal grain structures rather than just sitting on top of a plastic film. It feels warm to the touch, smelling faintly of honey and toasted nuts. Because you used a Natural Wood Finishing Oil, this piece is now a functional heirloom. It is safe for hot soups, fresh fruits, and heavy use. You have successfully navigated the physics of wood porosity and the chemistry of drying oils to create something that is as scientifically sound as it is beautiful.
STUDIO QUESTIONS
Is mineral oil better than walnut oil?
Mineral oil is a non-drying petroleum product that never hardens. While safe, it requires much more frequent maintenance than walnut oil, which undergoes oxidative polymerization to create a permanent, hardened solid within the wood fibers for superior long-term protection.
How do I know if my oil is food safe?
Look for "Pure" or "Grade A" labels. Avoid "Boiled Linseed Oil" from hardware stores, as it often contains metallic driers like cobalt or manganese to speed up drying. These additives are toxic and not suitable for surfaces touching food.
Can I use olive oil for my bowls?
Avoid olive oil and vegetable oils. They are non-drying and lack the chemical structure to polymerize. Over time, these oils will go rancid inside the wood pores, creating unpleasant odors and potentially harboring bacteria within the porous grain.
Why did my bowl turn yellow after oiling?
This is a natural result of the refractive index of the oil and the tannins in the wood. Most natural oils have a slight amber tint that enhances the warmth of the timber. For a whiter look, use a highly refined poppyseed oil.