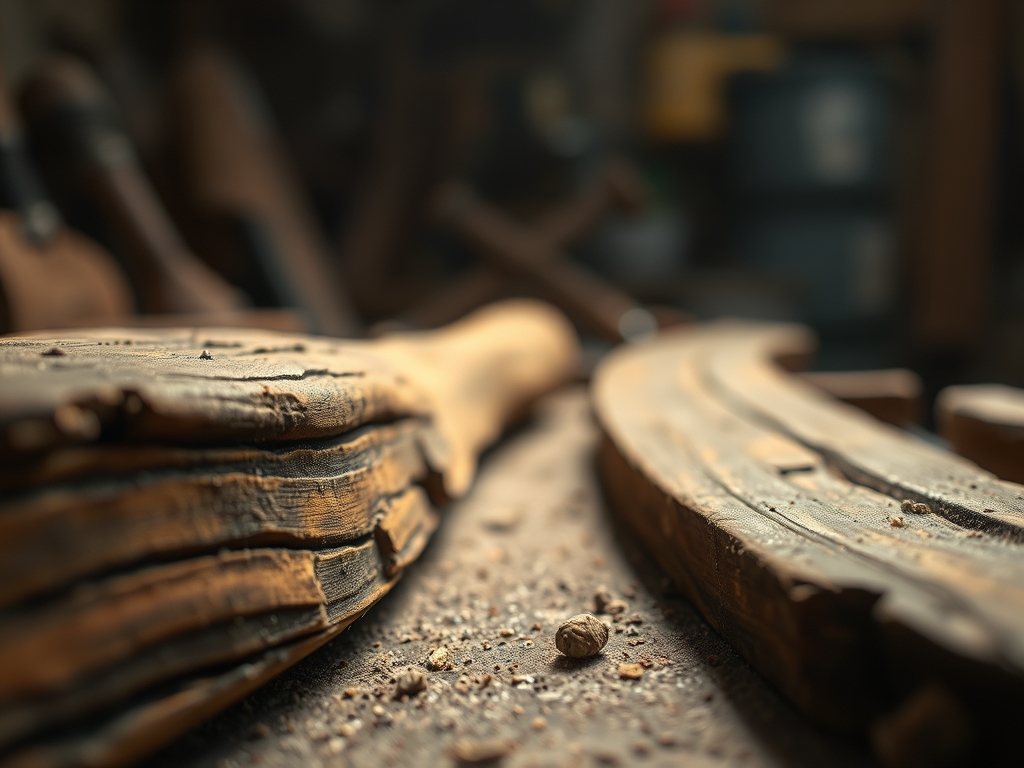
The snap of a dry twig under my boot is the first signal that the laboratory is open for business. I am standing in the humid, leaf-littered expanse of my backyard, but I am not just hiking; I am Foraging For Dye Plants to unlock a spectrum of hidden chemistry. The air smells of damp cellulose and decomposing lignin. When you grasp a handful of black walnut hulls, you feel the oily, porous texture of juglone, a natural phenol that bonds to protein fibers with incredible tenacity. This is not just gardening. It is a high-stakes hunt for lightfast pigments tucked away in the vascular systems of weeds and bark. We are looking for the precise moment when the sap flow provides the highest concentration of flavonoids and tannins. It is a tactile rush to realize that the drab, grey-brown woods are actually vibrating with potential energy and neon possibilities. We are going to strip away the camouflage of the forest and distill it into liquid gold.
THE STUDIO KIT
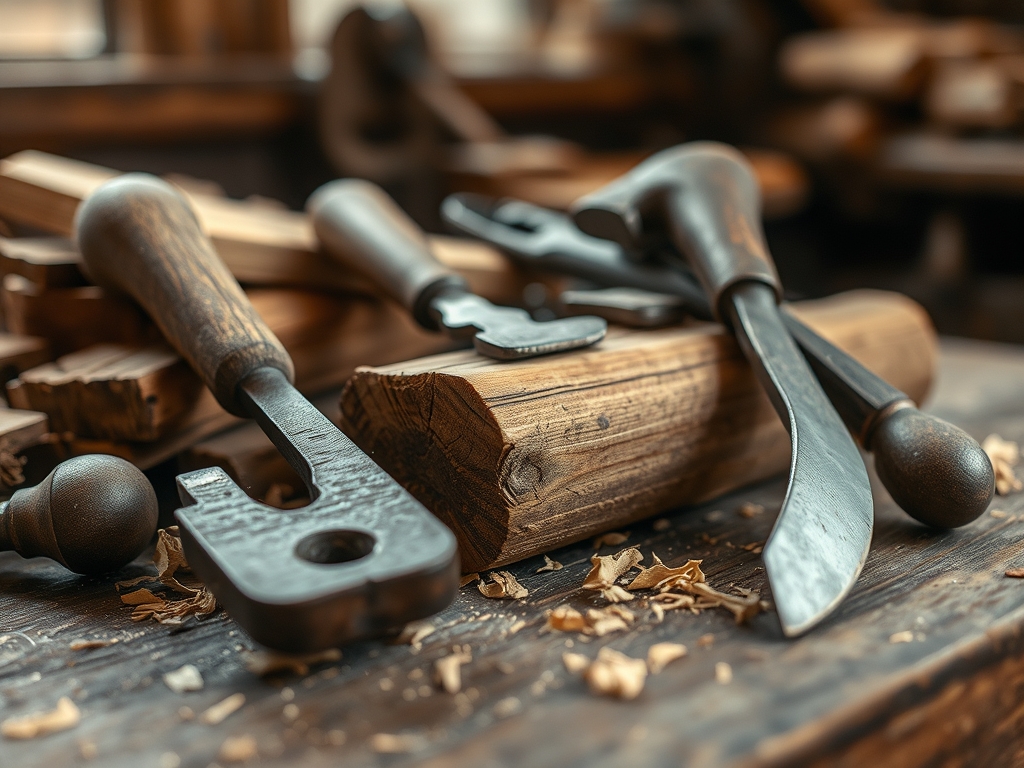
To transform raw biomass into a stable pigment, you need a kit that respects the structural integrity of the plant material. First, grab a pair of ergonomic bypass shears to ensure clean cuts that do not crush the xylem and phloem vessels. For tougher bark, a jeweler's saw or a small oscillating tool allows you to harvest specific sections without damaging the heartwood of the tree. You will also need a digital scale with a 0.1-gram resolution to calculate the weight-of-fiber (WOF) ratio. This ensures your dye bath has the correct molecular density to saturate your substrate.
For the extraction process, stainless steel pots are non-negotiable because they are non-reactive; copper or iron pots will act as accidental mordants and shift your color profile toward the darker, "saddened" end of the spectrum. You will also need fine-mesh strainers and cheesecloth to filter out the particulate matter.
Material Substitutions: If you cannot find silk or wool, use high-thread-count cotton, but remember that cellulose fibers require a tannin pre-treatment to increase their affinity for the dye. If you lack a professional pH meter, use red cabbage juice as a biological indicator to test the acidity of your water, as the pH level directly dictates the solubility of the pigment molecules.
THE TEMPO
The "Maker's Rhythm" in natural dyeing is a slow-burn exercise in thermal dynamics. You cannot rush the breakdown of cell walls. The foraging phase takes about sixty minutes of active scouting. Once you have your materials, the extraction phase requires two to four hours of simmering. This is the period where the kinetic energy of the boiling water breaks the hydrogen bonds holding the pigment within the plant's vacuoles.
After extraction, the cooling phase is vital. Letting the dye bath sit overnight allows for a deeper molecular settling, often resulting in a more complex color profile. The actual dyeing of the fabric takes another two hours of submerged simmering, followed by a twenty-four-hour curing period. In total, expect a forty-eight-hour cycle from forest floor to finished textile. It is a rhythmic, meditative process that rewards the patient technician.
THE CORE METHOD
1. Biomass Preparation and Maceration
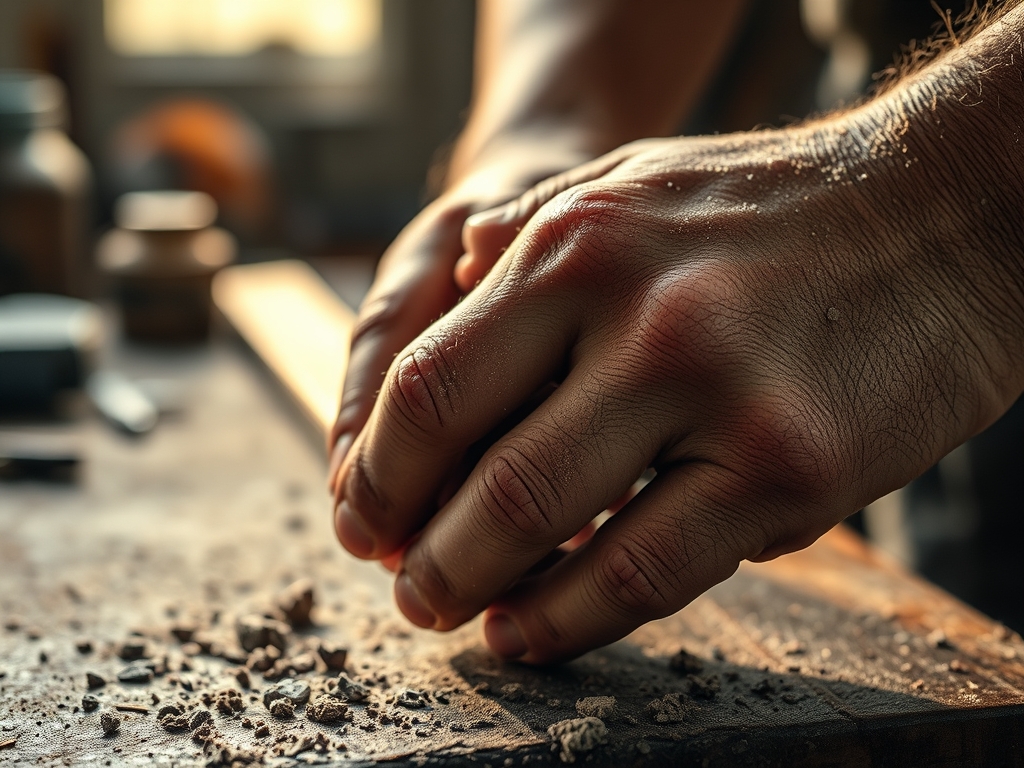
Start by breaking down your foraged finds to increase the surface area. Use a heavy-duty mallet to bruise berries or a rotary cutter to shred leaves into uniform strips. For bark, use a draw knife to shave thin layers. Increasing the surface-area-to-volume ratio allows the solvent (water) to penetrate the cellular matrix more efficiently.
Mastery Tip: This process relies on capillary action. By breaking the rigid cell walls, you allow water to infiltrate the microscopic pores of the plant material, which facilitates the outward diffusion of the pigment molecules into the solution.
2. The Scouring and Mordanting Phase
Before the fabric hits the pot, it must be scoured to remove industrial oils or natural waxes. Simmer your textile in a solution of soda ash. Once clean, apply a mordant like Alum (Potassium Aluminum Sulfate). The mordant acts as a chemical bridge, using metallic ions to create a permanent bond between the fiber and the dye.
Mastery Tip: The science here is all about ionic bonding. The metal ions in the mordant attach to the molecular chains of the fiber, creating "hooks" that the dye molecules can latch onto, ensuring the color does not wash out during subsequent laundering.
3. Thermal Pigment Extraction
Place your prepared plant material in the stainless steel pot and cover with distilled water. Heat the mixture to just below a boil. High heat can dull certain sensitive pigments, like those found in flower petals, through a process called thermal degradation. Maintain a steady temperature of 180 degrees Fahrenheit for at least ninety minutes.
Mastery Tip: Observe the viscosity of the liquid. As the pigments leach out, the water becomes denser. If the liquid becomes too thick, the diffusion gradient slows down; adding a small amount of water can actually speed up the extraction by maintaining a favorable concentration balance.
4. The Immersion Dyeing
Strain the solids out using your cheesecloth and submerge your pre-wetted, mordanted fabric into the liquid. Ensure the fabric can move freely to avoid "hot spots" or uneven saturation. Gently agitate the fiber with a long wooden paddle to ensure the dye molecules reach every interstitial space in the weave.
Mastery Tip: This stage is governed by surface tension. Pre-wetting the fabric breaks the initial surface tension of the fibers, allowing the dye bath to flow deep into the core of the yarn rather than just coating the exterior surface.
THE TECHNICAL LEDGER
Maintenance & Longevity: Natural dyes are "living" colors. To prevent premature fading, always wash finished pieces in pH-neutral detergent and dry them in the shade. UV radiation triggers photo-oxidation, which breaks the chemical bonds of the pigment and causes the color to "vanish."
Material Variations:
- Sustainable: Use invasive species like Multiflora Rose or Garlic Mustard to protect local biodiversity while you forage.
- Premium: Incorporate foraged Oak Galls, which have a massive tannin density, to create deep, lightfast blacks and greys.
- Recycled: Use old rusty nails in a vinegar solution to create an "iron liquor" that shifts any dye color toward a darker, metallic hue.
The Correction:
- The Mistake: Splotchy or uneven color. The Fix: You likely skipped the scouring phase. Re-wash the fabric in a heavy surfactant and re-dye with constant agitation.
- The Mistake: The color washes out immediately. The Fix: This indicates a mordant failure. Ensure your WOF for Alum is at least 12% and that the water temperature stayed above 160 degrees during the mordanting process.
- The Mistake: The dye bath turned brown and dull. The Fix: You overheated the pot. Use a thermometer next time to ensure you stay below the scorching point of the organic compounds.
Studio Organization: Store your dried, foraged materials in airtight glass jars away from direct sunlight. Use a label maker to record the date, location of the forage, and the soil conditions, as soil pH can change the chemical makeup of the plant.
THE FINAL REVEAL
There is nothing quite like the moment you pull a dripping length of silk out of a pot of boiled weeds and see a shimmering, electric peach or a deep, moody forest green. When you forage for dye plants, you are essentially capturing a localized snapshot of your environment's chemistry. The finished piece is a tactile record of the season. It feels heavy, saturated, and alive. The way the light hits the natural variations in the fiber creates a depth of color that synthetic dyes simply cannot replicate. You have taken the invisible "ghost" of the forest and given it a permanent, physical form.
STUDIO QUESTIONS
What is the best way to start Foraging For Dye Plants?
Start with high-tannin materials like acorns or black walnut hulls. These are chemically "forgiving" because they contain their own mordants, making it much easier for a beginner to achieve a permanent, lightfast color without complex chemical additives.
Can I use any pot for the extraction?
No, you must use non-reactive stainless steel or unchipped enamel. Reactive metals like aluminum or unlined copper will interact with the dye chemistry, unexpectedly shifting the color and potentially ruining the purity of the pigment you are trying to extract.
How do I know if a plant will produce color?
Perform a "rub test" on white paper or look for plants that stain your fingers. High-pigment plants often show their potential through their sap or the intensity of their heartwood. Researching the specific flavonoid content of local species is also a great technical shortcut.
Why is my foraged dye fading in the sun?
This is likely due to a lack of lightfastness in the specific plant or an insufficient mordant bond. Some plants, like beets or berries, are "fugitive" dyes. Always use a strong mineral mordant to lock the molecules into the fiber's structure.