
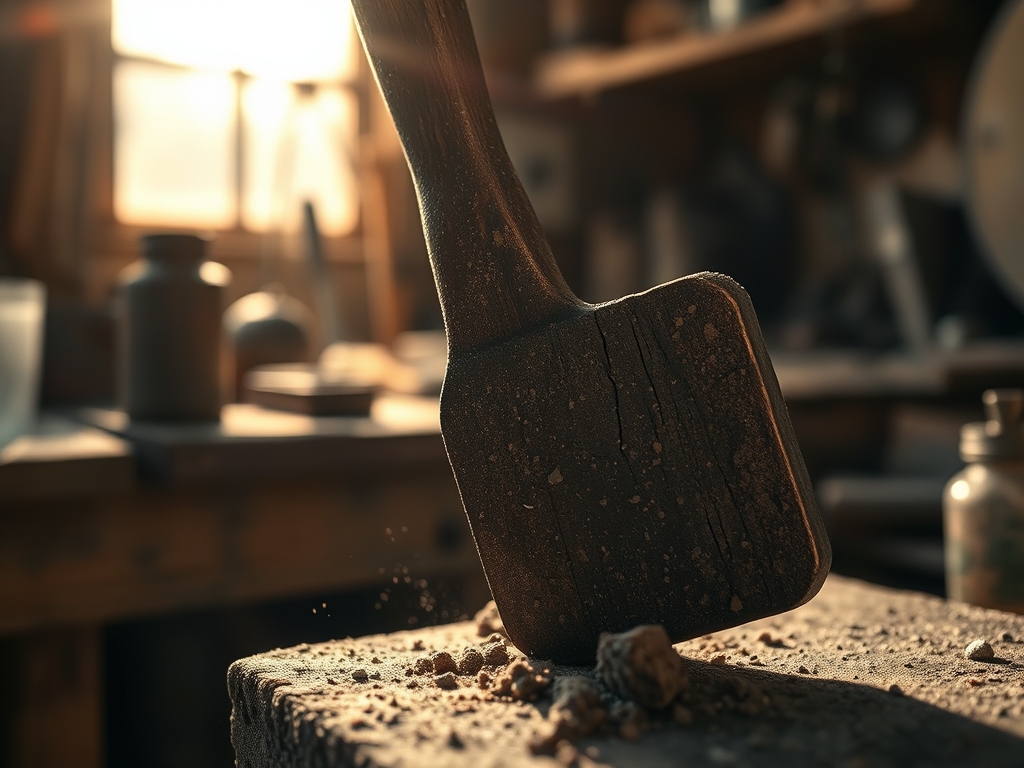
The smell of cedar shavings and ionized air hits me before I even flip the light switch. This space is not just a room; it is a living laboratory where my hands rediscover the laws of physics every single day. Living an Integrated Sustainable Life means every scrap of white oak and every millimeter of brass wire serves a purpose beyond mere decoration. When I run my thumb along the grain of a raw timber slab, I am feeling the cellular structure of the xylem and phloem that once transported water. It is a tactile conversation with nature. The shop is where I translate that raw organic energy into something permanent. It is the heart of my home because it is the only place where the entropy of the outside world finally slows down and makes sense. Here, the friction of a plane blade against a knot is a lesson in resistance, and the heat of a soldering iron is a lesson in thermal conductivity.
THE STUDIO KIT
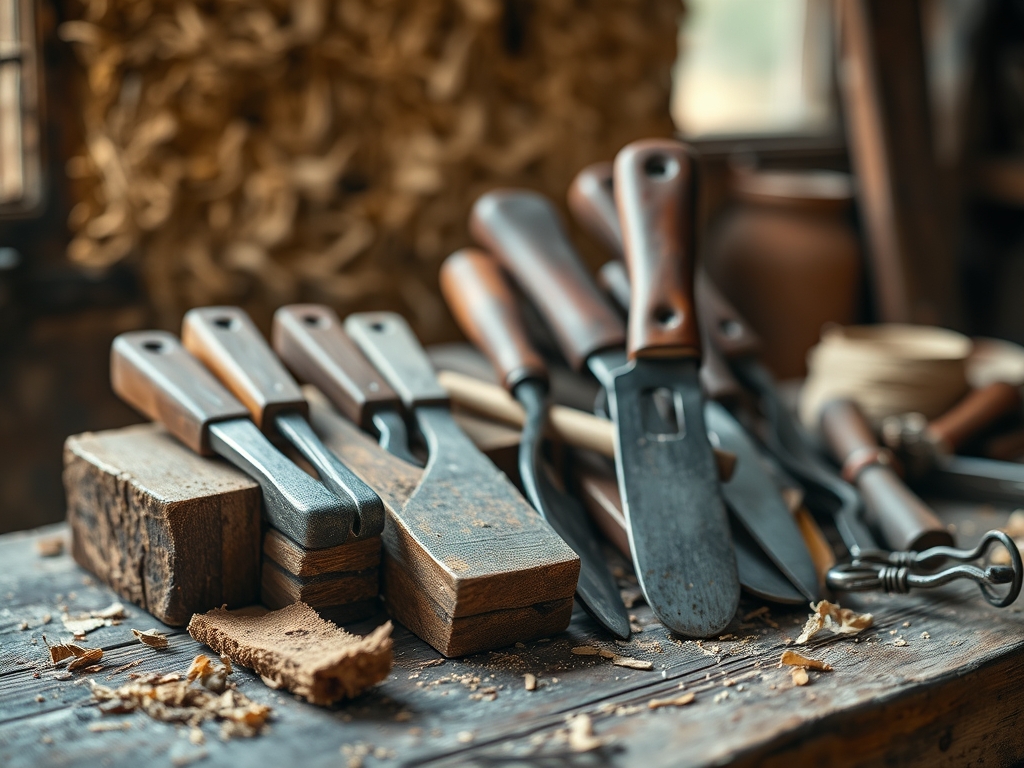
THE STUDIO KIT
To build a life that lasts, you need tools that respect the integrity of your materials. My workbench is a curated ecosystem of high-precision instruments. First, you must have a set of digital calipers to measure thickness down to the hundredth of a millimeter; precision is the enemy of structural failure. I rely heavily on my Japanese pull saw, which utilizes a thinner kerf than Western saws, meaning less material waste and a cleaner finish. For textile and leather integration, a bone folder is essential for creating crisp, permanent creases without fracturing the fibers of the material. I also keep a rotary cutter with a tungsten carbide blade for shearing through high-density fabrics without causing the dreaded fraying associated with dull shears.
Material selection is where the science of the Integrated Sustainable Life truly shines. I prioritize porous hardwoods like ash or oak because their open grain structure allows for superior adhesive penetration. For bindings, I use vegetable-tanned leather because its lack of harsh chromium chemicals makes it biodegradable and incredibly durable over decades. If you cannot source premium hardwoods, look for "Material Substitutions" like reclaimed Douglas fir from old construction sites. While it has a lower Janka hardness rating, its seasoned stability means it will not warp as easily as new, "green" lumber from a big-box store.
THE TEMPO
The "Maker's Rhythm" is a biological metronome that dictates the success of a project. You cannot rush the molecular bonding of wood glue or the curing of a natural oil finish. I break my studio time into three distinct phases. The first is the Cerebral Phase (2 hours), which involves drafting and calculating the load-bearing requirements of the piece. The second is the Kinetic Phase (6 to 10 hours), where the heavy lifting happens; sawing, sanding, and assembly. Finally, there is the Stasis Phase (24 hours), where the project is left undisturbed to allow for internal stresses to equalize. Understanding that wood is hygroscopic; meaning it expands and contracts with atmospheric humidity; is vital during the Stasis Phase. If you force a joint before the moisture content has stabilized, you risk a catastrophic split along the grain line.
THE CORE METHOD
1. Mapping the Grain Direction
Before the first cut, you must identify the longitudinal axis of your material. Wood fibers are essentially bundles of microscopic straws; they are strongest when tension is applied parallel to these tubes. By reading the "cathedrals" in the grain, you can predict how the wood will move. Mastery Tip: Always orient your grain to run the length of the longest span to maximize tensile strength and prevent sagging under gravity.
2. The Precision Score
Using a marking gauge or a sharp awl, I score the surface of the material rather than using a pencil. This creates a physical "trench" for your saw or chisel to follow, preventing the tool from wandering across the surface. Mastery Tip: Scoring severs the surface fibers, which significantly reduces "tear-out," a phenomenon where the exit side of a cut becomes jagged due to the mechanical force of the blade.
3. Achieving the Perfect Friction Fit
When joining two pieces, I aim for a "piston fit." This means the pieces slide together with slight resistance but do not require a hammer. If it is too tight, you will starve the joint of glue; if it is too loose, the mechanical bond fails. Mastery Tip: This relies on capillary action, where the liquid adhesive is drawn into the pores of the wood. If the gap is wider than 0.005 inches, the surface tension of the glue breaks, and the bond loses 70 percent of its integrity.
4. Controlled Burnishing and Finishing
For the final surface treatment, I use a cabinet scraper followed by a hand-rubbed linseed oil finish. Unlike plastic-based polyurethanes, natural oils penetrate the cell walls. Mastery Tip: Burnishing the surface with a hard object or high-grit abrasive creates a "closed" surface through friction-generated heat, which partially liquefies the natural lignins in the wood, creating a built-in protective barrier.
THE TECHNICAL LEDGER
Maintenance is the soul of sustainability. To ensure longevity, I apply a fresh coat of beeswax and citrus oil every six months to replenish the lost lipids in the wood. For those looking for Material Variations, you can swap traditional hardwoods for bamboo ply, which offers an incredible strength-to-weight ratio due to its high silica content.
"The Correction" is a vital part of the process. If you encounter Grain Tear-out, dampen the area with a drop of water to swell the fibers before sanding. If you have a Loose Tenon, glue a thin shaving of the same species to the joint to restore the friction fit. If you see Glue Starvation (a dry joint), you must disassemble, lightly sand the dried glue to reopen the pores, and reapply.
For Studio Organization, store your lumber horizontally on a rack with "stickers" (small spacers) between boards. This allows for 360-degree airflow, preventing the differential drying that causes cupping and bowing. Never store your projects directly on concrete, as the hydrostatic pressure will pull moisture into the wood and ruin your hard work.
THE FINAL REVEAL
Standing back and looking at a finished piece is like seeing a mathematical equation finally balance out. The honey-colored glow of the burnished oak against the matte texture of the hand-stitched leather creates a visual harmony that feels inevitable. It is sturdy, it is precise, and it is built to outlast me. This is the peak of the Integrated Sustainable Life; creating objects that do not just occupy space but enhance it through their sheer physical integrity. My shop is the heart of my home because it turns "stuff" into "legacy."
STUDIO QUESTIONS
What is the best way to prevent wood from warping?
Maintain a consistent humidity level in your shop and always seal both sides of a board equally. This prevents differential moisture absorption, which is the primary cause of bowing and twisting in organic materials.
Why use a pull saw instead of a push saw?
A pull saw blade is kept in tension during the cut, allowing for a much thinner blade gauge. This results in a narrower kerf, less physical effort, and much higher precision when executing complex joinery.
How do I know if my glue joint is strong?
A perfect joint should show a tiny, consistent bead of "squeeze-out" along the entire seam. This indicates that the interface is fully saturated and that you have applied enough clamping pressure to ensure molecular contact.
Can I use recycled wood for structural projects?
Yes, but you must inspect it for "nail sickness" or internal rot. Use a moisture meter to ensure the wood is below 12 percent moisture content to prevent the piece from shrinking and failing after assembly.

