
Imagine the smell of fresh cedar shavings and the cool, heavy weight of a steel ruler against your palm. There is something primal about the resistance of raw grain under a sharp blade. I have found that Healing The Spirit In Craft is not just a hobby; it is a recalibration of the human soul through the honest physics of creation. When the world feels chaotic, I retreat to my studio to find order in the structural integrity of a well-set joint or the perfect tension of a hand-stitched seam.
This process demands a radical presence. You cannot fake a flush cut with a dovetail saw, and you certainly cannot rush the curing time of high-grade epoxy. My hands are often covered in sawdust or ink, but my mind has never been clearer. We are going to dive deep into a project that balances delicate aesthetics with rigorous engineering. Grab your safety glasses and a cup of coffee. We are about to turn raw material into a testament of patience and precision.
THE STUDIO KIT
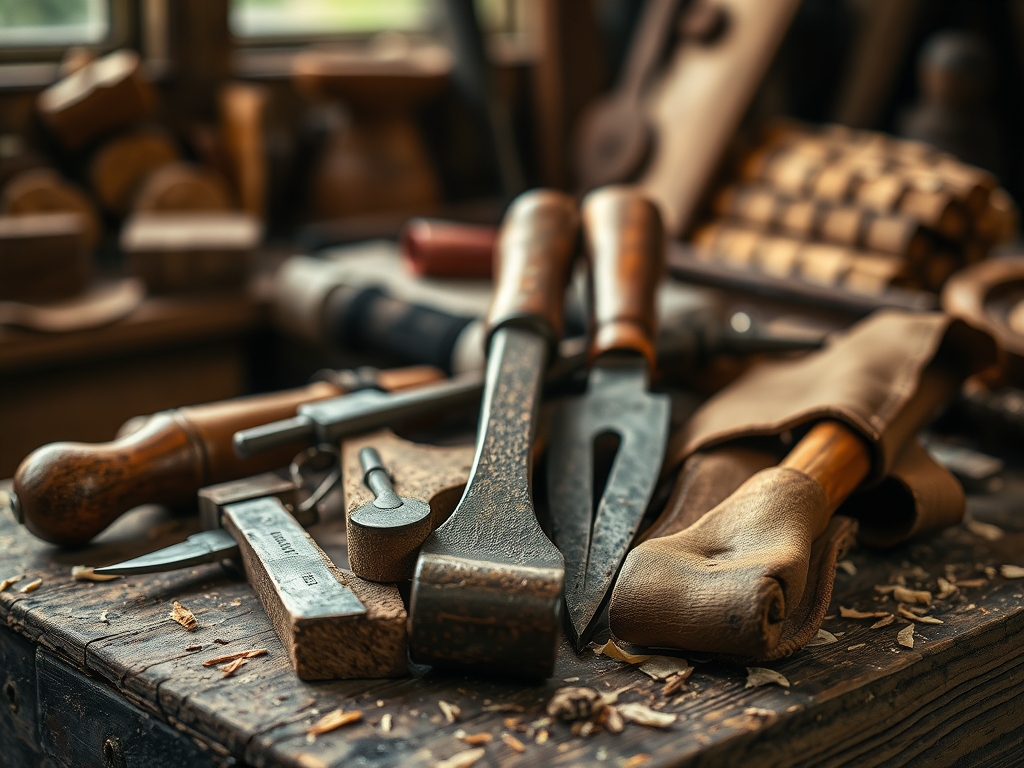
To master this build, you need a kit that respects the tensile strength of your materials. We are working with a hybrid of hardwood and high-density leather. You will need a set of digital calipers for sub-millimeter accuracy; a standard tape measure is too clumsy for this level of joinery. For the cutting phase, a Japanese pull saw is essential because its thin kerf minimizes material waste and provides a cleaner finish on the "pull" stroke.
You will also need a bone folder for crisp creases, a diamond-tipped awl for piercing thick hides, and a burnishing tool to seal the edges. If you are looking for Material Substitutions, you can swap the walnut for white oak, which offers a higher Janka hardness rating, though it requires more frequent sharpening of your chisels. Instead of top-grain leather, a heavy-duty waxed canvas provides a similar hydrophobic quality while being easier on your sewing needles.
THE TEMPO
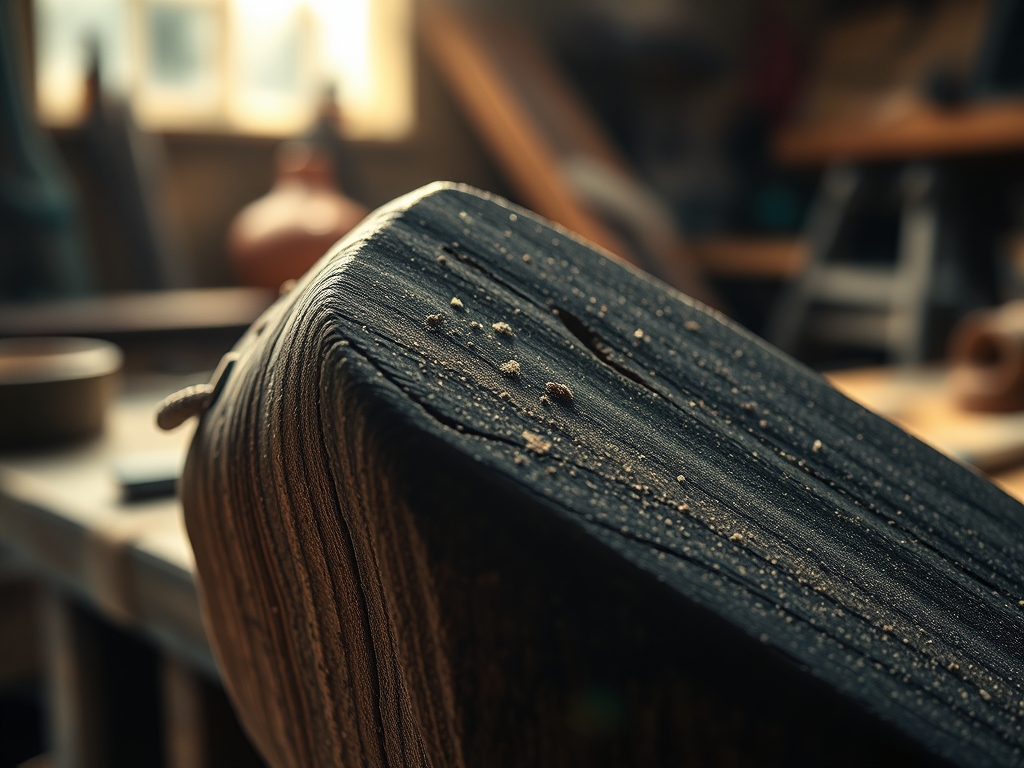
The "Maker's Rhythm" is a biological metronome that syncs your breathing with your movements. This project requires approximately twelve hours of active labor, split across three days to account for molecular bonding and moisture stabilization. Day one is for the "Rough Cut," where we break down the bulk material and allow the wood to acclimate to the studio's humidity levels. Wood is hygroscopic, meaning it expands and contracts based on the air; rushing this step leads to warping.
Day two is the "Refinement Phase." This is the longest stretch, roughly six hours of focused shaping and sanding. This is where you enter the flow state, moving from 80-grit to 400-grit sandpaper in a methodical progression. Day three is the "Assembly and Finish." We allow four hours for the final oil application and hardware installation. This tempo ensures that the spirit remains healed because you are working with the material, not fighting against it.
THE CORE METHOD
1. CALIBRATING THE FOUNDATION
We begin by measuring our stock with the calipers to ensure the thickness is uniform across the entire board. Any deviation greater than 0.5mm will cause the final assembly to rack or wobble. We use a marking gauge to scribe deep, physical lines into the wood fibers rather than using a pencil.
Mastery Tip: Scribing a line severs the surface fibers, which prevents "tear-out" when the saw blade enters the wood. This utilizes the principle of fiber severance to ensure the edges remain surgically sharp and structurally sound.
2. EXECUTING THE PRECISION CUTS
Using the Japanese pull saw, we follow the scribed lines with a light touch. The goal is to let the weight of the saw do the work. If you apply too much downward pressure, you risk bowing the blade, which results in a curved cut. We are aiming for a friction fit, where the pieces slide together with minimal resistance but stay held by atmospheric pressure and surface contact.
Mastery Tip: This relies on surface friction. When two planes are perfectly flat, the microscopic peaks and valleys interlock, creating a mechanical bond even before the adhesive is applied.
3. PREPARING THE LEATHER INTERFACE
The leather components must be skived at the edges to reduce bulk. Using a skiving knife, we shave the flesh side of the leather down to a thin taper. We then use the diamond awl to pre-punch holes at a consistent stitch pitch. This ensures that the thread lays flat against the surface, reducing wear and tear over time.
Mastery Tip: Pre-punching prevents the leather from puckering. By maintaining a consistent gauge in your thread tension, you distribute the load evenly across the material, preventing the leather from tearing under stress.
4. THE CHEMICAL BOND
We apply a thin, even layer of PVA glue to the wooden joints. It is a common mistake to use too much; you only need enough to saturate the porous cell structure of the wood. Use parallel-jaw clamps to apply even pressure, ensuring the pieces are perfectly square.
Mastery Tip: This process involves capillary action. The glue is drawn into the wood fibers, and as the moisture evaporates, the polymer chains interlock with the cellulose, creating a bond that is often stronger than the wood itself.
THE TECHNICAL LEDGER
Maintenance & Longevity: To keep this piece in heirloom condition, apply a fresh coat of beeswax and linseed oil every six months. This creates a breathable barrier that prevents the wood from becoming brittle while keeping the leather supple.
Material Variations: For a premium version, use Grade 5 Titanium fasteners and exotic hardwoods like Cocobolo, which has a natural oil content that resists rot. For a sustainable approach, use reclaimed pallet wood (after checking for chemical stamps) and cork-based "leather" alternatives.
The Correction:
- The Gap: If your joint has a visible gap, mix fine sawdust with wood glue to create a matching filler.
- The Burn: If the saw leaves burn marks, your blade is dull or moving too fast. Remove the carbon deposits with a cabinet scraper rather than sandpaper to preserve the crisp edges.
- The Slop: If a joint is too loose, glue a thin "shim" of veneer into the gap and re-cut.
Studio Organization: Store your unfinished pieces in a climate-controlled environment away from direct sunlight. Use a pegboard system to keep your awls and chisels upright; allowing metal tools to touch each other leads to micro-chipping of the cutting edges.
THE FINAL REVEAL
Look at that! The way the light catches the burnished edges of the leather against the matte finish of the walnut is pure magic. There is a weight to this piece that feels intentional and grounded. By focusing on the mechanical properties of the materials, you have created something that is not just beautiful, but technically superior. You can feel the quality in the way the hinges move and the way the surfaces meet. This is the peak of the maker's journey. You took raw, disparate elements and forced them into a harmonious, functional object. Your spirit isn't just healed; it is fortified.
STUDIO QUESTIONS
How do I prevent wood from splitting when using screws?
Always drill a pilot hole slightly smaller than the screw's diameter. This removes material to make room for the threads, reducing the internal hoop stress that causes the wood grain to pull apart and crack.
What is the best way to sharpen a dull chisel?
Use a series of water stones ranging from 1,000 to 8,000 grit. Maintain a consistent angle using a honing guide. Finish by stropping on leather with green chromium oxide paste for a mirror-polished edge.
Can I use regular white glue for leather-to-wood bonds?
No, use contact cement. Apply a thin layer to both surfaces, let them become "tacky" to the touch, then press them together. This creates an immediate, permanent bond that handles the differential expansion of both materials.
Why does my sandpaper keep clogging up?
This is called "loading." It happens when the material's dust gets trapped in the grit. Use a rubber cleaning stick to pull the debris out, or switch to a lower speed to prevent heat from melting resins.
How do I know if my project is truly square?
Measure the diagonals from corner to corner. If the two measurements are identical to the millimeter, your frame is perfectly square. Even a tiny discrepancy indicates a trapezoidal shape that will affect the structural integrity.

