Imagine the smell of fresh cedar shavings dancing in the air while you run your fingers across a jagged split in your favorite walnut table. It feels like a betrayal of the grain. But here is the truth: that gap is not a disaster; it is a canvas for your technical prowess. To master Natural Wood Filler Secrets, you must stop thinking like a hobbyist and start thinking like a material scientist. We are not just plugging a hole. We are engineering a structural bond using the very DNA of the wood itself. By combining fine particulate matter with high-viscosity resins or natural saps, you create a composite that mimics the expansion and contraction of the surrounding fibers. This prevents the filler from popping out during seasonal humidity shifts. It is tactile, messy, and deeply satisfying. When you get the ratio right, the repair disappears into the growth rings, leaving behind a surface that is as strong as the day the tree was felled. Let us dive into the chemistry of the perfect mend.
THE STUDIO KIT
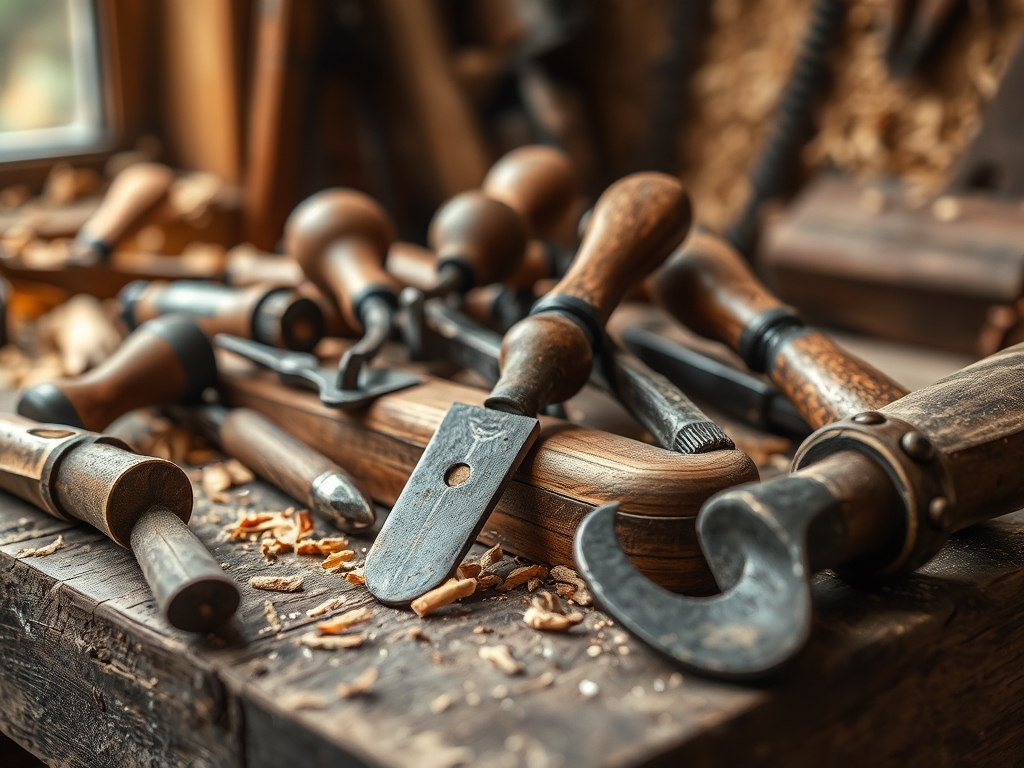
To execute a seamless fix, your workbench needs more than just glue. You need a collection of tools that allow for precision and microscopic control over the wood fibers. Start with a high-speed oscillating tool equipped with a fine-grit sanding head to harvest your matching dust. You will also need a set of stainless steel palette knives for mixing; these are superior to plastic because they do not flex unpredictably under the tension of thick pastes. For the binder, professional-grade wood glue is standard, but for a truly "natural" approach, consider a de-waxed shellac flake dissolved in denatured alcohol.
For the technical measurement of your void, keep a digital caliper nearby to gauge the depth of the crack. If the gap is deeper than three millimeters, you will need "backing material" like hemp twine or thin wood slivers to provide structural integrity. Material Substitutions: If you lack the exact species of sawdust, you can use finely ground cork for a lighter contrast or coffee grounds for a dark, charred aesthetic. Always keep a bone folder or a polished stone on hand to burnish the edges of the repair once it reaches a leather-hard state. This mechanical compression aligns the surface fibers for a flawless finish.
THE TEMPO
The "Maker's Rhythm" is not about speed; it is about respecting the evaporation rate of your solvents. Phase one is the Harvest, which takes roughly ten minutes of focused sanding to collect enough "flour" from an inconspicuous area of your workpiece. Phase two is the Hydration, where you mix your binder and dust. This must be done in under three minutes to prevent the mixture from skinning over.
Phase three is the Curing Window. Depending on the ambient humidity and the porosity of the wood, a shallow fix will set in two hours, but a structural fill requires a full twenty-four hour cycle. You cannot rush the molecular cross-linking of the adhesive. If you sand too early, you risk "gumming," where the friction heat liquefies the binder and pulls the filler right out of the crack. Patience is your most valuable tool in the studio.
THE CORE METHOD
1. The Fiber Harvest
Before you reach for the glue, you must collect the "soul" of the wood. Use a fine-tooth jeweler's saw or an orbital sander with 220-grit paper to create a pile of dust from the underside of your project. This ensures the color match is exact.
Mastery Tip: The science of capillary action dictates that finer dust particles will absorb the binder more evenly. Coarse sawdust creates a "salt and pepper" effect that screams "amateur." Aim for a consistency similar to baking flour to ensure the mixture flows into every microscopic crevice.
2. The Slurry Synthesis
On a non-porous surface, create a small mound of your harvested dust. Make a well in the center and add your binder drop by drop. Use your palette knife to fold the dust into the liquid until you reach a "stiff peak" consistency.
Mastery Tip: This is about tensile strength. If the mixture is too wet, it will shrink significantly as the solvent evaporates, leaving a concave divot. If it is too dry, it will crumble. The goal is a high-density composite that maintains its volume during the drying phase.
3. The Deep Injection
Press the mixture into the crack using an ergonomic putty knife. Do not just wipe it over the top; you must force it down to the base of the void to eliminate air pockets. Overfill the area slightly, creating a small mound above the surface.
Mastery Tip: Wood is a porous medium. By overfilling, you account for the natural "wicking" effect where the surrounding dry wood pulls moisture out of the patch. This slight excess ensures that once the patch shrinks, it remains flush or slightly proud of the surface.
4. The Burnished Finish
Once the filler is tacky but not fully hard, use a bone folder or the back of a metal spoon to rub the surface firmly. This is called burnishing. It compresses the particles and creates a smooth, reflective sheen that mimics the natural cell structure of the wood.
Mastery Tip: Burnishing increases the surface density of the repair. By mechanically interlocking the dust particles before the binder fully cures, you create a patch that is less likely to absorb stain differently than the surrounding timber, preventing the dreaded "dark spot" syndrome.
THE TECHNICAL LEDGER
Maintenance & Longevity: A natural wood filler is only as stable as the finish applied over it. To ensure your fix lasts decades, seal it with a high-solids oil or wax. This prevents the filler from dehydrating and becoming brittle. Check the repair annually for any signs of "telegraphing," where the outline of the crack becomes visible through the finish.
Material Variations:
- Sustainable: Use sawdust mixed with a homemade flour-and-water paste for non-structural, eco-friendly crafts.
- Premium: Incorporate crushed turquoise or brass filings into your sawdust mix for a "Kintsugi" inspired repair that celebrates the flaw.
- Recycled: Save the dust from various projects in labeled glass jars; old oak dust is a goldmine for future repairs.
The Correction:
- The Ghost Ring: If a dark ring appears around the fix, you used too much liquid binder. Fix: Sand back the area and apply a "pre-stain" conditioner before re-filling.
- The Crumble: If the filler falls out, the crack was too smooth. Fix: Use an awl to roughen the interior of the crack, creating "mechanical teeth" for the filler to grab.
- The Color Shift: If the patch turns grey, the binder reacted with the wood's tannins. Fix: Switch to a pH-neutral adhesive or a shellac-based binder.
Studio Organization: Store your harvested sawdust in airtight, anti-static containers. Moisture is the enemy of fine wood dust; it can lead to mold or clumping. Label every jar with the species and the grit of the sandpaper used to create it.
THE FINAL REVEAL
Look at that! The crack that once threatened the structural integrity of your piece has been transformed into a seamless transition of grain and color. Your hands have successfully navigated the complex physics of fiber density and adhesive tension. The surface feels cool and unified under your palm; there is no "catch" when you slide your fingernail across the mend. This is the hallmark of a true maker. You didn't just hide a mistake; you engineered a solution that honors the material. Now, go ahead and apply that final coat of oil and watch your Natural Wood Filler Secrets disappear into the beautiful, organic chaos of the wood grain.
STUDIO QUESTIONS
How do I match the color perfectly?
Always harvest dust from the exact piece of wood you are repairing. The natural tannins and oils in that specific board are unique. Mixing this dust with a clear binder ensures the refractive index matches the surrounding surface perfectly.
Why did my wood filler shrink?
Shrinkage occurs when the solvent in your binder evaporates. To minimize this, use a high-solids adhesive and overfill the crack slightly. This allows the "mound" to pull down flush with the surface as it cures and loses volume.
Can I stain over a homemade wood filler?
Yes, but the filler will often absorb stain differently than solid wood. To fix this, test a small patch first. If it absorbs too much, seal the filler with a thin coat of shellac before applying your final wood stain.
What is the best binder for a structural fix?
For repairs that require high tensile strength, use a two-part epoxy mixed with your wood dust. For aesthetic, non-load-bearing fixes, a high-quality PVA wood glue or a natural resin like shellac provides the best clarity and ease of use.