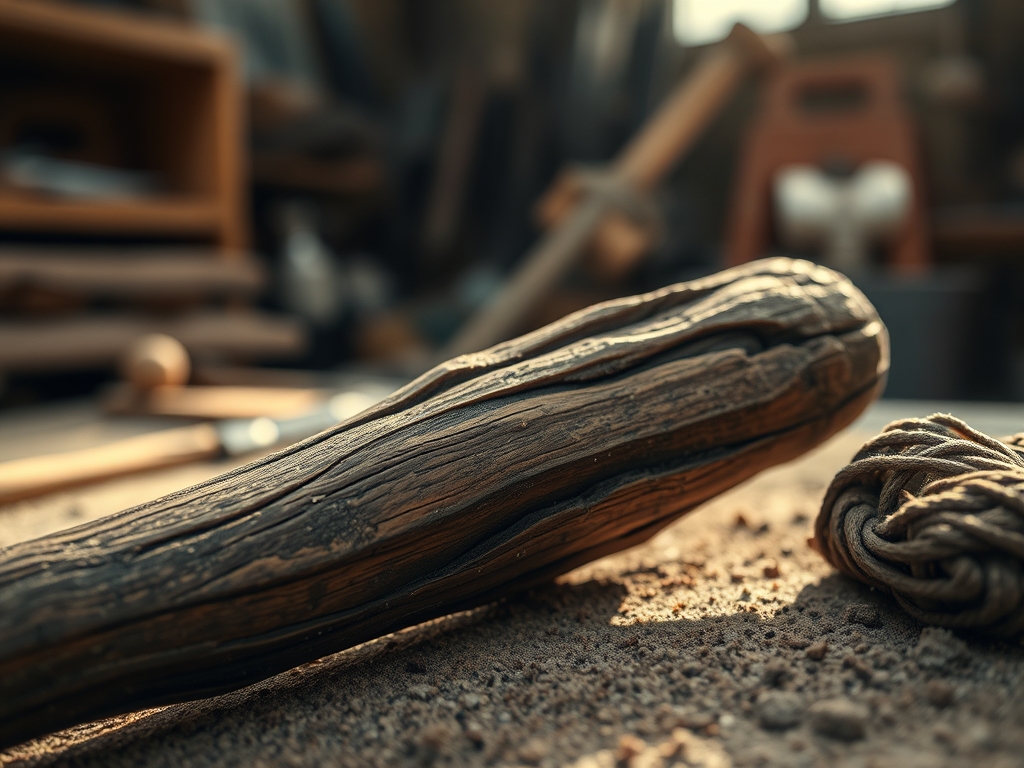
The scent of freshly planed cedar hits your lungs before you even step over the threshold; it is a sharp, resinous greeting that signals the start of a productive day. My workbench is a landscape of controlled chaos where the tactile grit of sandpaper meets the velvet smoothness of finished grain. Finding an Integrated Craft Life means realizing that the speed of the saw does not dictate the speed of my soul. I used to rush through joinery like I was being chased by a deadline, but now I understand that the tensile strength of a project is directly linked to the patience of the maker. When you press your thumb against a piece of raw walnut, you can feel the porous structure waiting to drink up the oil. This isn't just hobbyist chatter; it is a physical dialogue between my hands and the cellular makeup of the wood. We are slowing down to speed up the quality of our output, and honestly, the results are breathtaking.
THE STUDIO KIT
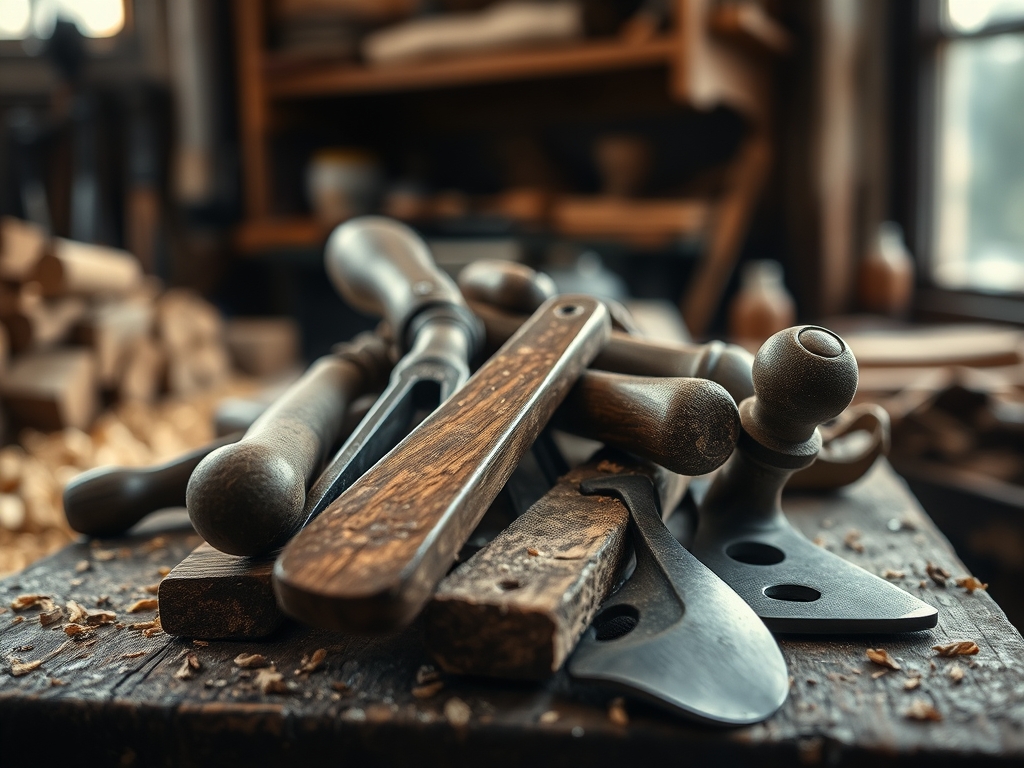
To master this lifestyle, your kit must be an extension of your anatomy. I rely heavily on my digital calipers to measure thickness down to the thousandth of an inch because wood movement is a scientific reality, not a suggestion. My primary arsenal includes a Japanese pull saw for precision kerfs and a high-carbon steel marking knife that severs wood fibers rather than crushing them like a pencil does. For finishing, a bone folder is indispensable for crisp edges on leather or paper components, while a burnishing tool creates that professional, high-friction heat needed to seal edges.
Material Substitutions: If you cannot source premium hardwoods like white oak, look for recycled heart pine which offers incredible density and a high resin content. For those avoiding animal products in leatherwork, cork fabric provides a surprisingly high tensile resistance while maintaining a unique, cellular aesthetic. Always check the ply of your threads; a 3-ply waxed linen is the gold standard for structural integrity in hand-stitched elements.
THE TEMPO
The Maker's Rhythm is a three-phase cycle that respects the laws of physics. Phase one is the Acclimation Period, which takes roughly 48 hours. This is when you let your materials sit in your studio environment so their moisture content stabilizes. If you skip this, your joints will shrink or swell, ruining your tolerances. Phase two is the Active Engagement, the actual cutting and assembly, which usually spans 10 to 15 hours of focused labor. This is where the ergonomic setup of your bench prevents fatigue. Finally, phase three is the Curing Window. Whether you are waiting for wood glue to undergo cross-linking or for a tung oil finish to polymerize, this takes 3 to 7 days. You cannot rush chemistry; trying to use a piece before the finish has fully hardened results in "printing," where the surface permanently takes on the texture of whatever touches it.
THE CORE METHOD
1. Mapping the Grain Direction
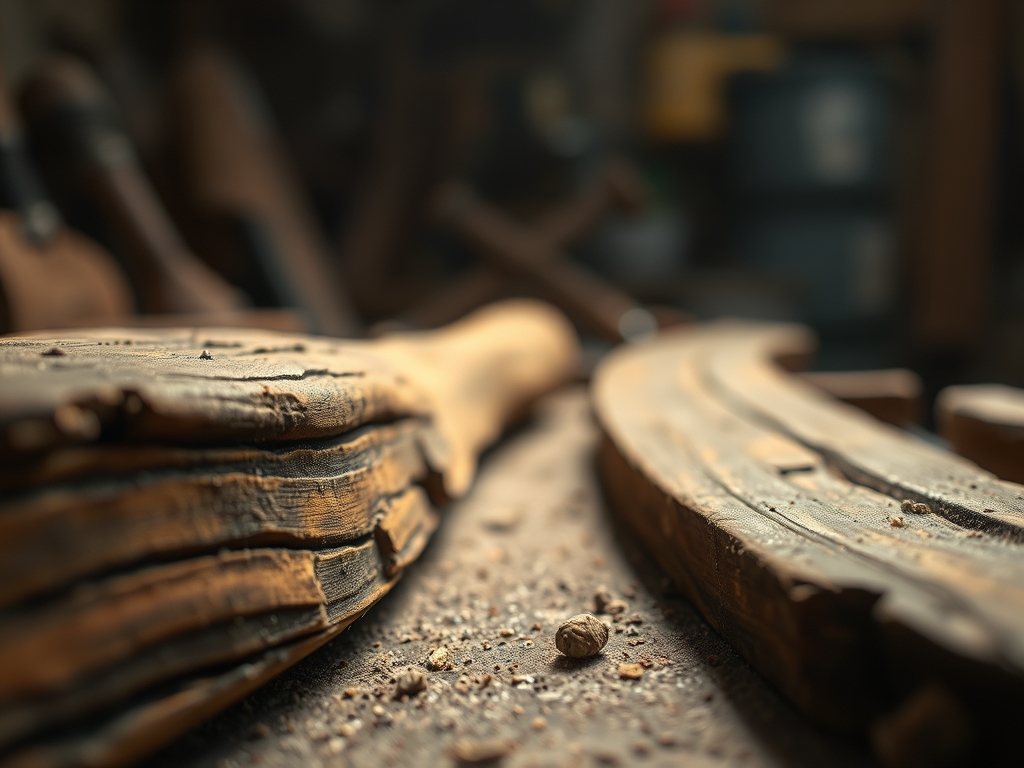
Before the first cut, you must read the wood. Look at the "cathedrals" on the face grain to determine which way the fibers run. Cutting against the grain causes "tear-out," where the tool lifts and snaps the fibers rather than slicing them.
Mastery Tip: Use a marking gauge to score a shallow line before sawing. This creates a physical shoulder that guides your blade and prevents the wood from splintering, a process known as mechanical pre-cleaving.
2. Executing the Primary Joinery
Using a jeweler's saw or a fine-tooth dovetail saw, remove the waste material. The goal is a friction fit. If the joint is too loose, the glue will have to bridge a gap, which significantly weakens the structural integrity. If it is too tight, you risk splitting the wood along its longitudinal axis.
Mastery Tip: The science of glue-ups relies on capillary action. A perfectly fitted joint allows the adhesive to "wick" into the pores of both surfaces, creating a molecular bond that is often stronger than the wood itself.
3. Surface Refinement and Burnishing
Once the structure is sound, move through your sandpaper grits methodically: 80, 120, 180, and 220. Never skip a step. Each successive grit removes the microscopic scratches left by the previous one.
Mastery Tip: Between the final two grits, "raise the grain" by wiping the surface with a damp cloth. This causes the compressed fibers to swell and stand up. Once dry, sand them off to ensure the piece stays smooth even if it gets humid later.
THE TECHNICAL LEDGER
Maintenance & Longevity: To keep your creations in peak condition, apply a coat of microcrystalline wax every six months. This creates a moisture-resistant barrier that does not yellow over time. For tools, keep a light film of camellia oil on all carbon steel surfaces to prevent oxidation.
Material Variations:
- Sustainable: Bamboo plywood offers incredible dimensional stability.
- Recycled: Pallet wood requires careful inspection for "metal inclusions" using a magnet.
- Premium: Exotic burls provide stunning visual complexity but require stabilizing resins to prevent cracking.
The Correction:
- The Gap: If a joint has a visible sliver, mix fine sawdust from the same board with wood glue to create a matching filler.
- The Burn: If your router bit leaves a scorch mark, it means your feed rate was too slow. Remove it with a cabinet scraper rather than sandpaper to keep the surface flat.
- The Warp: If a board cups, dampen the concave side and lay it face down on a flat surface; the fibers will expand and pull the board back to true.
Studio Organization: Store your timber horizontally on a rack with "stickers" (small wood strips) between layers. This allows for 360-degree airflow, preventing the differential drying that causes twisting and bowing.
THE FINAL REVEAL
There is a specific kind of magic that happens when you wipe that first coat of oil onto a finished piece. The colors deepen instantly, and the grain "pops" with a three-dimensional depth that feels like a reward for every hour spent at the bench. This is the heart of the Integrated Craft Life. It is not just about having a beautiful object; it is about the transformation of your own internal tempo. You started with a rough, chaotic slab and, through the application of physics and patience, created something that feels intentional and permanent. Your hands might be tired, but your mind is incredibly quiet. Observe the alignment in the step-by-step photos below; notice how the light catches the burnished edges. That shimmer is the mark of a maker who knows their tools and respects their materials.
STUDIO QUESTIONS
Why is grain direction so important in woodworking?
Grain direction determines how wood reacts to stress and moisture. Cutting with the grain ensures clean slices, while ignoring it causes tear-out and structural weakness. Proper alignment prevents the piece from warping or splitting as the environment changes over time.
How do I prevent my glue joints from failing?
Ensure surfaces are perfectly flat for maximum contact. Use digital calipers to check tolerances. Apply even clamping pressure to trigger capillary action, allowing the glue to penetrate the wood's porous structure for a permanent, molecular-level bond.
What is the benefit of using a bone folder?
A bone folder allows you to apply concentrated pressure to fibers without tearing them. It is essential for creating permanent, high-density creases in paper or leather, ensuring the material "remembers" the fold through mechanical deformation rather than just surface bending.
Can I use any oil to finish my project?
No, you must use "drying oils" like linseed or tung oil. These oils undergo polymerization when exposed to oxygen, turning from a liquid to a hard, protective solid. Non-drying oils, like olive oil, will go rancid and never fully harden.
What does "burnishing" actually do to the material?
Burnishing uses friction to heat and compress the surface fibers of wood or leather. This process creates a smooth, hardened edge that is more resistant to moisture and wear, effectively sealing the material's pores through heat and physical pressure.