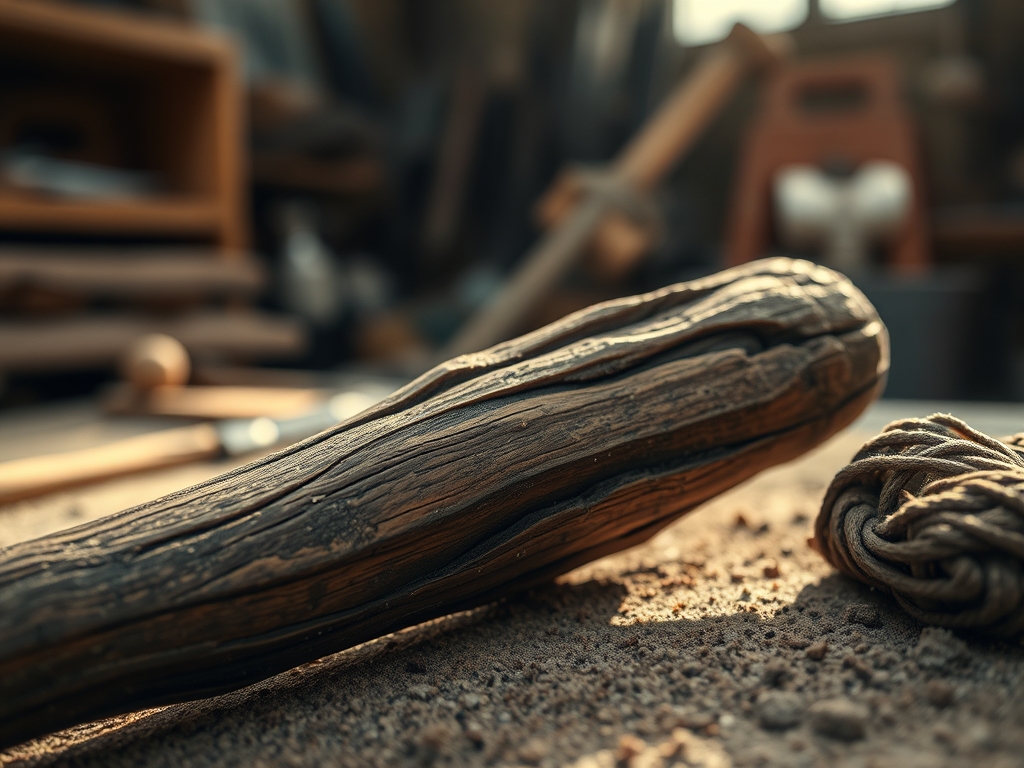
Grab your shop apron and tie it tight because we are diving deep into the molecular magic of wood preservation. There is a specific, grounding vibration that happens when you run a fine-grit abrasive over raw walnut; it is the sound of opening up the grain to breathe. When you choose a Natural Linseed Oil Finish, you are not just painting on a layer of plastic. You are engaging in a chemical handshake with the cellulose fibers of the wood. Most modern finishes sit on top of the surface like a cold sheet of glass, but raw linseed oil is different. It is a drying oil that undergoes polymerization through oxidation. This means it literally transforms from a liquid to a solid within the cellular structure of your project. The result is a tactile, organic surface that feels like the tree it came from rather than a factory floor. I choose this because I want to feel the wood, not the chemistry lab. It is the safest, most honest way to seal a masterpiece.
THE STUDIO KIT
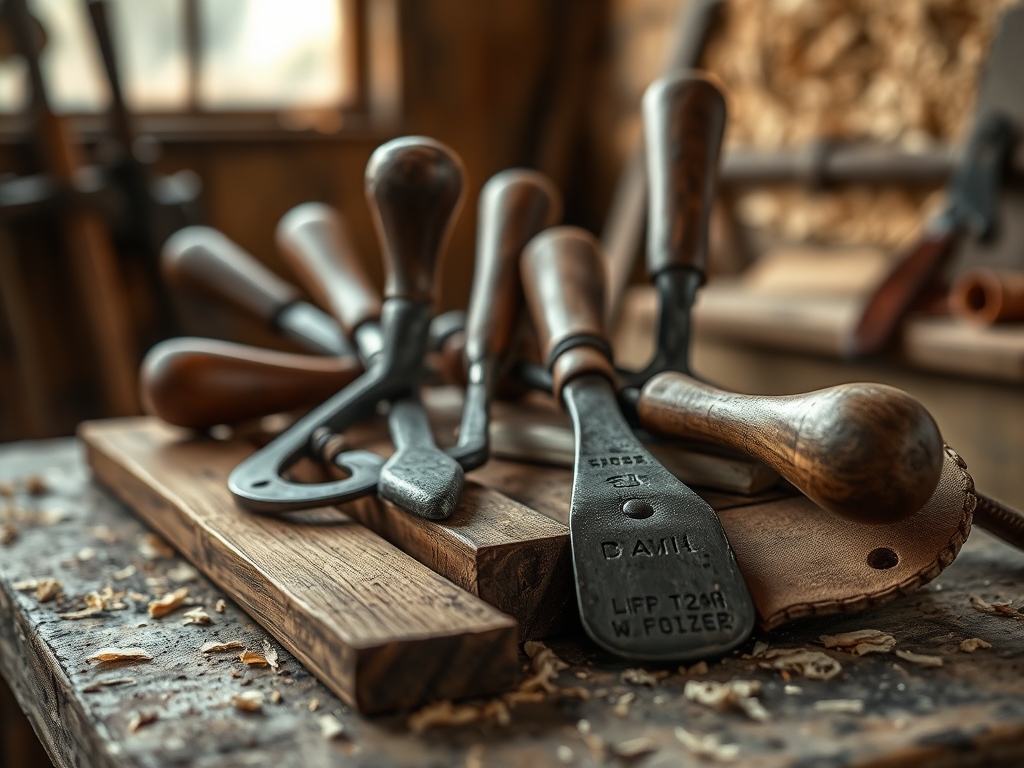
To master this finish, you need more than just a bottle of oil. We are looking for high-purity, raw linseed oil derived from flax seeds. Unlike "boiled" versions, this contains no heavy metal driers like cobalt or manganese. You will need a stack of lint-free cotton rags; old t-shirts work if they are 100 percent cotton. Grab a digital caliper to measure the thickness of your stock before and after sanding to ensure you are not removing too much material. You will also need a burnishing tool or a smooth bone folder to compress the fibers after the final coat.
For the preparation phase, keep a rotary cutter or a sharp marking awl nearby to clean up any stray fibers in tight corners. If you are working on a piece with intricate joinery, a small jeweler's saw is perfect for cleaning out glue squeeze-out that would otherwise block oil absorption.
Material Substitutions: If you cannot find high-grade raw linseed, you can substitute with pure tung oil. Tung oil offers slightly better water resistance but has a higher viscosity, making it harder to work into tight grain. Avoid any "oil-based" polyurethanes if you want to maintain the breathable, porous integrity of the timber.
THE TEMPO
The Maker's Rhythm for linseed oil is a marathon, not a sprint. We are working with the slow physics of atmospheric oxidation.
Phase One: Preparation (2 hours). This involves sanding through the grits, ending at 320 or 400. You are essentially polishing the wood cells.
Phase Two: The First Saturation (1 hour). This is the "thirsty" phase where the wood drinks the oil via capillary action.
Phase Three: The Curing Intermission (24 to 48 hours). This is non-negotiable. The oil needs time to react with oxygen.
Phase Four: Successive Coats (1 week). One coat per day for three days, then one coat a week for a month.
The rhythm is meditative. You apply, wait, wipe, and watch the amber depth of the wood evolve as the oil hardens within the pores.
THE CORE METHOD
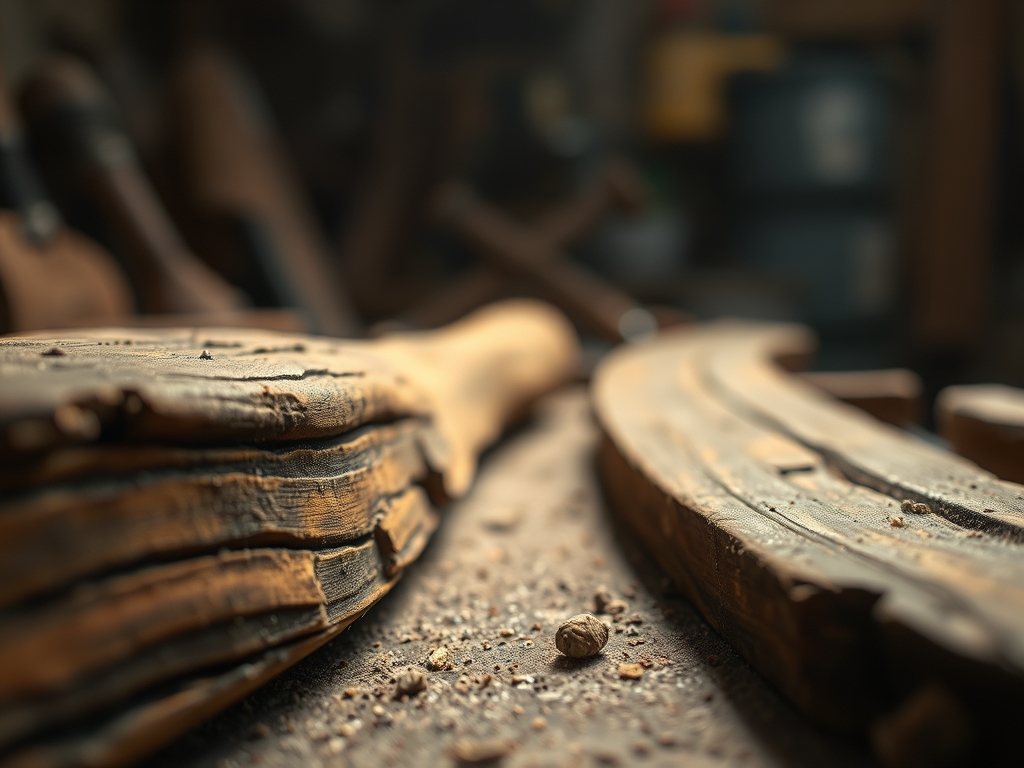
1. Surface Refinement and Pore Opening
Before the oil touches the wood, the surface must be pristine. Use an oscillating tool with a fine sanding attachment for flat planes, but switch to hand sanding for the final pass. Sanding in the direction of the grain prevents cross-grain scratches that the oil will highlight.
Mastery Tip: Use a damp cloth to "raise the grain" after your second-to-last sanding. This causes the loose cellulose fibers to stand up. Once dry, sand them off. This ensures the oil penetrates a stable surface rather than loose fuzz.
2. The Flood Application
Pour the oil liberally onto the surface. You want to see a "flood" where the oil sits on top. Use your cotton rag to move the oil around, ensuring every square millimeter is saturated. Pay close attention to the end grain; it is the most porous part of the wood and will suck up oil like a straw.
Mastery Tip: Warm the oil slightly in a double boiler before application. Lowering the viscosity allows the oil to penetrate deeper into the heartwood, creating a stronger internal bond once it polymerizes.
3. The Critical Wipe-Down
After twenty minutes, the wood has taken what it can. You must wipe away every bit of excess oil. If you leave a film on top, it will turn into a sticky, gummy mess that never fully cures. The surface should look matte, not shiny, after wiping.
Mastery Tip: Use a high-intensity light at a low angle to check for "weeping." As the wood settles, it may push small beads of oil back out of the pores. Wipe these immediately to prevent permanent shiny spots.
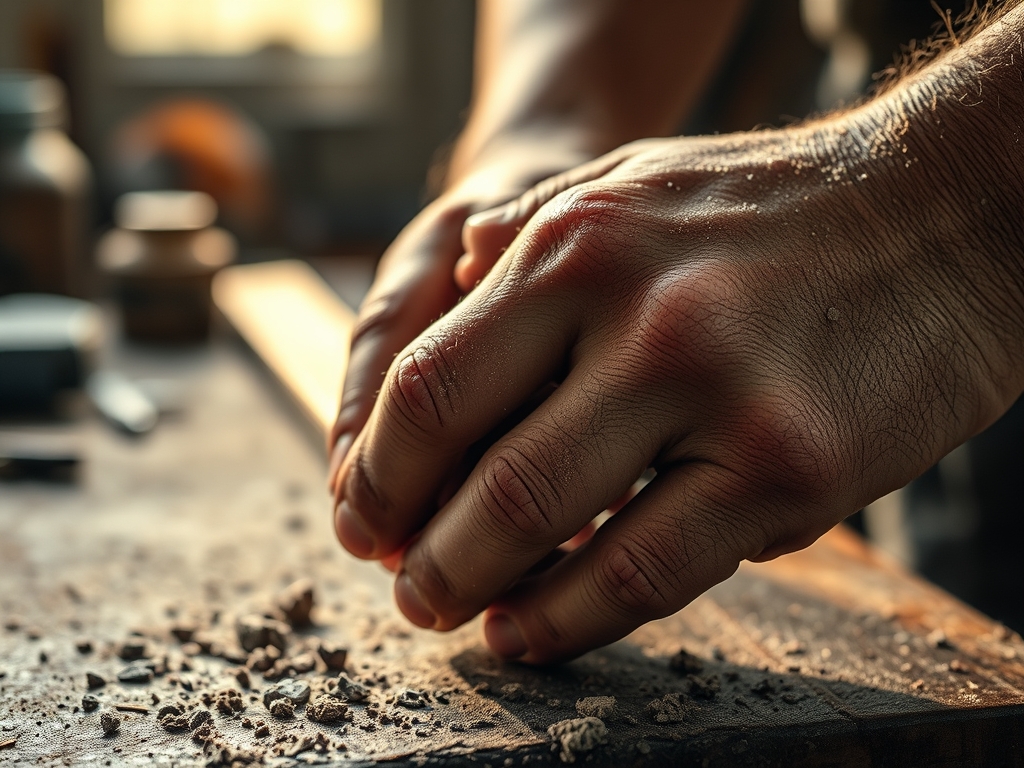
4. Friction Burnishing
Once the oil is touch-dry, use a bone folder or a hard wooden block wrapped in a clean cloth to rub the surface vigorously. The heat generated by friction helps the oil bond and creates a natural luster.
Mastery Tip: This process relies on tensile strength of the wood fibers. By compressing them while they are lubricated with oil, you create a hardened "skin" that is significantly more durable than raw wood.
THE TECHNICAL LEDGER
Maintenance & Longevity: A linseed finish is a living finish. It will require a "refresh" coat once a year. Simply wipe on a thin layer, let it sit for ten minutes, and wipe it off. This replenishes the oils that have evaporated or worn away through handling.
Material Variations:
- Sustainable: Look for organic, cold-pressed flax oil.
- Premium: Polymerized linseed oil has been pre-heated to jumpstart the drying process without adding toxic chemicals.
- Recycled: You can often find high-quality oil at architectural salvage shops.
The Correction:
- The Sticky Surface: If the oil stayed gummy, wipe it down with pure turpentine and a scuff pad to strip the top layer, then re-apply thinly.
- The Blotchy Grain: This happens in woods with varying densities. Apply a thin coat of wax over the cured oil to even out the light refraction.
- Dust Nibs: If dust settles in the wet oil, use a burnishing cream or 1000-grit paper to wet-sand the nibs out using the oil itself as a lubricant.
Studio Organization: Linseed oil rags are a fire hazard due to exothermic oxidation. Always lay rags flat to dry outdoors or store them in a water-filled metal canister. Never bunch them up in a pile.
THE FINAL REVEAL
Look at that glow! When you finish a piece with raw linseed oil, it doesn't look like it has been "coated." It looks like the wood has been enhanced from the inside out. The amber hue deepens the natural contrast of the growth rings, and the tactile feedback is incredible. It feels warm to the touch, unlike the plastic chill of lacquer. You have created a piece that is safe for food, safe for kids, and safe for your lungs. It is a professional, high-end result achieved through patience and physics.
STUDIO QUESTIONS
Is raw linseed oil food safe?
Yes, pure raw linseed oil is entirely food safe and non-toxic. It is actually flaxseed oil, which is a common dietary supplement. Just ensure you are using a version with no added chemical driers or heavy metals.
How long does it take to fully cure?
While the surface feels dry within 24 hours, a full deep-tissue cure takes 30 days. During this time, the oil undergoes a chemical reaction with oxygen to form a solid, durable polymer chain within the wood fibers.
Why is my finish still tacky?
Tackiness usually results from applying the oil too thickly or failing to wipe away the excess. If the oil cannot "breathe" and access oxygen, it stays liquid. Wipe the surface with a small amount of solvent to fix it.
Can I use this over stained wood?
You can, but the stain must be completely dry. Linseed oil will slightly darken the wood and the stain, so always perform a test on a scrap piece to check the final color value and saturation levels.