Imagine the sheer, unadulterated thrill of plunging your fingers into a cool, damp creek bed and realizing that the sticky sludge clinging to your skin is actually raw potential. We are talking about the ancient, gritty process of Foraging Clay From The Earth, a task that bridges the gap between geology and fine art. This is not the sterile, pre-packaged blocks of gray sludge you find at a hobby shop; this is a living material with a specific plasticity and mineral history. As you pull that first clod of earth, you can feel the tactile resistance of the alumina and silica particles held together by a thin film of water. The smell is intoxicatingly earthy, a mix of decayed organic matter and ancient stone. My first attempt was a messy, glorious disaster that taught me more about material physics than any textbook ever could. You have to respect the tensile strength of the soil before you can ever hope to shape it into something permanent. It is about listening to the land and understanding the porous nature of the ground beneath your boots.
THE STUDIO KIT
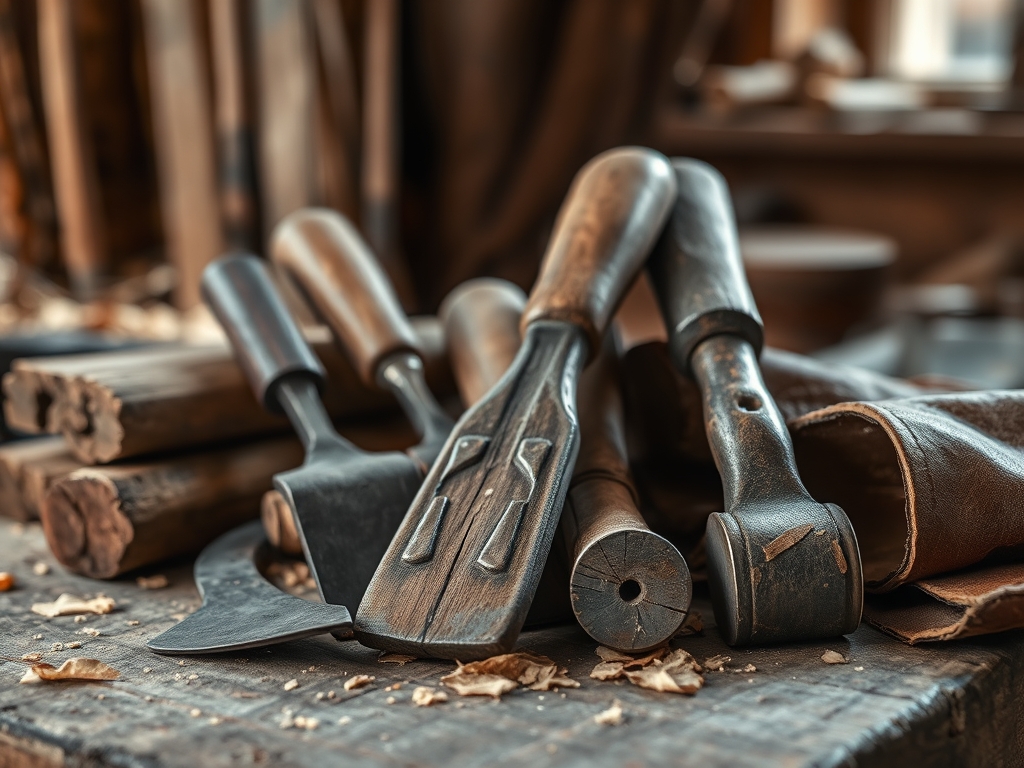
To transform wild earth into a workable medium, you need a kit that balances brute force with scientific precision. You cannot just use a kitchen spoon; you need tools that can handle high abrasion and varying particle densities.
Essential Foraging Gear:
- A Sharpened Trenching Shovel: Essential for cutting through root mats and reaching the subsoil layer where the cleanest clay deposits reside.
- 5-Gallon Buckets: Use heavy-duty HDPE plastic to withstand the weight of wet sediment.
- Stainless Steel Sieve Set: You need a range of meshes, specifically 30, 60, and 80 gauge, to filter out pebbles, roots, and oversized silica.
- Plaster Bat or Drying Board: A thick slab of plaster of Paris is the best tool for pulling moisture out of liquid slip via capillary action.
- Metal Scraper or Rib: A flexible steel rib helps you burnish the surface and test the clay for smoothness during the refinement stage.
Material Substitutions:
If you do not have a professional sieve, a fine-mesh laundry bag or a window screen can work for the initial coarse filtering. Instead of a plaster bat, you can use a stack of untreated wooden boards or even heavy canvas stretched over a frame, though the evaporation rate will be significantly slower.
THE TEMPO
The "Maker's Rhythm" for clay processing is not a sprint; it is a slow, methodical dance with gravity and evaporation. You are working with a geological timeline, so do not rush the hydration cycle.
- The Extraction (2-4 Hours): This depends on the depth of your deposit and the density of the surrounding soil.
- Slaking (24-48 Hours): This is the mandatory waiting period where you submerge the dry earth in water to break down the ionic bonds holding the clumps together.
- The Sieve Sequence (1-2 Hours): A labor-intensive phase of pushing liquid slip through increasingly fine meshes.
- The Settling Phase (2-3 Days): Allowing gravity to pull the heavy clay particles to the bottom while the clear water rises to the top.
- Dehydration (1-2 Weeks): The longest phase, where the clay reaches a plastic state suitable for wedging.
THE CORE METHOD
1. Identifying the Vein
Look for areas where water naturally pools or where the soil cracks into hexagonal patterns as it dries. This indicates a high shrinkage rate and a significant concentration of clay minerals. Dig past the topsoil (the O-horizon) to reach the B-horizon, where the minerals are most concentrated.
Mastery Tip: Perform a "field ribbon test" by squeezing a ball of wet soil. If it rolls into a thin cylinder that stays intact when draped over your finger, the tensile strength is high enough for ceramic use.
2. The Slaking Process
Dry your foraged earth completely before adding it to water. This sounds counterintuitive, but bone-dry clay "slakes" or disintegrates faster because the water is drawn into the micropores by extreme capillary action, causing the structure to explode from the inside out.
Mastery Tip: Never stir the clay immediately after adding water. Let it sit undisturbed for at least twelve hours to ensure every particle achieves full hydration.
3. Mechanical Refining
Pour your liquid clay "slip" through your graduated sieves. Start with the coarsest mesh to remove organic debris, then move to the finer 80-mesh screen to catch the tiny grains of sand that would cause structural failure during the firing process.
Mastery Tip: Use a soft rubber spatula to gently agitate the slip against the mesh; this utilizes surface tension to pull the fine particles through while leaving the grit behind.
4. Decanting and Drying
Once the slip has settled and a layer of clear water (the supernatant) has formed on top, siphon it off. Pour the remaining thick sludge onto your plaster bat. The plaster acts as a desiccant, pulling the water molecules out of the clay through osmotic pressure.
Mastery Tip: Flip the clay "pancake" every few hours to ensure an even moisture gradient, preventing the edges from becoming brittle while the center remains a liquid.
5. Wedging and Alignment
Once the clay is firm enough to handle without sticking to your fingers, you must wedge it. This is a rhythmic kneading process that removes air pockets and aligns the platelet structure of the clay minerals.
Mastery Tip: Use the "spiral wedge" technique to create a vortex in the clay. This ensures that any remaining microscopic air bubbles are forced to the surface, preventing explosive spalling in the kiln.
THE TECHNICAL LEDGER
Maintenance & Longevity:
Your refined clay is a living medium. To keep it viable, store it in airtight, heavy-gauge plastic bags. If the clay begins to smell "sour," that is actually a good sign; bacterial growth increases the plasticity of the material over time.
Material Variations:
- Sustainable: Use locally foraged clay to reduce the carbon footprint of shipping heavy materials.
- Recycled: Mix your wild clay with "grog" (crushed fired ceramics) to improve its thermal shock resistance.
- Premium: Add a small percentage of commercial bentonite to your wild mix to drastically increase its workability.
The Correction:
- The Mistake: The clay cracks as it dries. The Fix: The clay is "short" (lacks plasticity). Add 5% commercial ball clay or fine-ground bentonite to improve the molecular bond.
- The Mistake: The piece explodes in the kiln. The Fix: This is caused by trapped moisture or air. Increase your wedging time and slow down the initial bisque firing ramp speed.
- The Mistake: The clay feels "gritty" after refining. The Fix: Your sieve gauge was too large. Re-slake the clay and pass it through a finer 100-mesh screen.
Studio Organization:
Keep your foraged clay in a cool, dark corner of the studio. Use a digital hygrometer to monitor the humidity of the storage area. Label every batch with the GPS coordinates of the find and the date of extraction to track the mineralogical consistency of your sources.
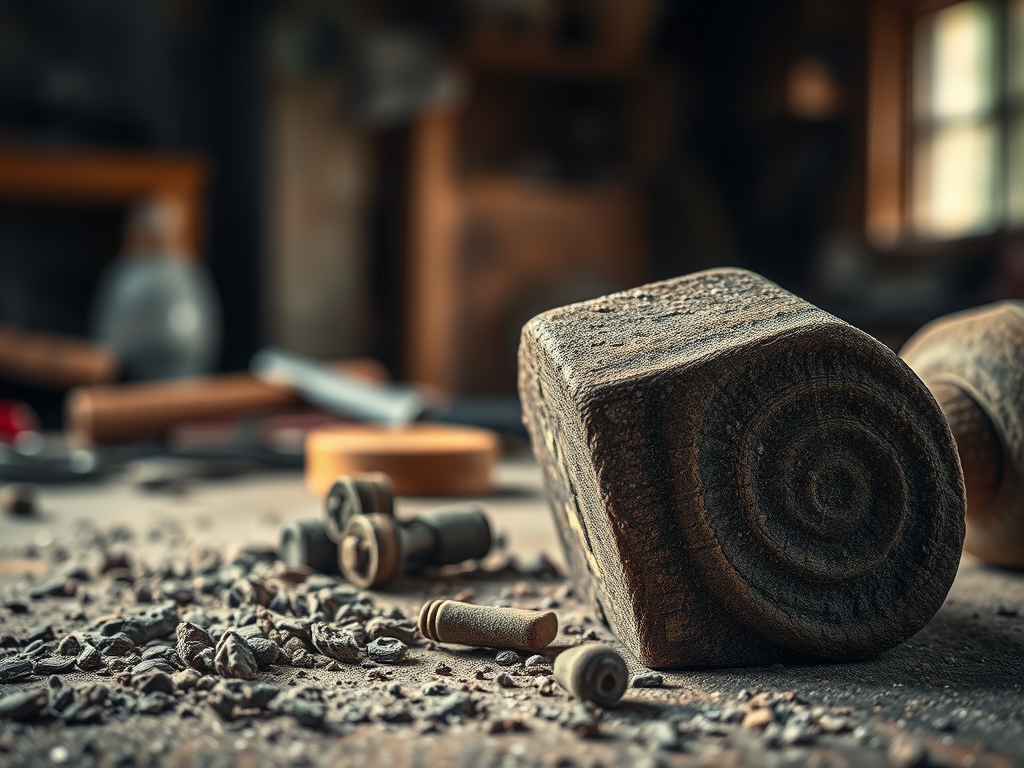
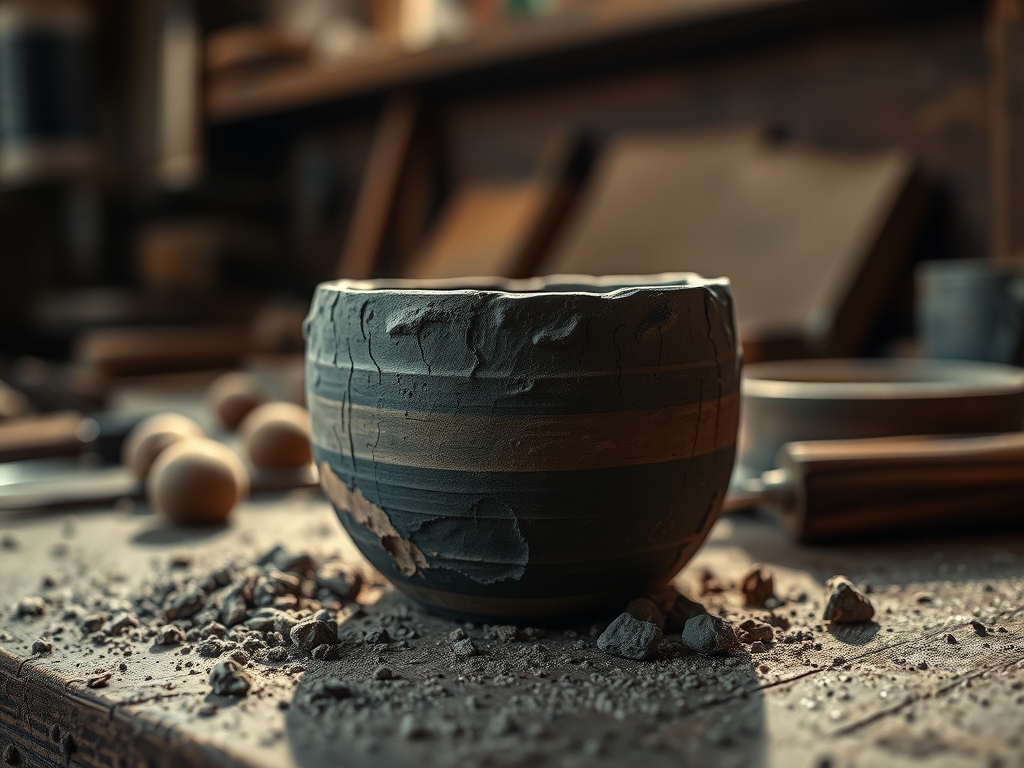
THE FINAL REVEAL
There is nothing quite like the moment you hold a finished piece made from the very ground you stand on. The final result of Foraging Clay From The Earth is a vessel that carries the unique chemical signature of your local landscape. The color might be a deep ochre or a pale, stony gray, depending on the iron oxide content of your soil. When you run your thumb along the burnished surface, you are feeling the result of hours of labor and millions of years of geological pressure. It is raw, it is sophisticated, and it is entirely yours. You have taken literal dirt and transformed it into a permanent artifact through the power of thermal transformation.
STUDIO QUESTIONS
How do I know if my backyard dirt is actually clay?
Perform a ribbon test by wetting the soil and rolling it. If it forms a long, flexible string without breaking, it has the plasticity required for pottery.
Can I fire wild clay in a kitchen oven?
No, kitchen ovens do not reach the vitrification temperatures (usually above 1800 degrees Fahrenheit) necessary to turn clay into ceramic. It will only result in dried mud.
Why does my foraged clay crack so much?
Cracking usually indicates a high shrinkage rate or "short" clay. Adding a temper like fine sand or grog can help stabilize the structural integrity during drying.
Is it safe to forage clay anywhere?
Always check local regulations and avoid areas with high industrial runoff. Heavy metals can be present in soil, affecting the chemical safety of your finished pieces.
How long can I store wet wild clay?
Indefinitely, as long as it stays hydrated. In fact, aging clay for months or years actually improves its workability due to the breakdown of organic matter.